by C4RC0
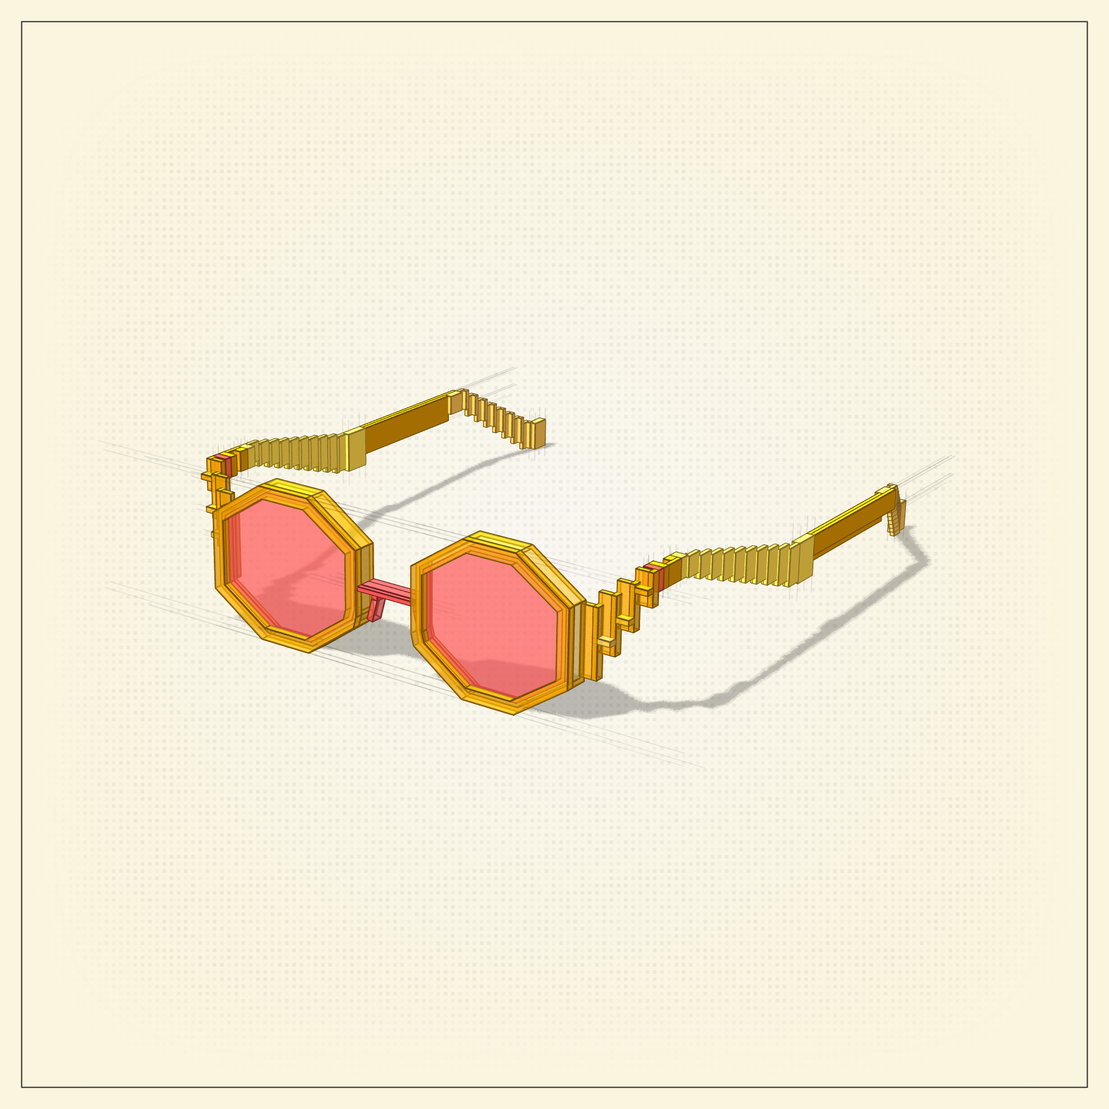
GENERATIVE GLASSES
IPFS
15 March 2023•TEZOS•IPFS
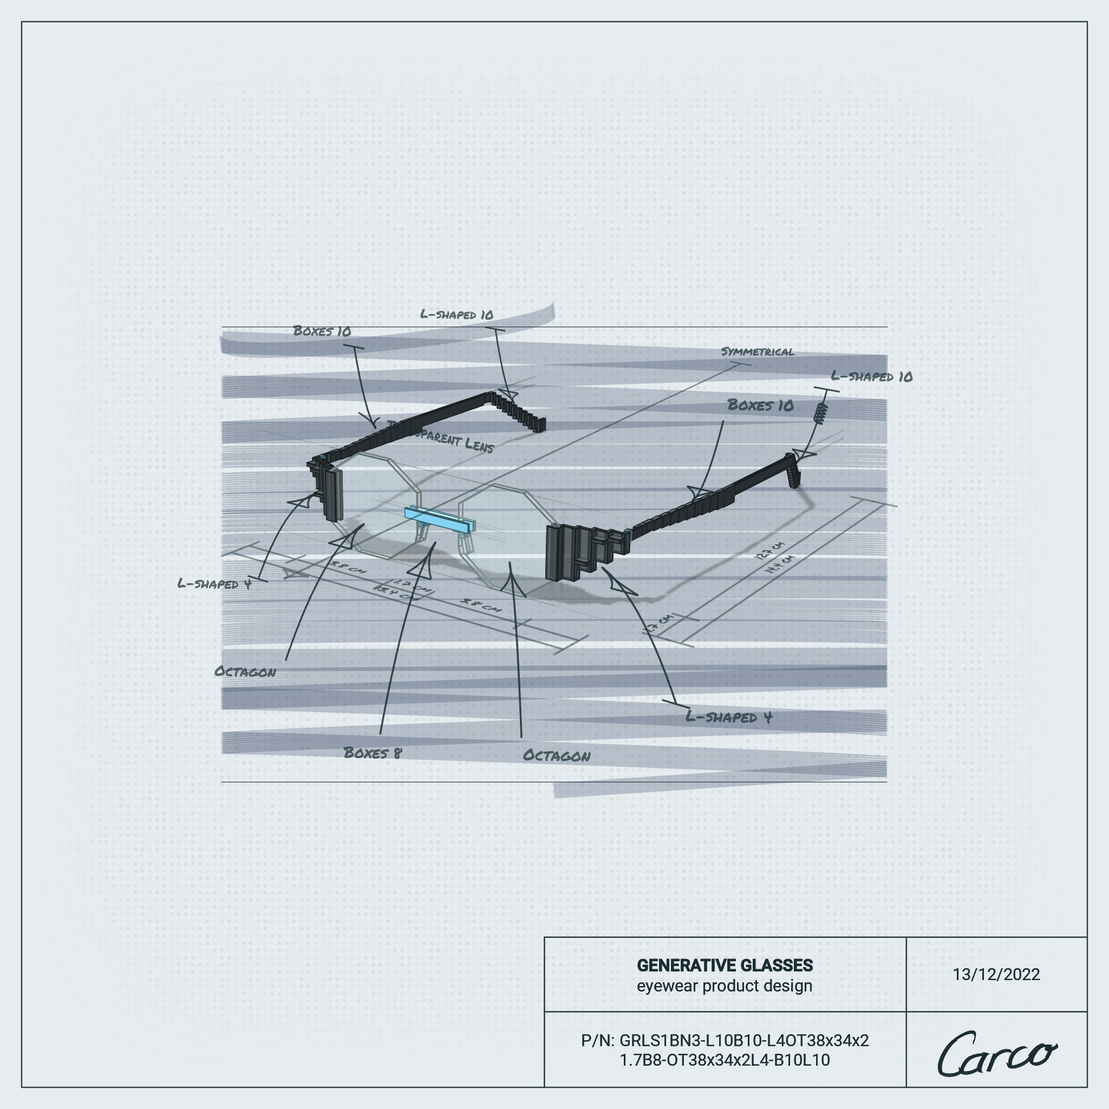
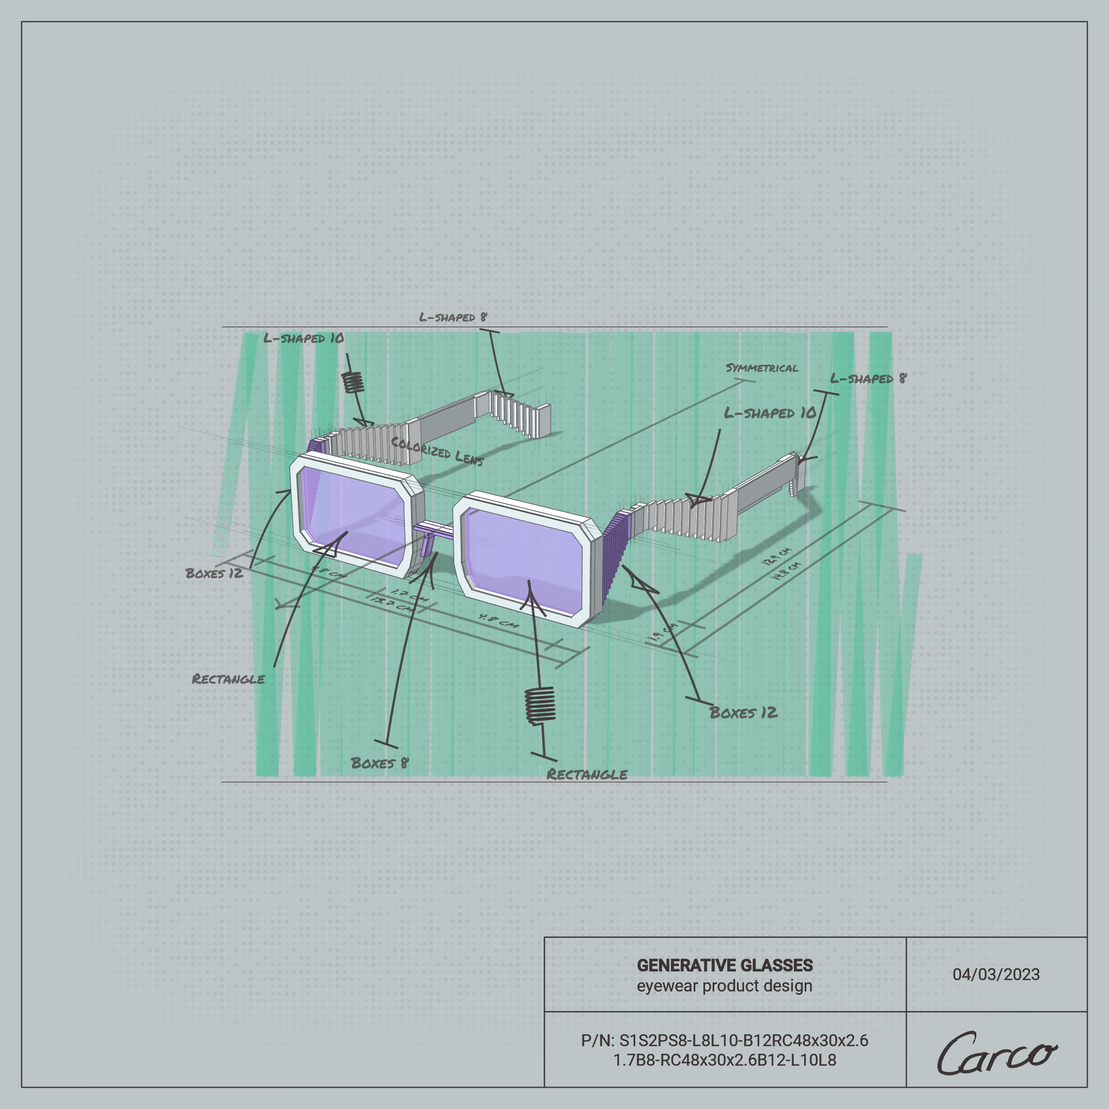
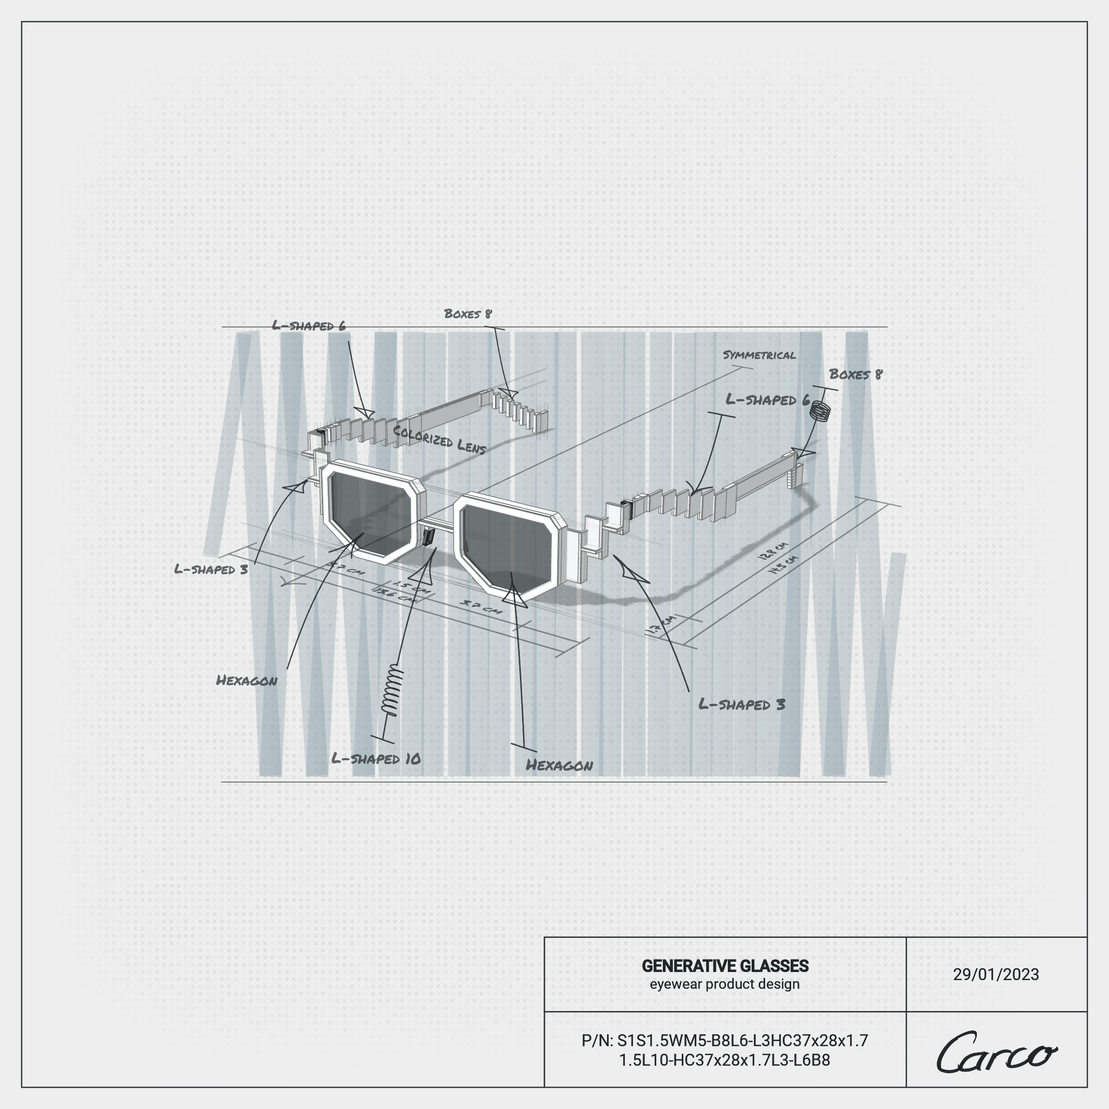
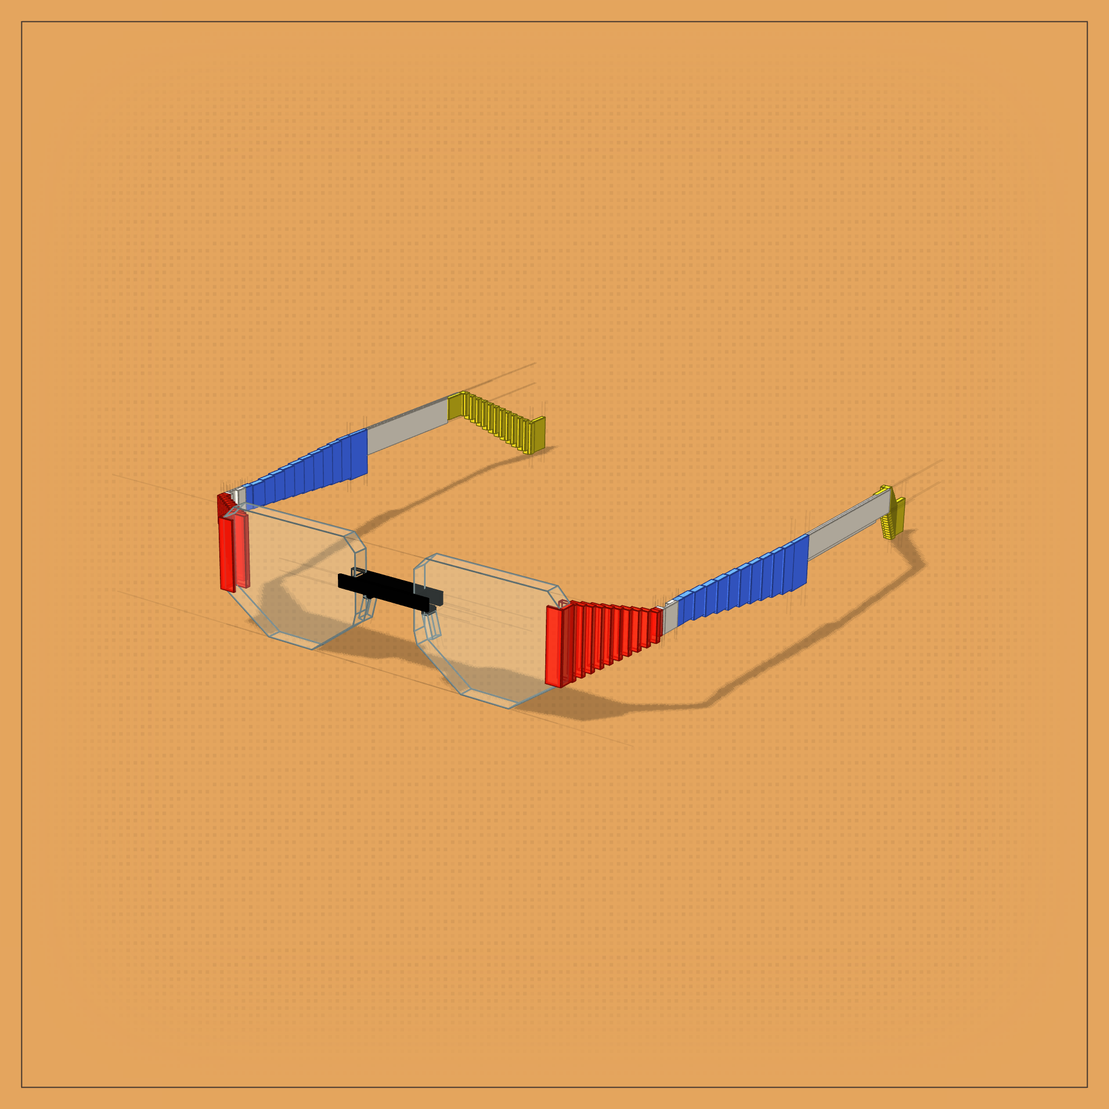
After 4 months of coding the Generative Glasses is ready! I gained a lot of experience along the way and I really liked the creation process.
I wrote an article in which I report on the creation process in more detail. It can be found at the bottom of the page for related articles.
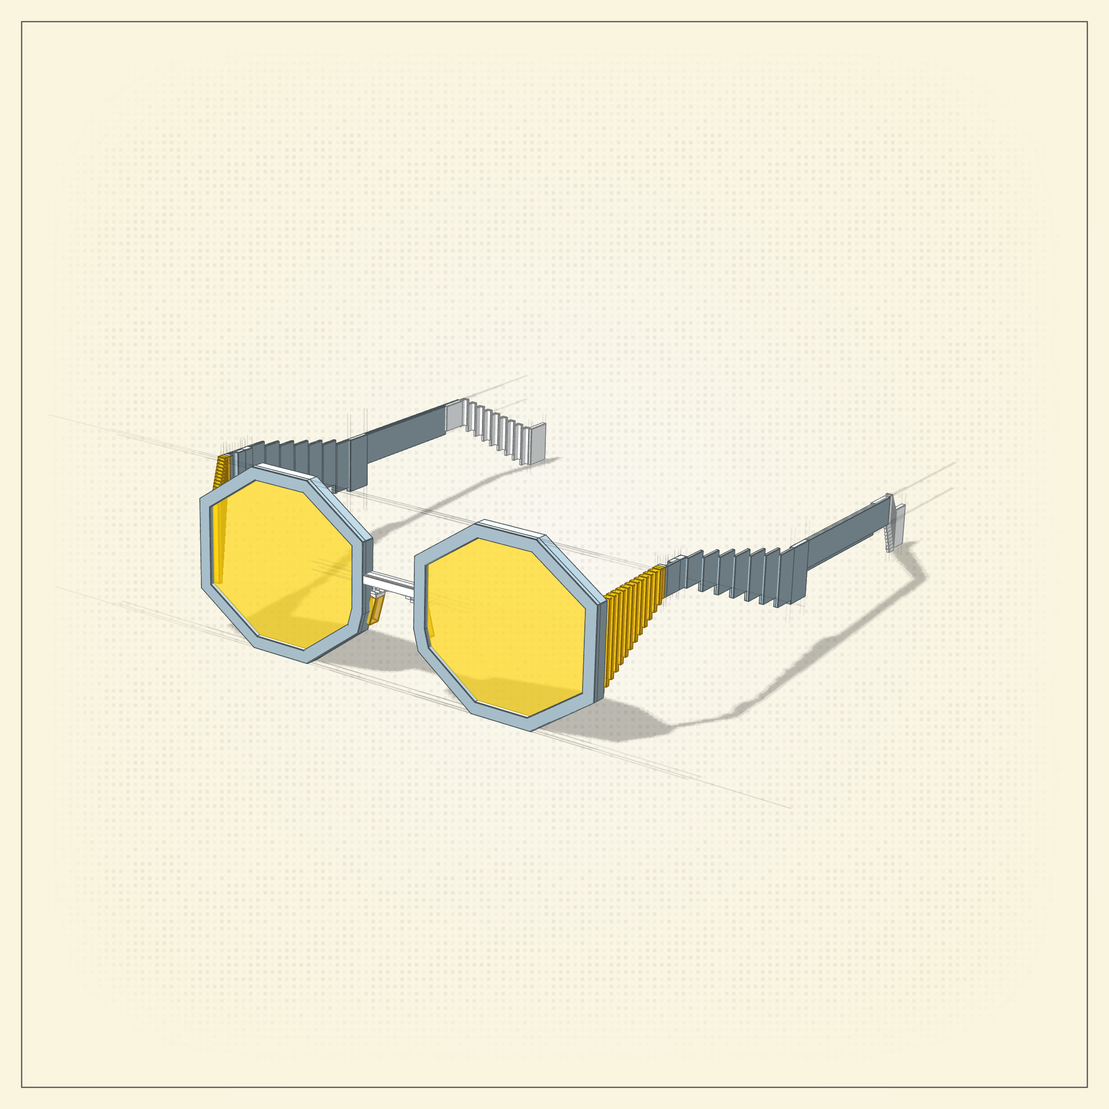
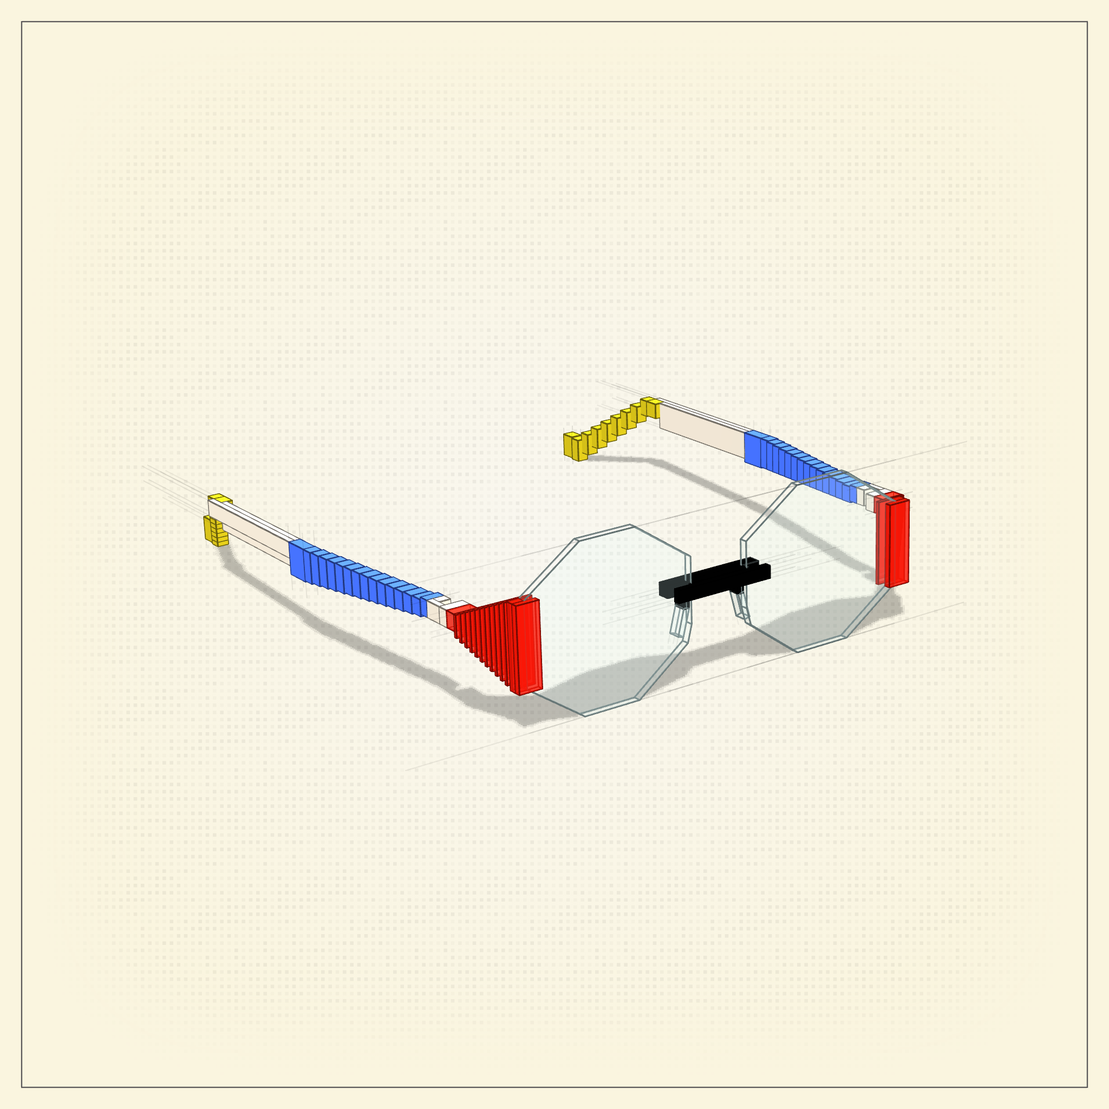
👓 thousands of different outputs are possible
👨💻 only code
🎨 3D (#webGL #threejs) and 2D (#html5canvas) layers
🎥 animated
🖱️ interactive (+controls for mobile)
😎 augmented reality view
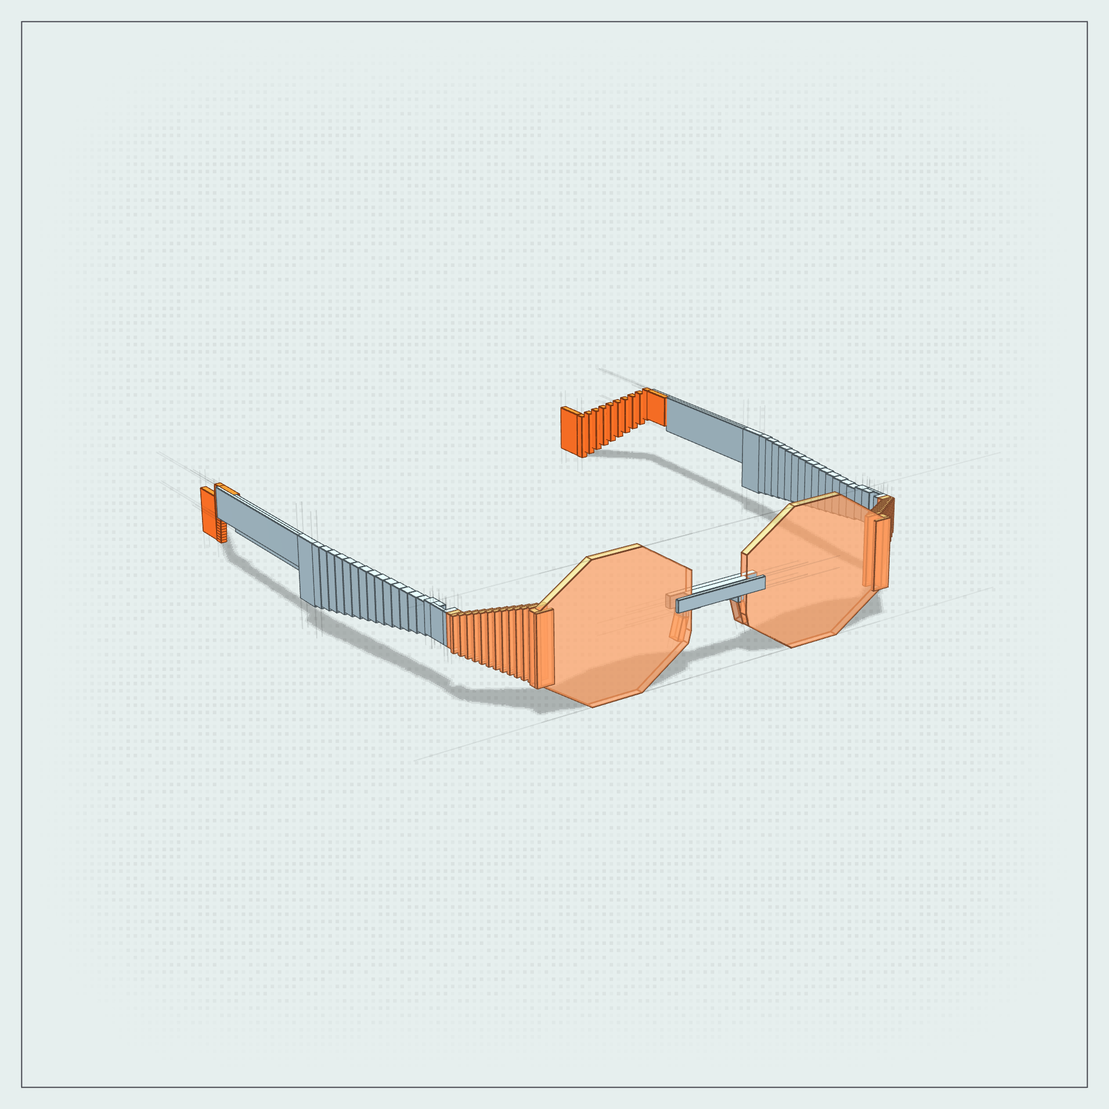
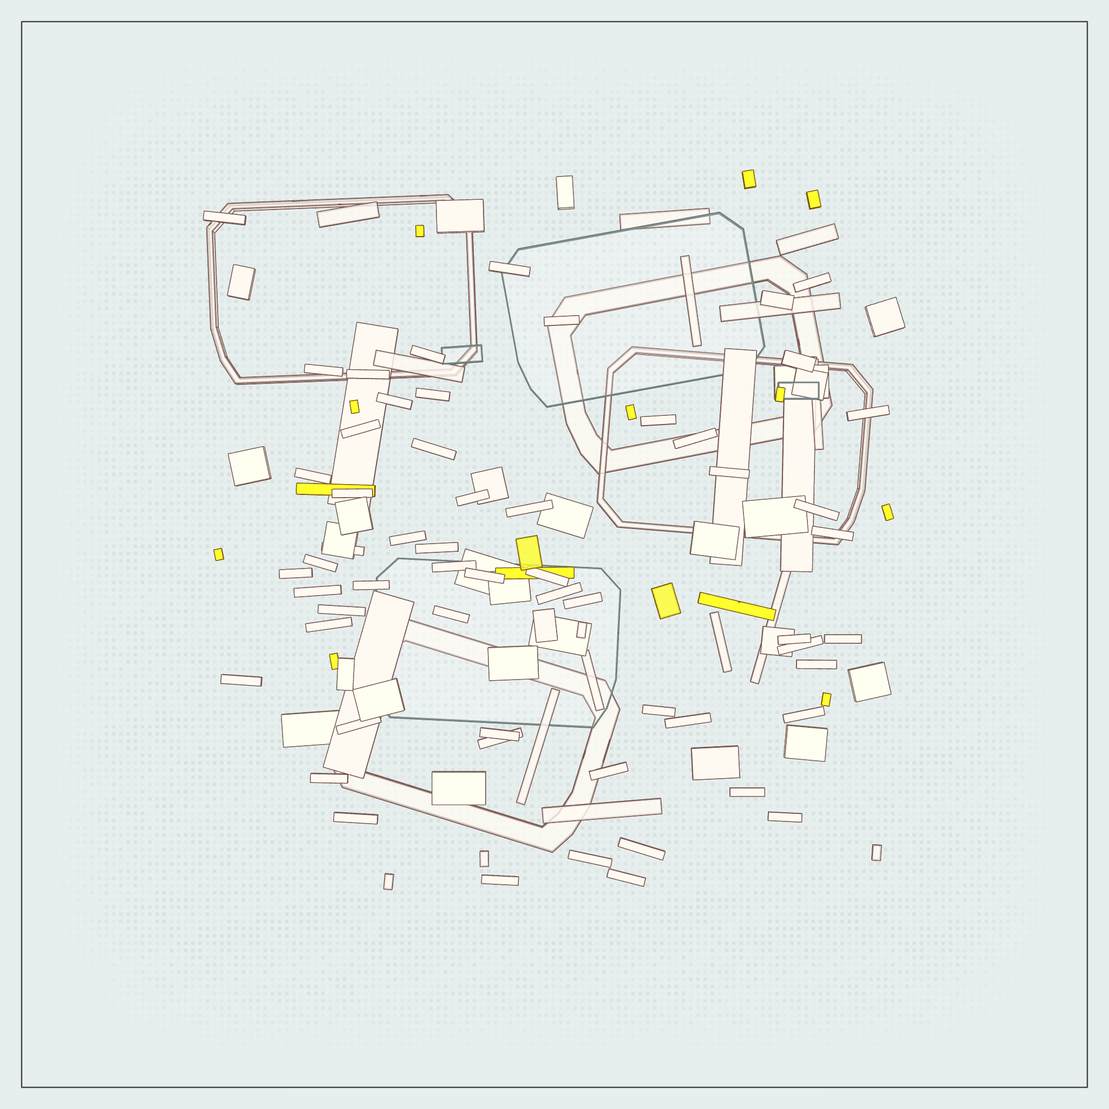
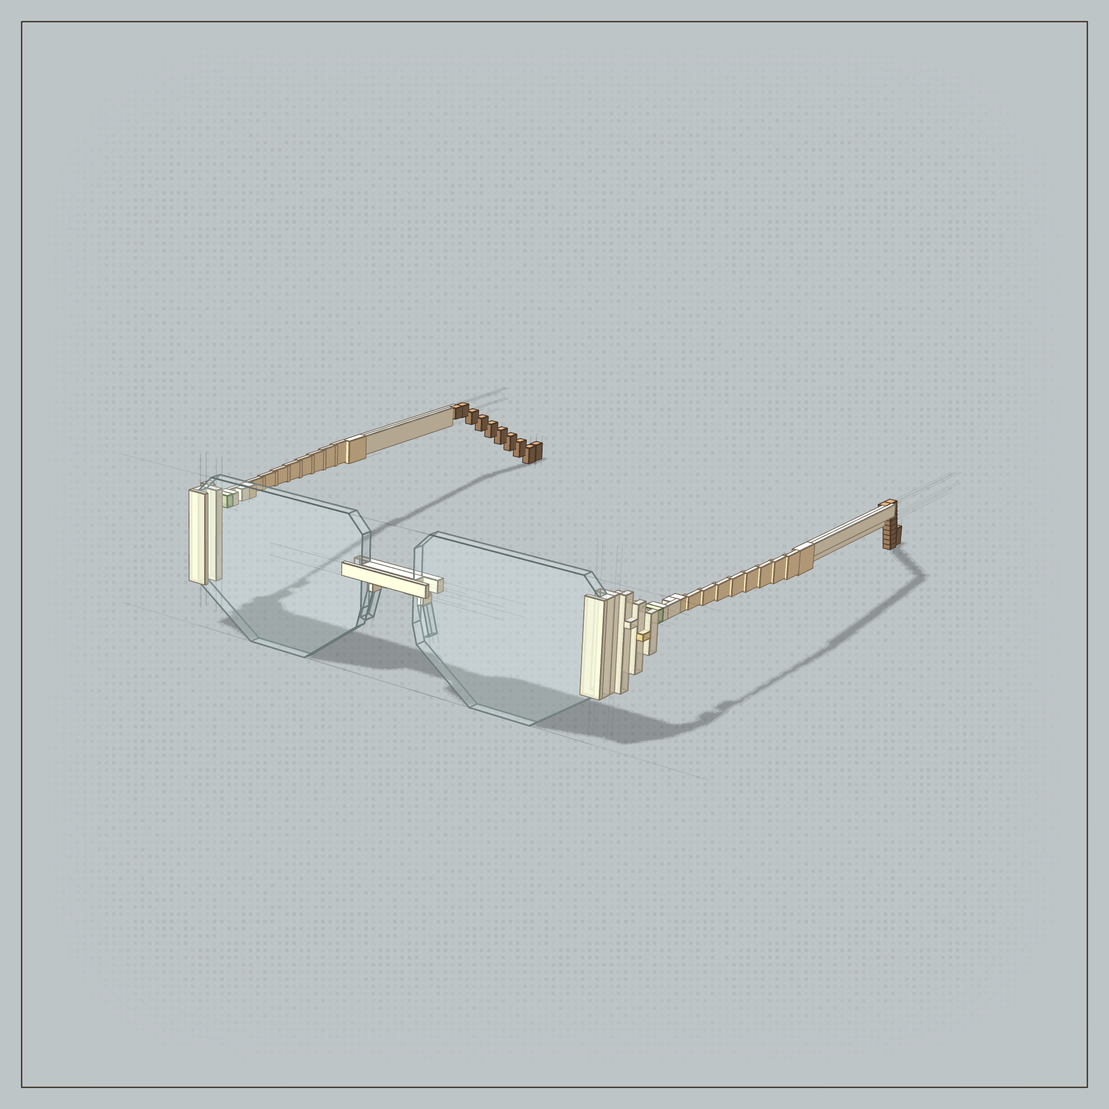
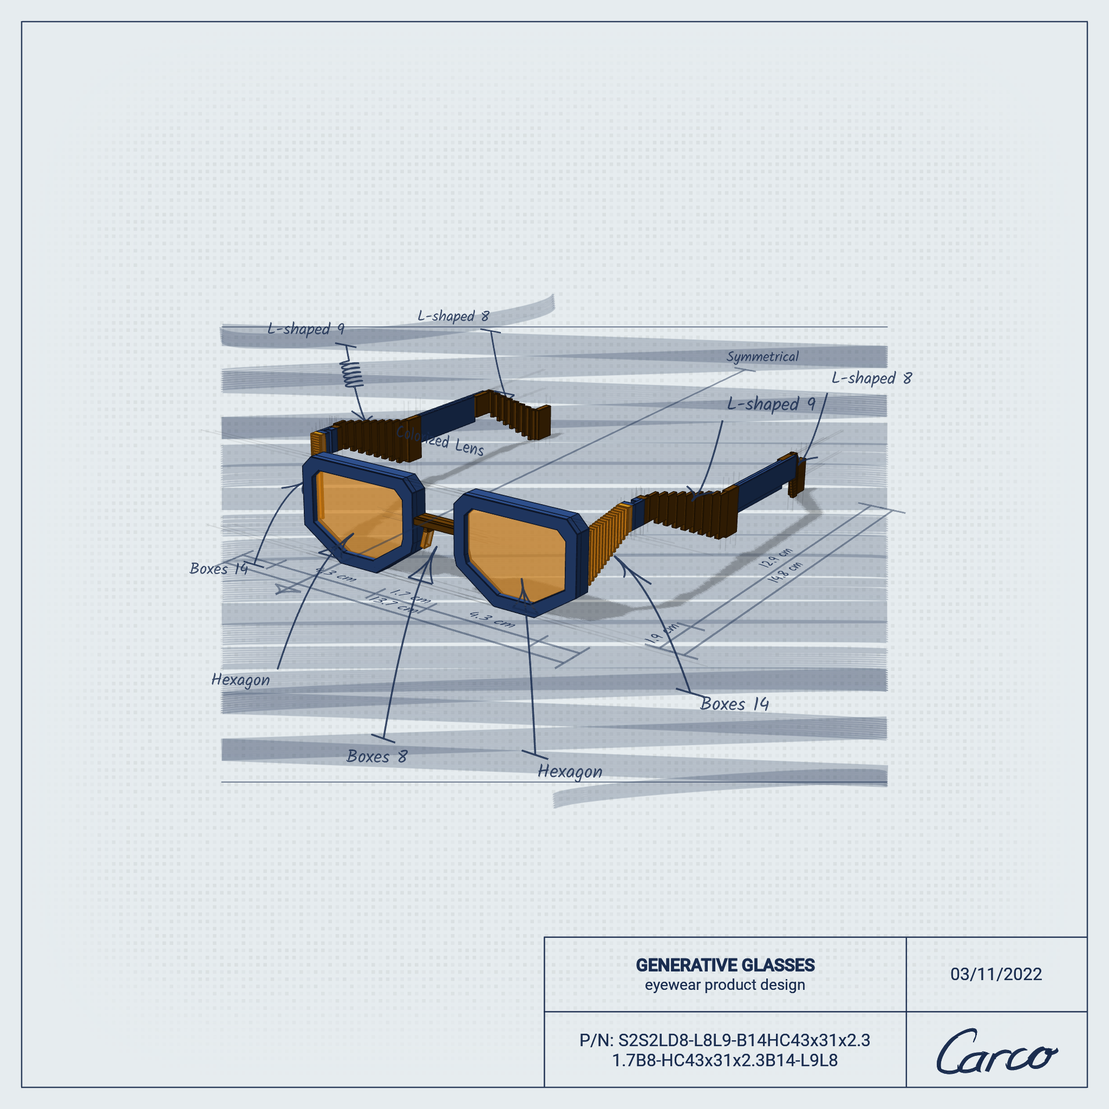
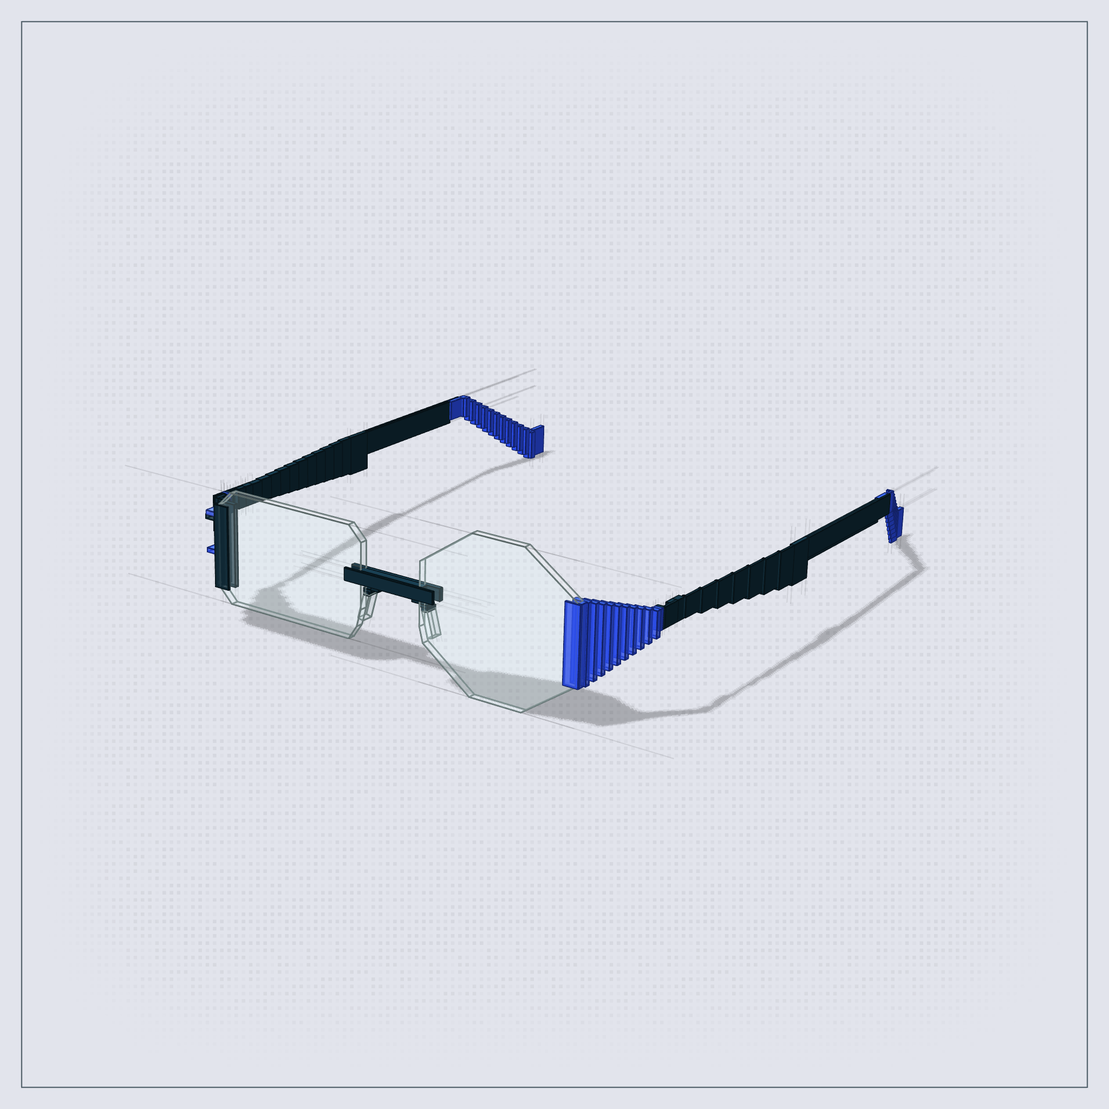
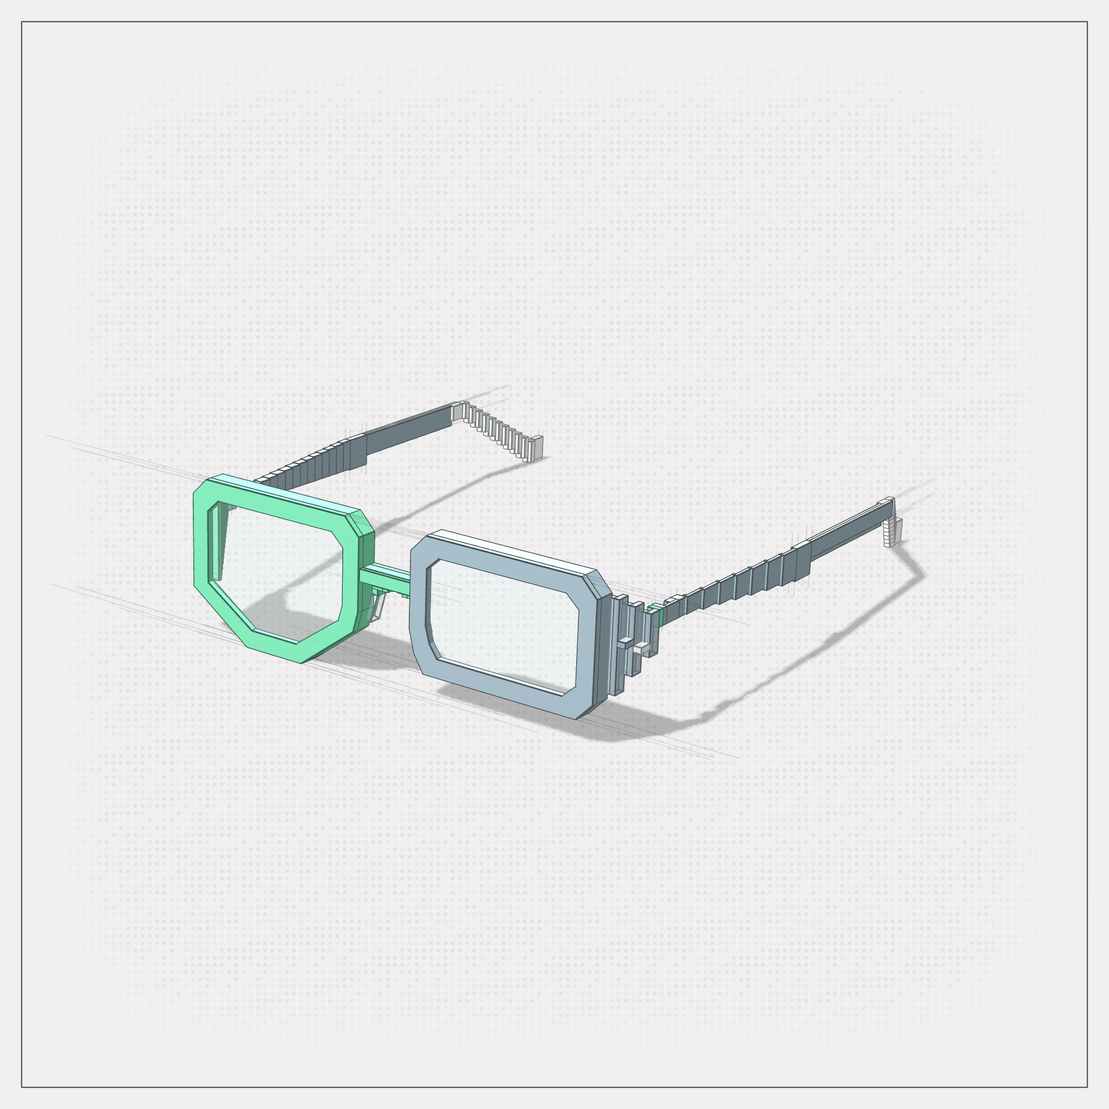
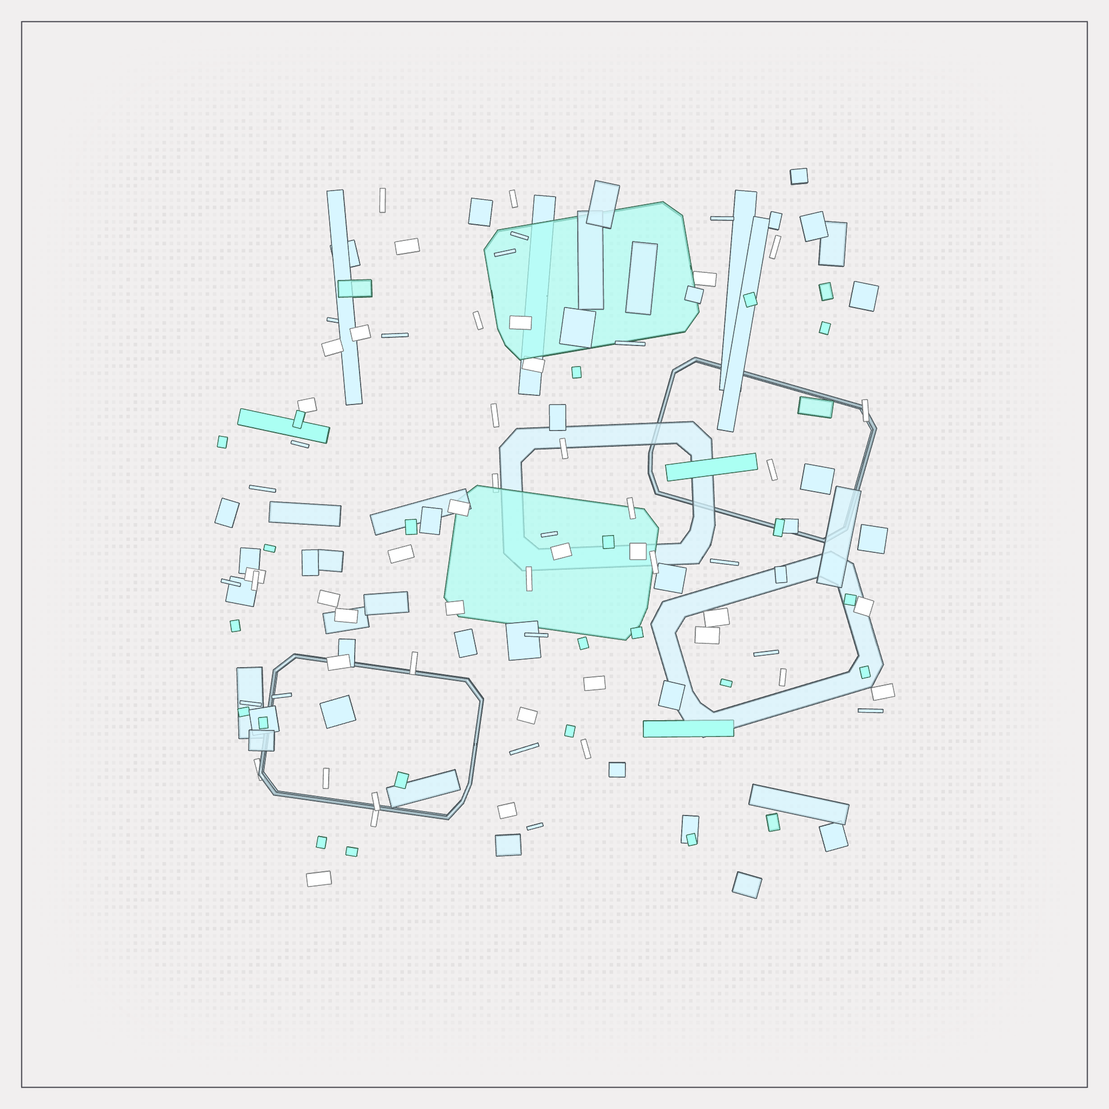
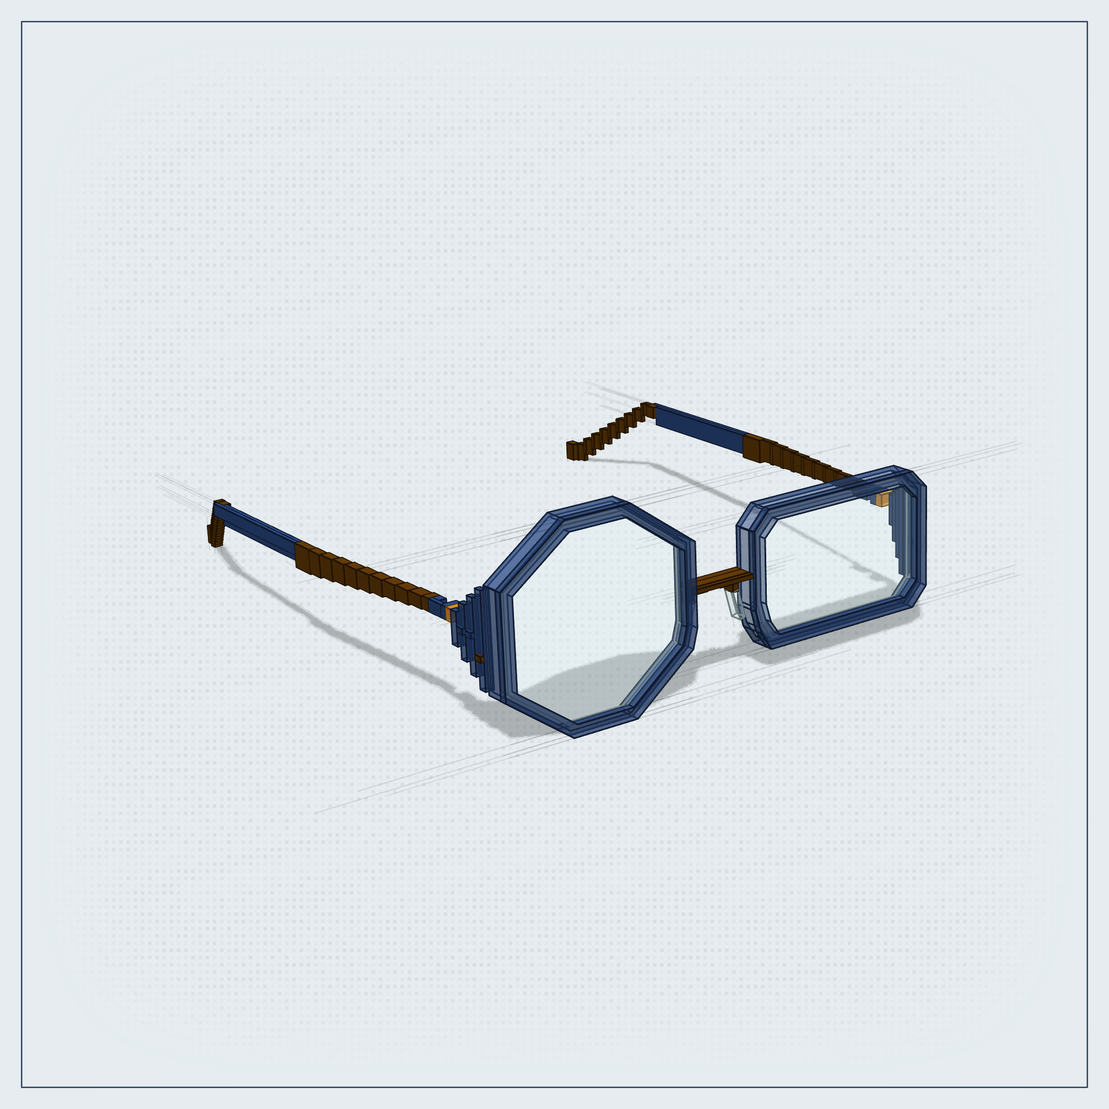
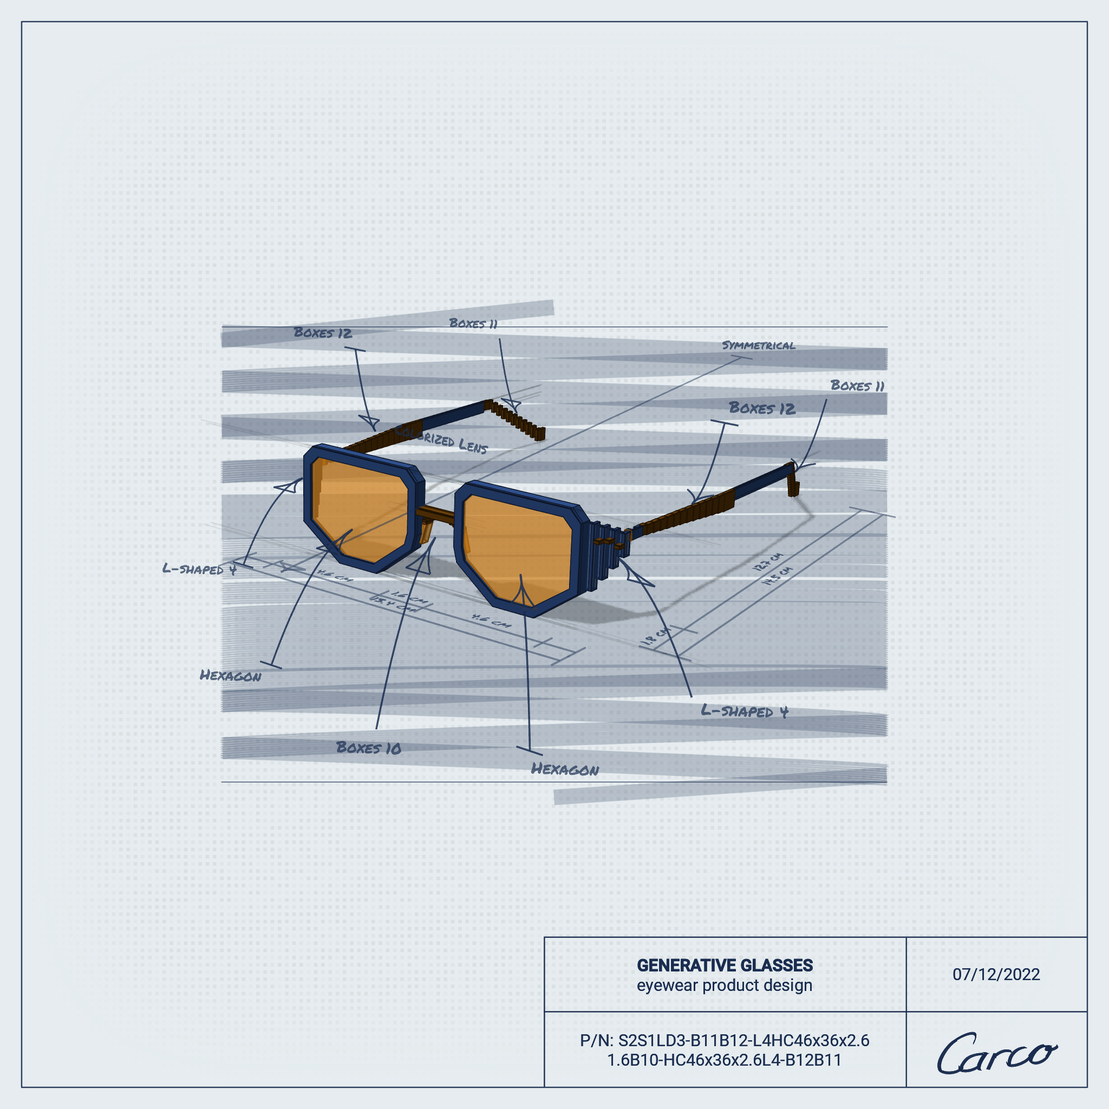
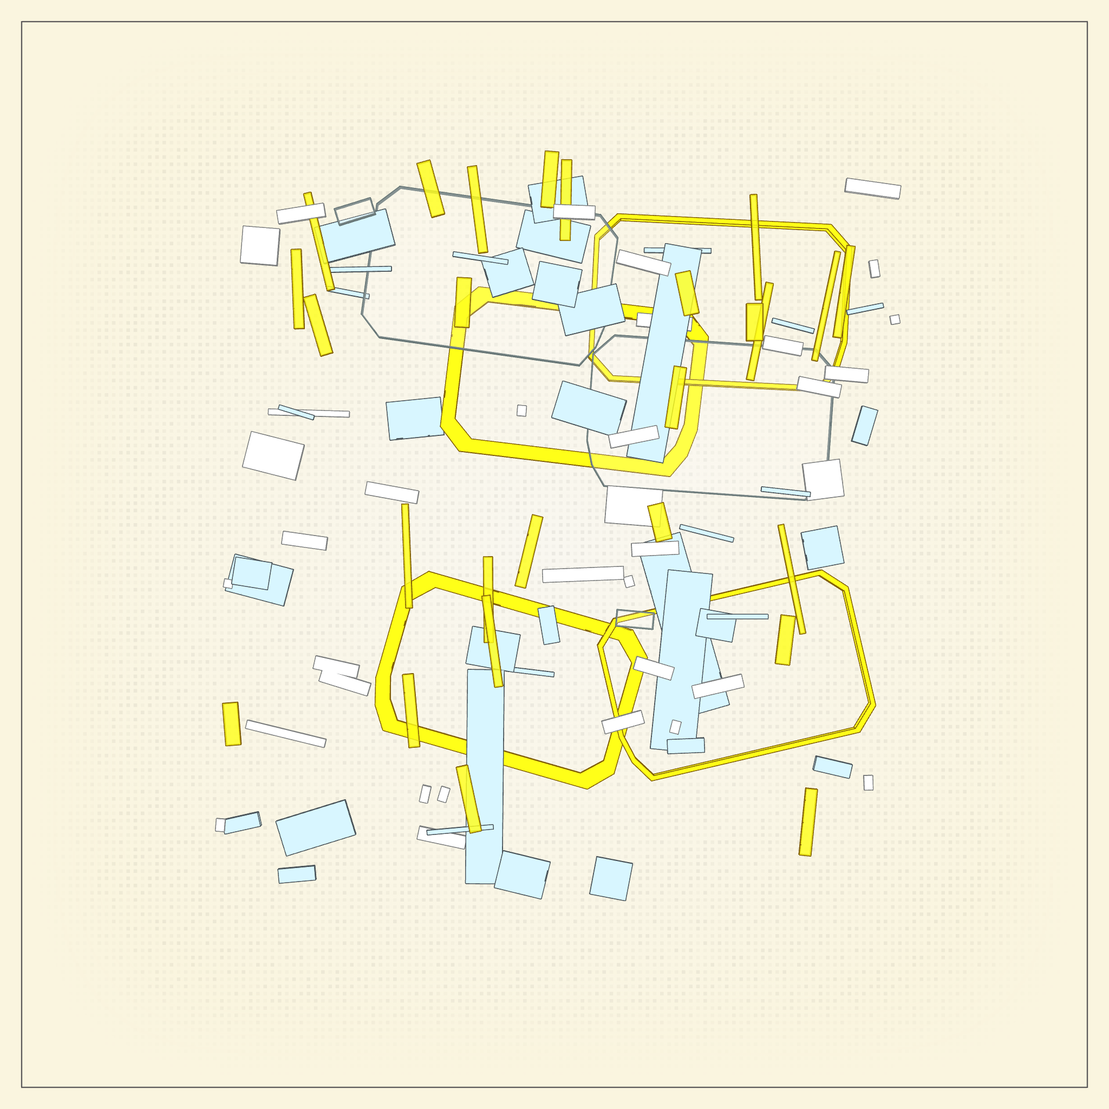
🟥 different previews: abstract view, product design view, and 2 other view
🖼️ save images from current view in 4k - 3 different aspect ratio
📼 save animation (from server side) on http://carco.hu
Compositions:
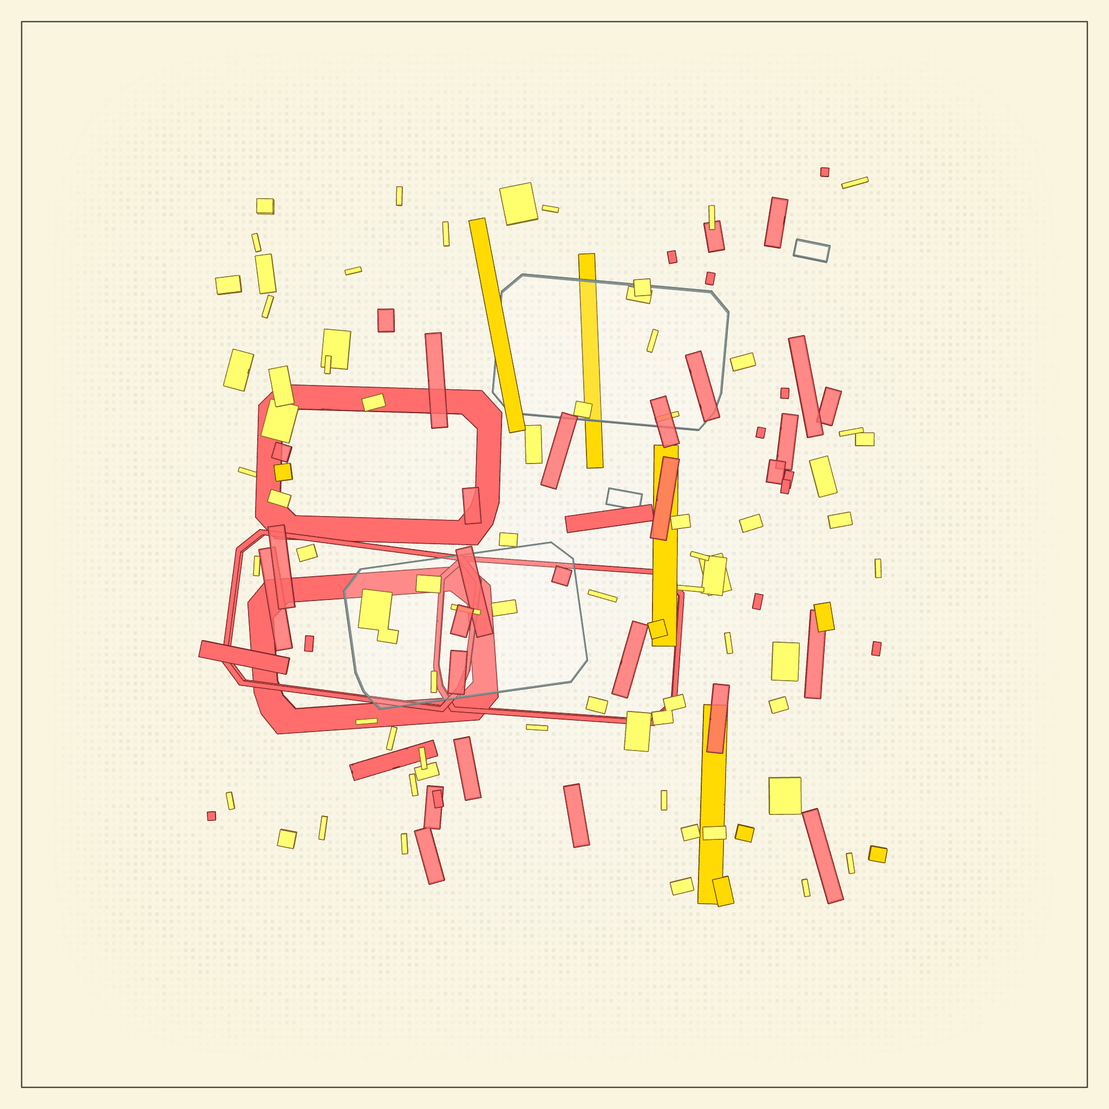
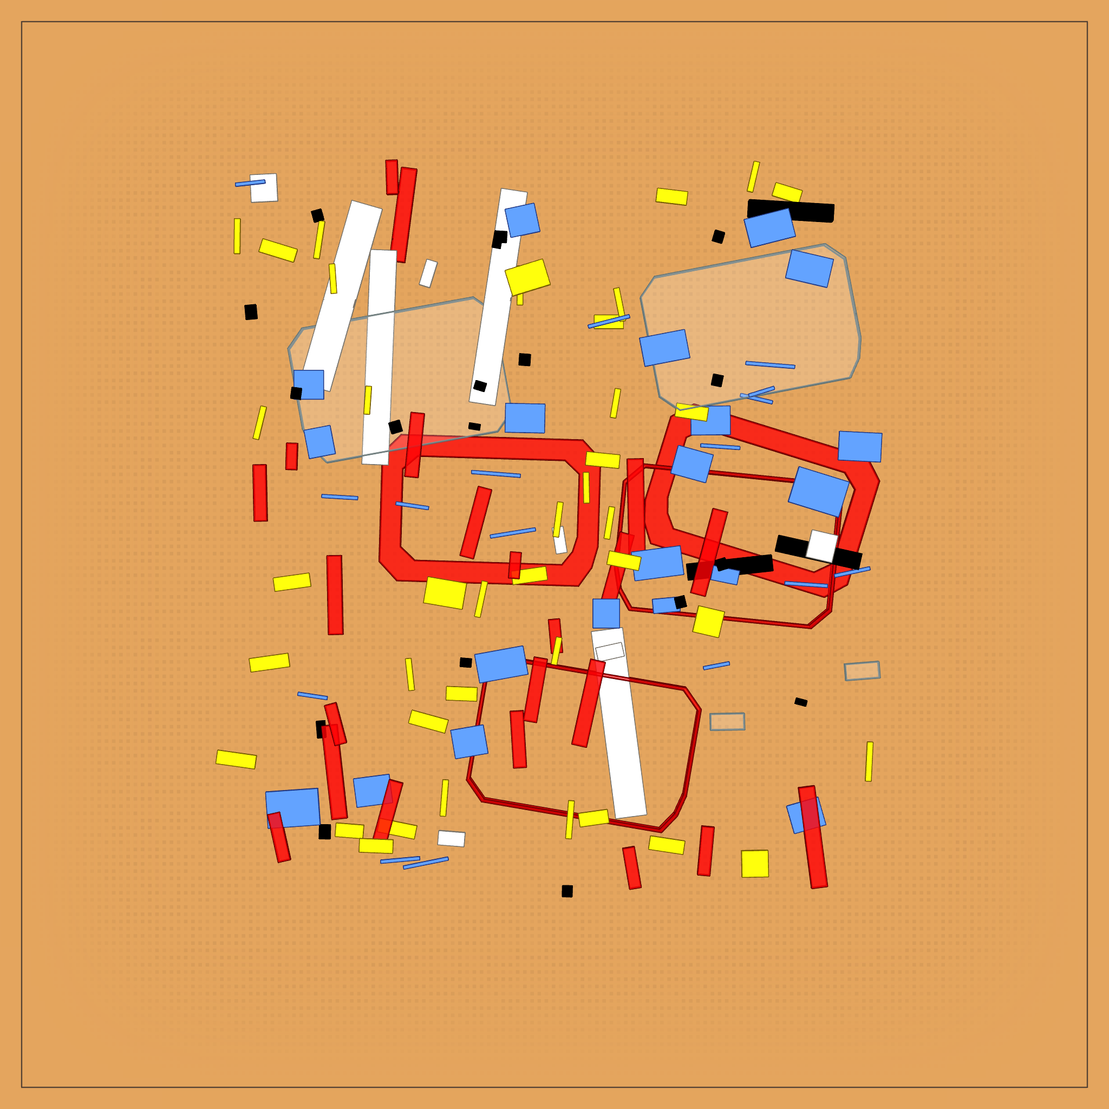
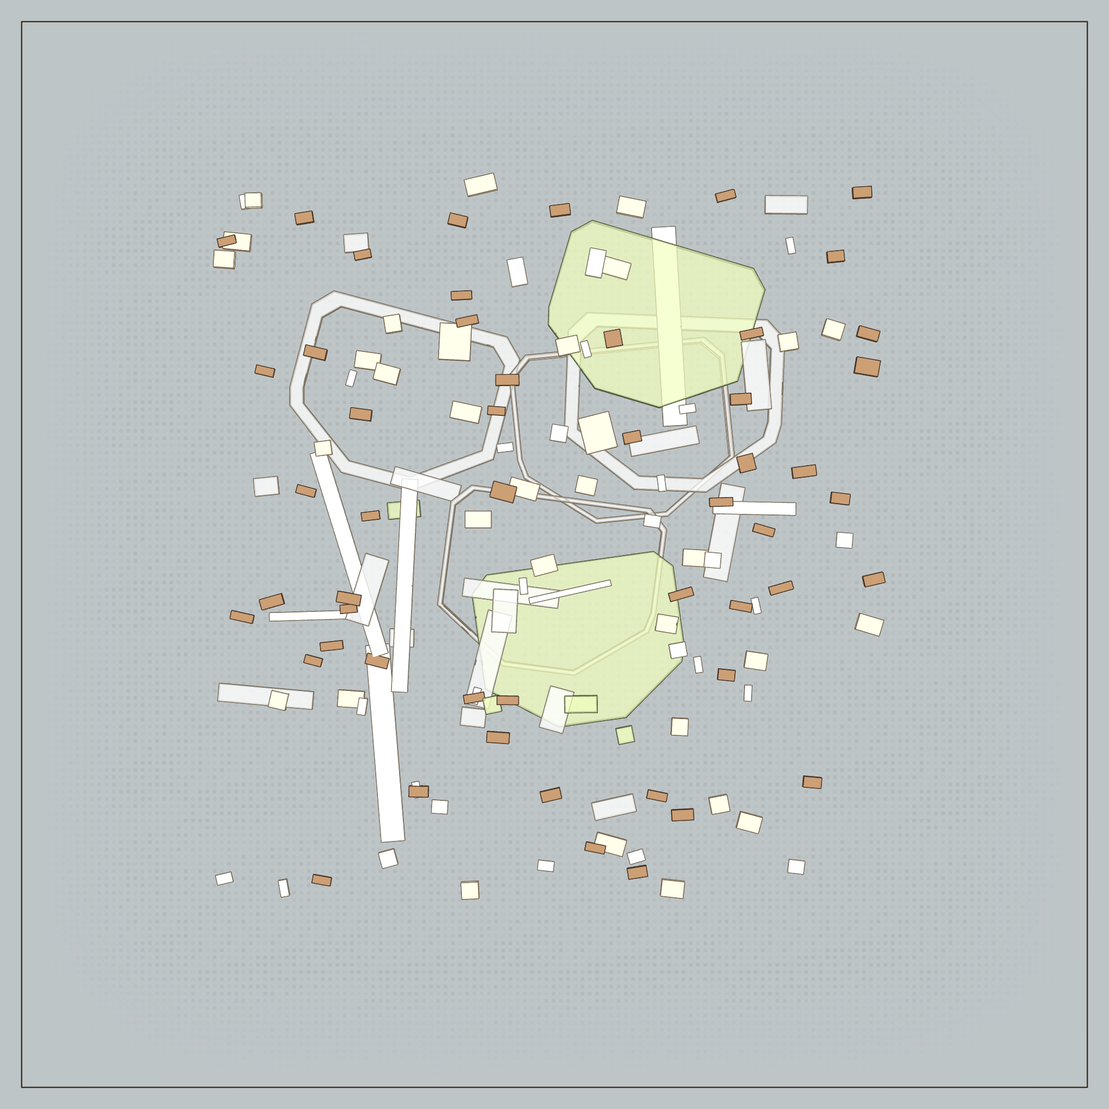
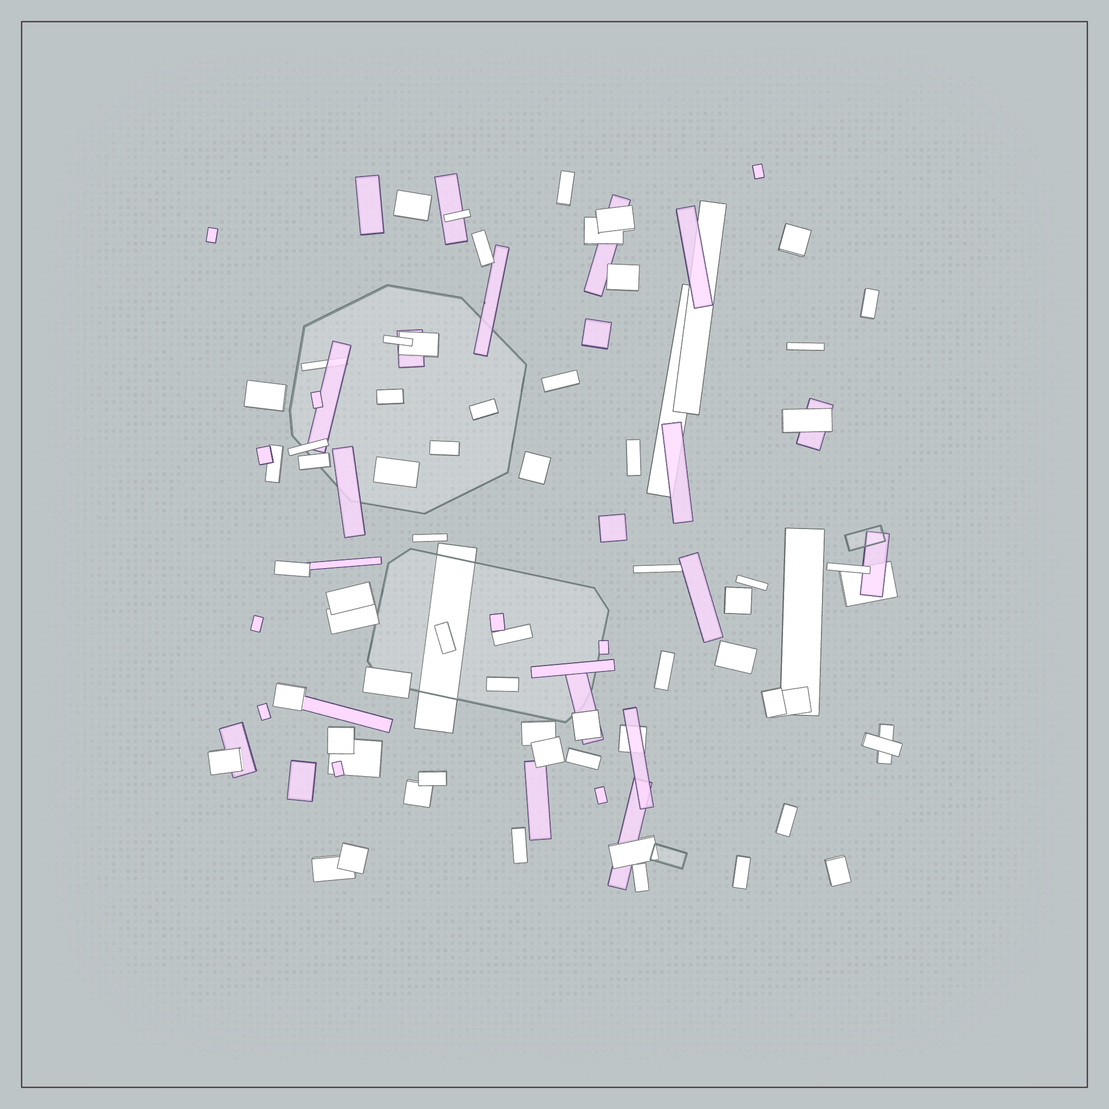
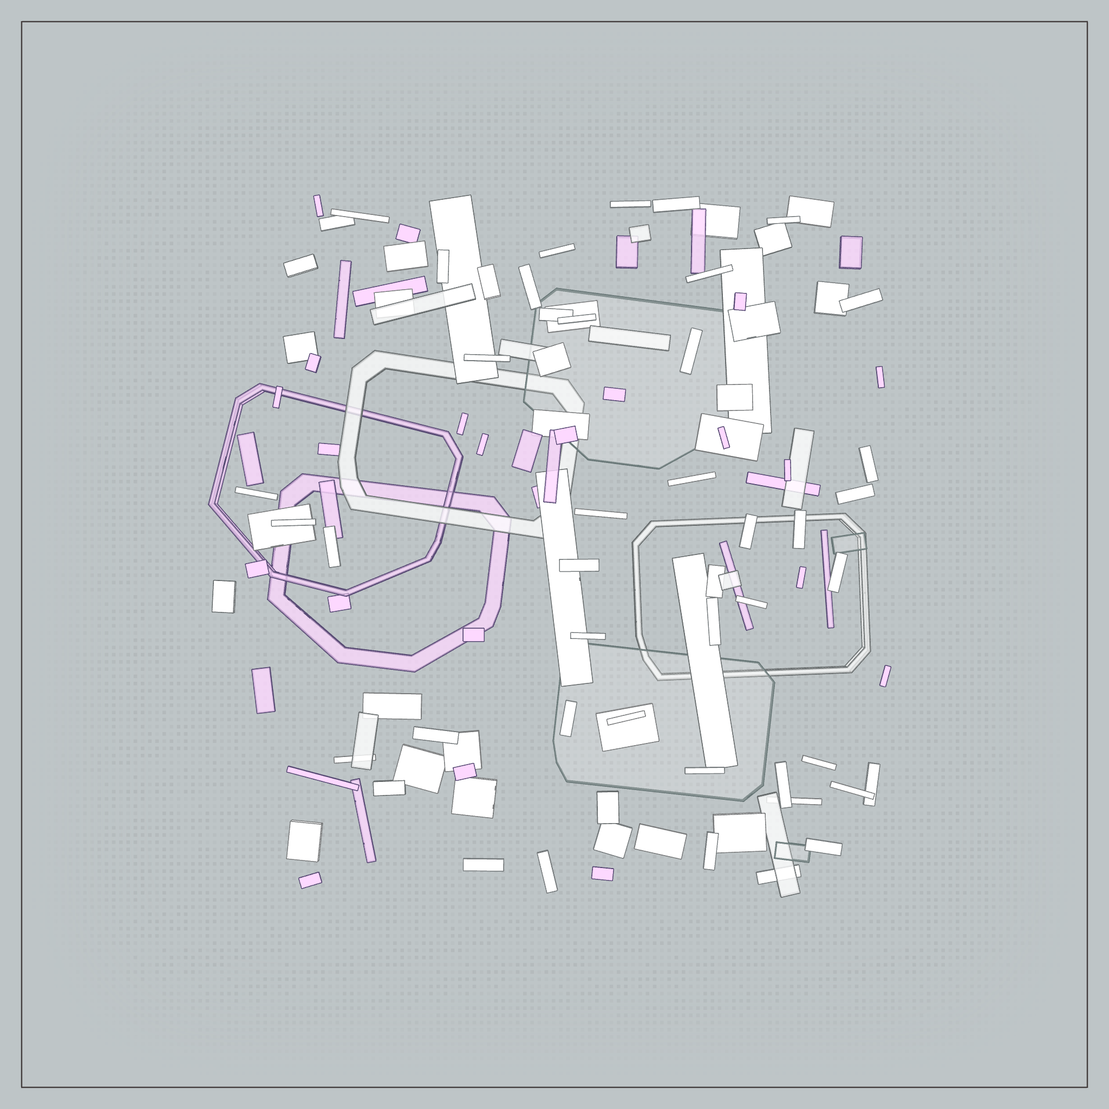
- There is an abstract view where the parts of the glasses are scattered
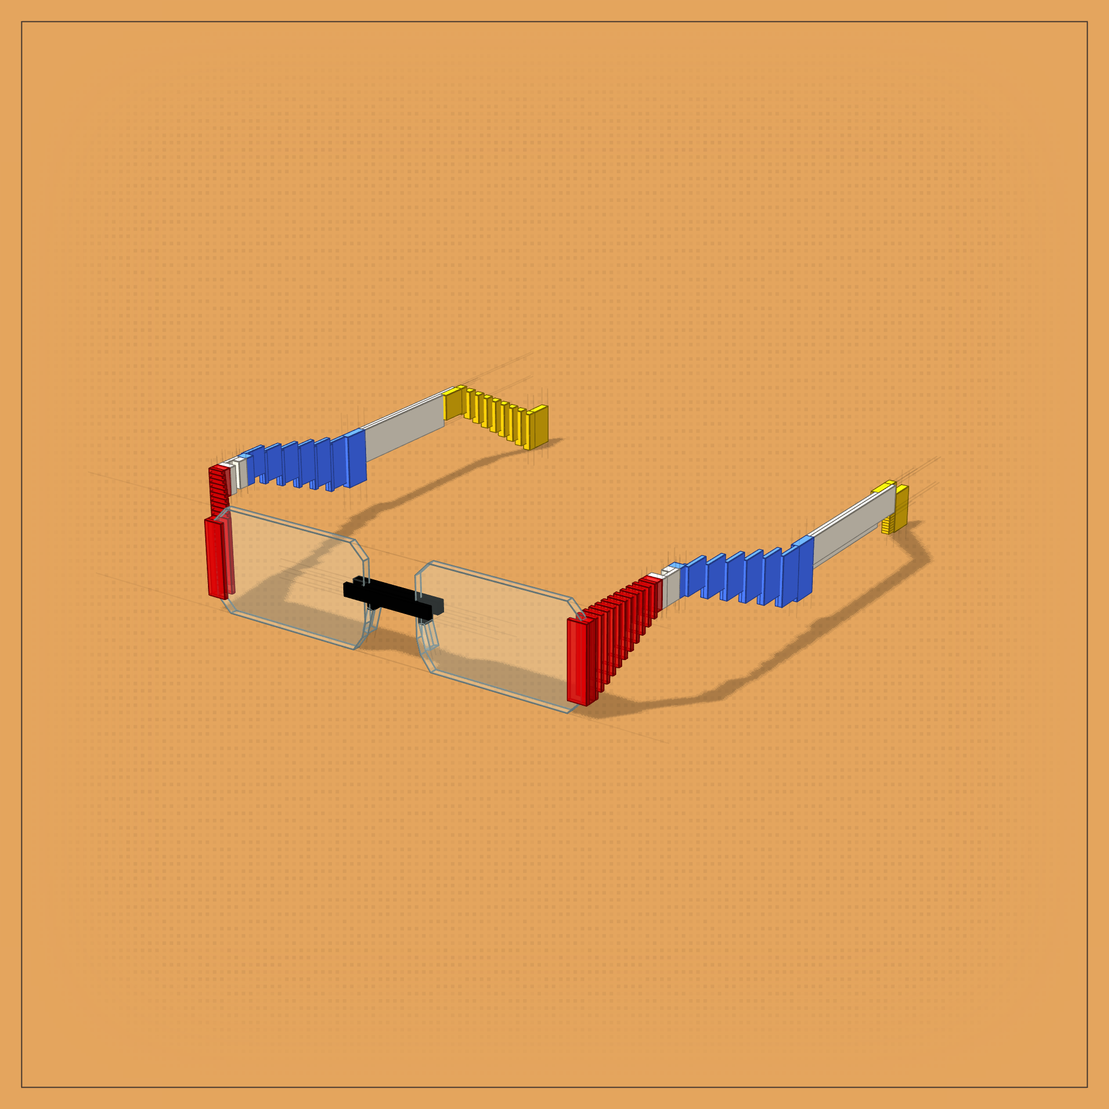
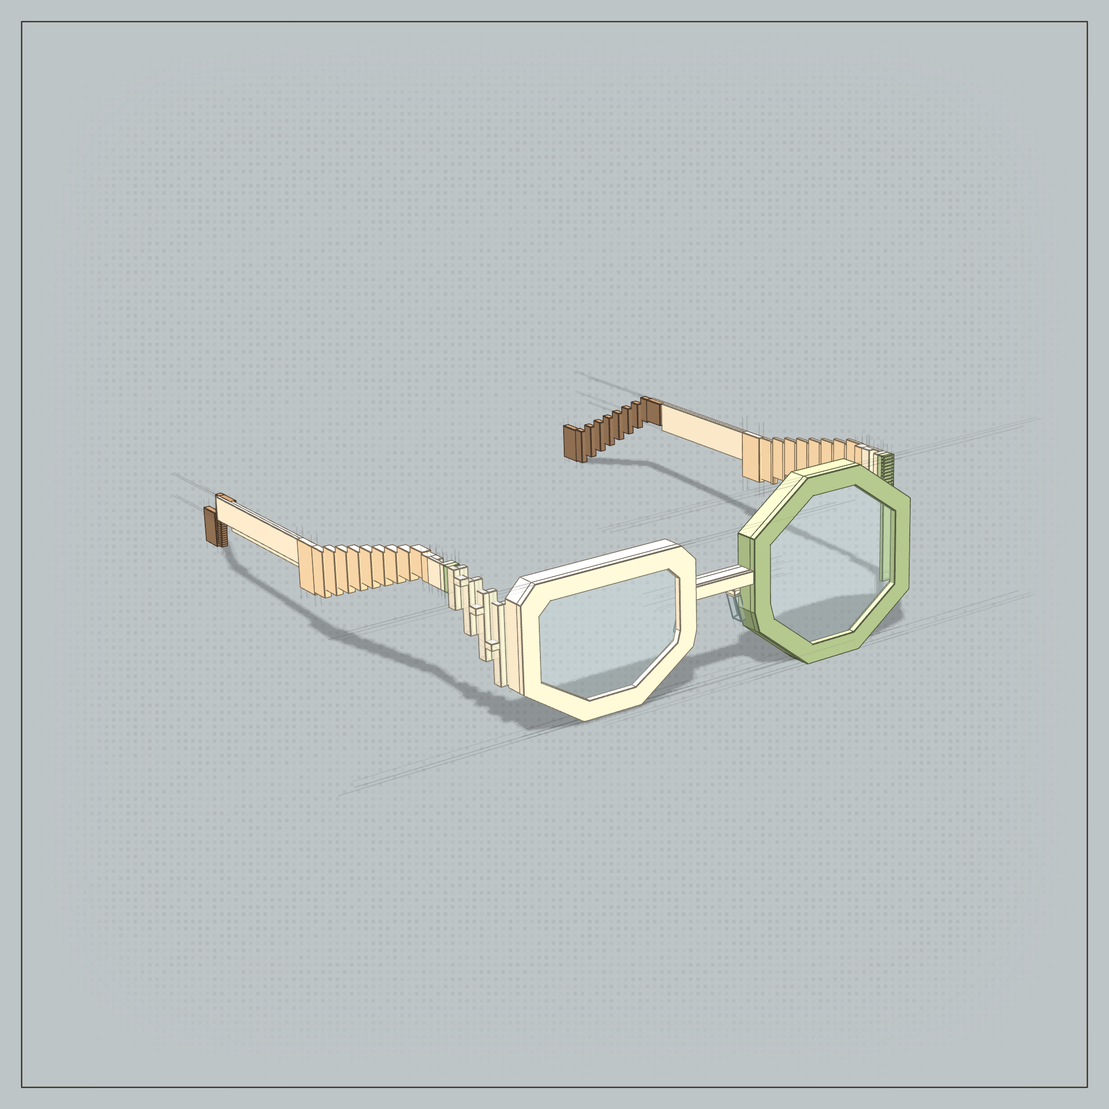
- There is a front-right view
- Front-left view
- Top view
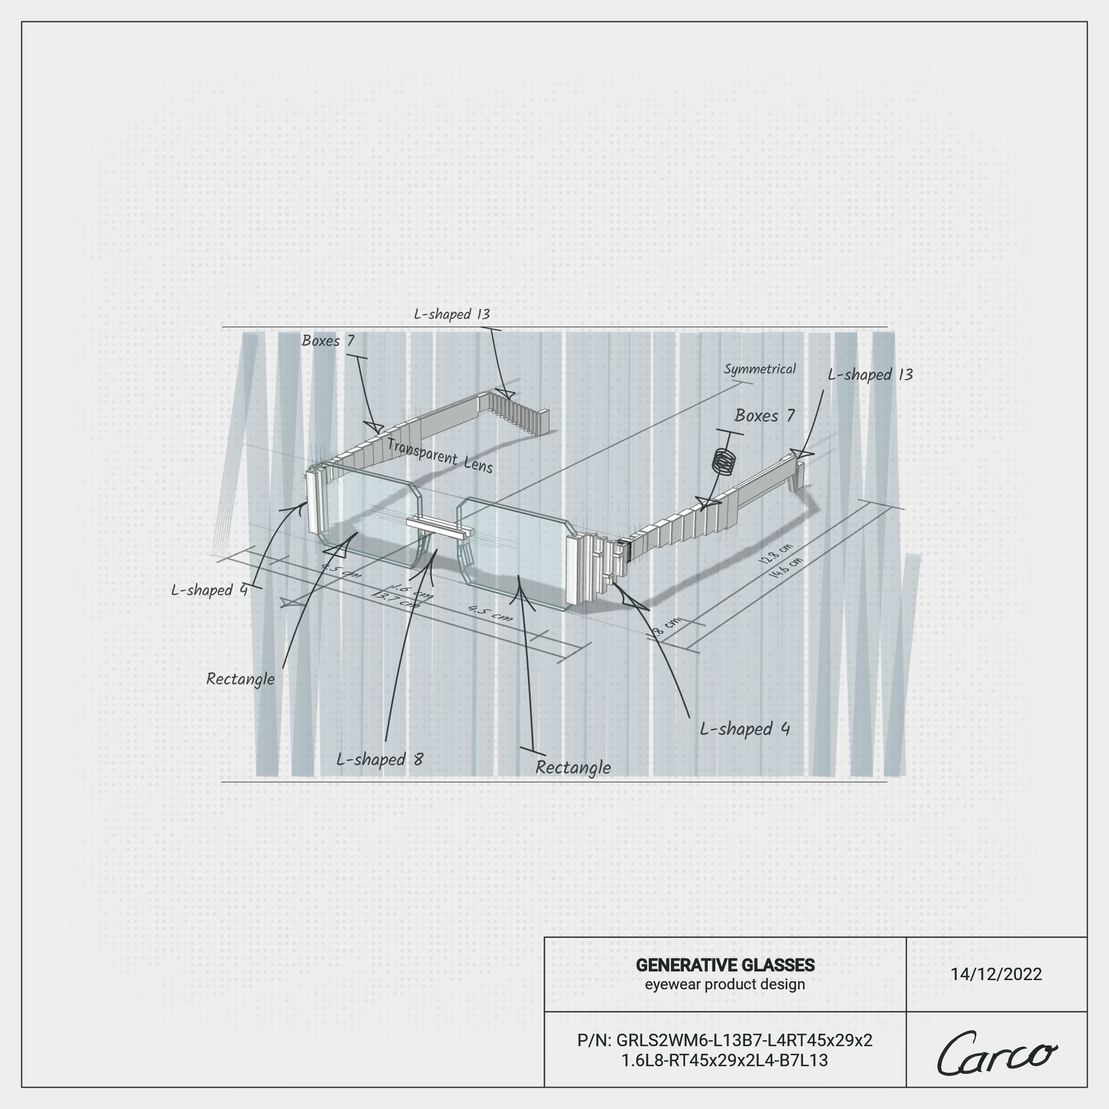
- Product design view that converts to split screen
- Front view where the object falls apart and starts from the abstract view again
First, one of the 6 compositions comes in and the animation starts. The system randomly determines which composition should be the first in the line. This will also be the saved image that the fxhash system creates.
If you don't click or touch anything, the animation will loop continuously. If you click into the area anywhere, the controller will appear and the animation will stop. Until you get to the next composition and the animation stops, the pause button flashes until now you can't press anything, all buttons are disabled. If the animation has stopped, the buttons are enabled again, and you can move the camera in 3D space by dragging.
The controls have left and right arrows that can be used to step between compositions. The animation restarts with the play button.
There are also a few other buttons:
- There is a save button which is a floppy disk. A menu will then appear, offering to save images of different proportions, with the default aspect ratio generated by the program code at the top. (Opening in a new window is required to save an image)
- There is a camera icon that restores the original camera view. It is worth pressing this before saving.
There are options that are not available for all compositions, they only appear if they are enabled in current composition:
- Switch split screen to main camera view, and back (4 squares icon)
- Shows and hide Editing lines (pair of compasses)
- Shows and hide Callout notations (pencil and ruler)
- Shows AR view and stop it (cube icon) (Opening in a new window is required to AR view, more info below)
Keyboard controls:
Press “5” to save image to default aspect ratio
Press “6” to save image to square aspect ratio
Press “7” to save image to portrait aspect ratio
Press “8” to save image to landscape aspect ratio
(Opening in a new window is required to save an image)
Press “ArrowDown” for restores the original camera view
Press “D” to switch to next composition
Press “A” to switch to previous composition
Press “S” to start animation
Press “Spacebar” to switch to split screen (if it is available)
Press “1” to hide/show Editing lines (if it is available)
Press “2” to hide/show Callout notations (if it is available)
Press “3” to hide/show AR view (Opening in a new window is required to AR view, more info below)
AR view
If you have a camera on your device, you can try out how such glasses would suit you. This function is not available for all compositions, so if you cannot find the cube icon, tab to the next composition and click on the cube icon. I created this function with the help of Tensorflow face landmark detection package. It's not perfect, there are delays, but it's good enough to try out the glasses.
More information on how were made Generative Glasses in the related article below.
Thank you for your attention! Thanks for the support! Thanks for the opportunity fxhash and genart community! I hope I was able to contribute to generative art with my work!
@C4RC0
carco.hu
Charles - Father of 1, fullstack dev
Carco - Generative art, creative codeing, formerly techno
444 EDITIONS
•0 RESERVES
minted
444 / 444
dutch auction
4 TEZ
Lorem ipsum project longer longer
0.00001 ETH
Lorem ipsum project longer longer
0.00001 ETH
Lorem ipsum project longer longer
0.00001 ETH
Lorem ipsum project longer longer
0.00001 ETH
Lorem ipsum project longer longer
0.00001 ETH
Lorem ipsum project longer longer
0.00001 ETH
Lorem ipsum project longer longer
0.00001 ETH
Lorem ipsum project longer longer
0.00001 ETH
Lorem ipsum project longer longer
0.00001 ETH
Lorem ipsum project longer longer
0.00001 ETH
Lorem ipsum project longer longer
0.00001 ETH
Lorem ipsum project longer longer
0.00001 ETH
Lorem ipsum project longer longer
0.00001 ETH
Lorem ipsum project longer longer
0.00001 ETH
Lorem ipsum project longer longer
0.00001 ETH
Lorem ipsum project longer longer
0.00001 ETH
Lorem ipsum project longer longer
0.00001 ETH
Lorem ipsum project longer longer
0.00001 ETH
Lorem ipsum project longer longer
0.00001 ETH
Lorem ipsum project longer longer
0.00001 ETH
Lorem ipsum project longer longer
0.00001 ETH
Lorem ipsum project longer longer
0.00001 ETH
Lorem ipsum project longer longer
0.00001 ETH
Lorem ipsum project longer longer
0.00001 ETH
