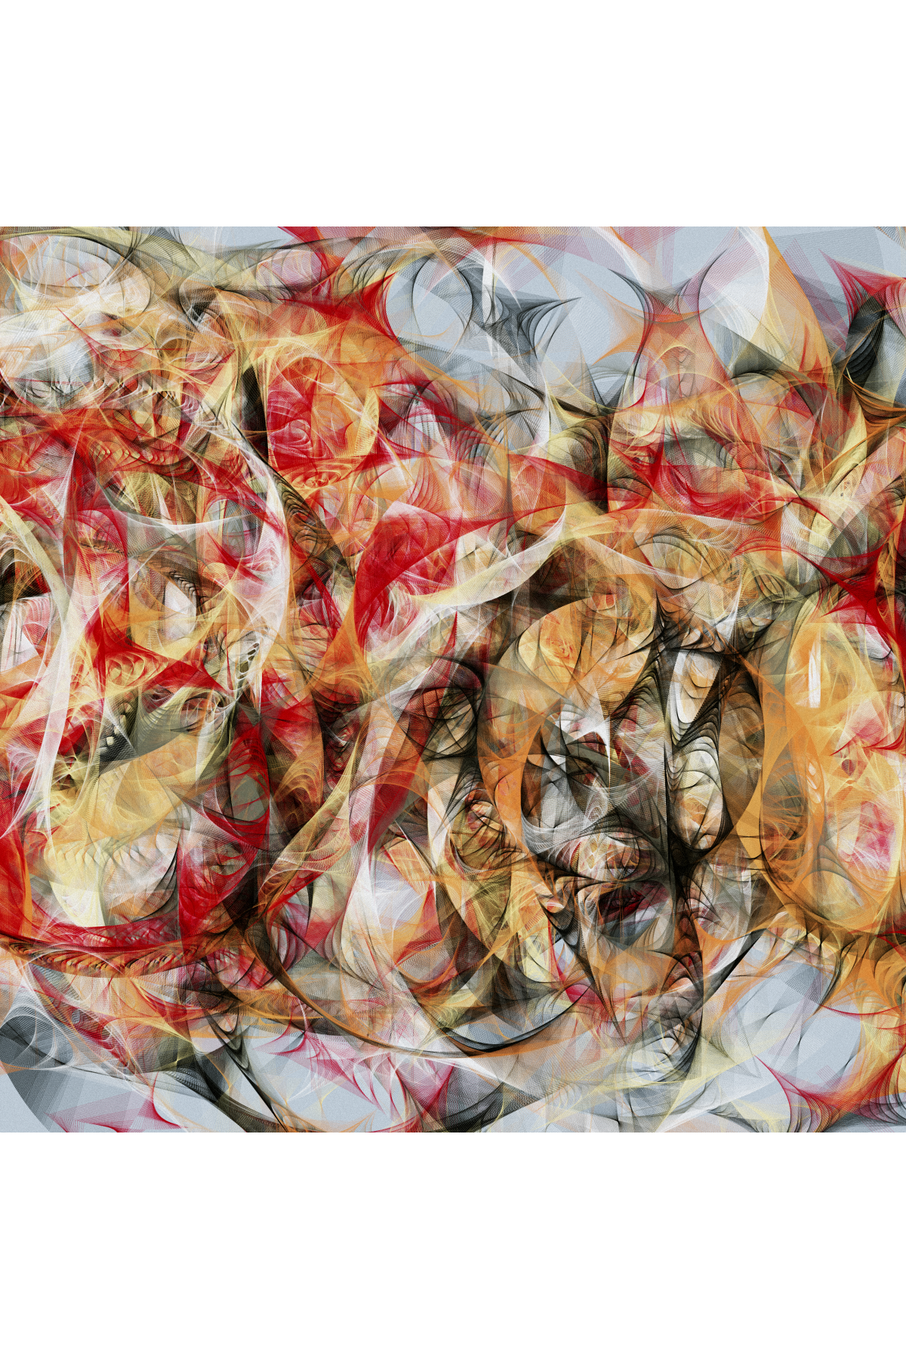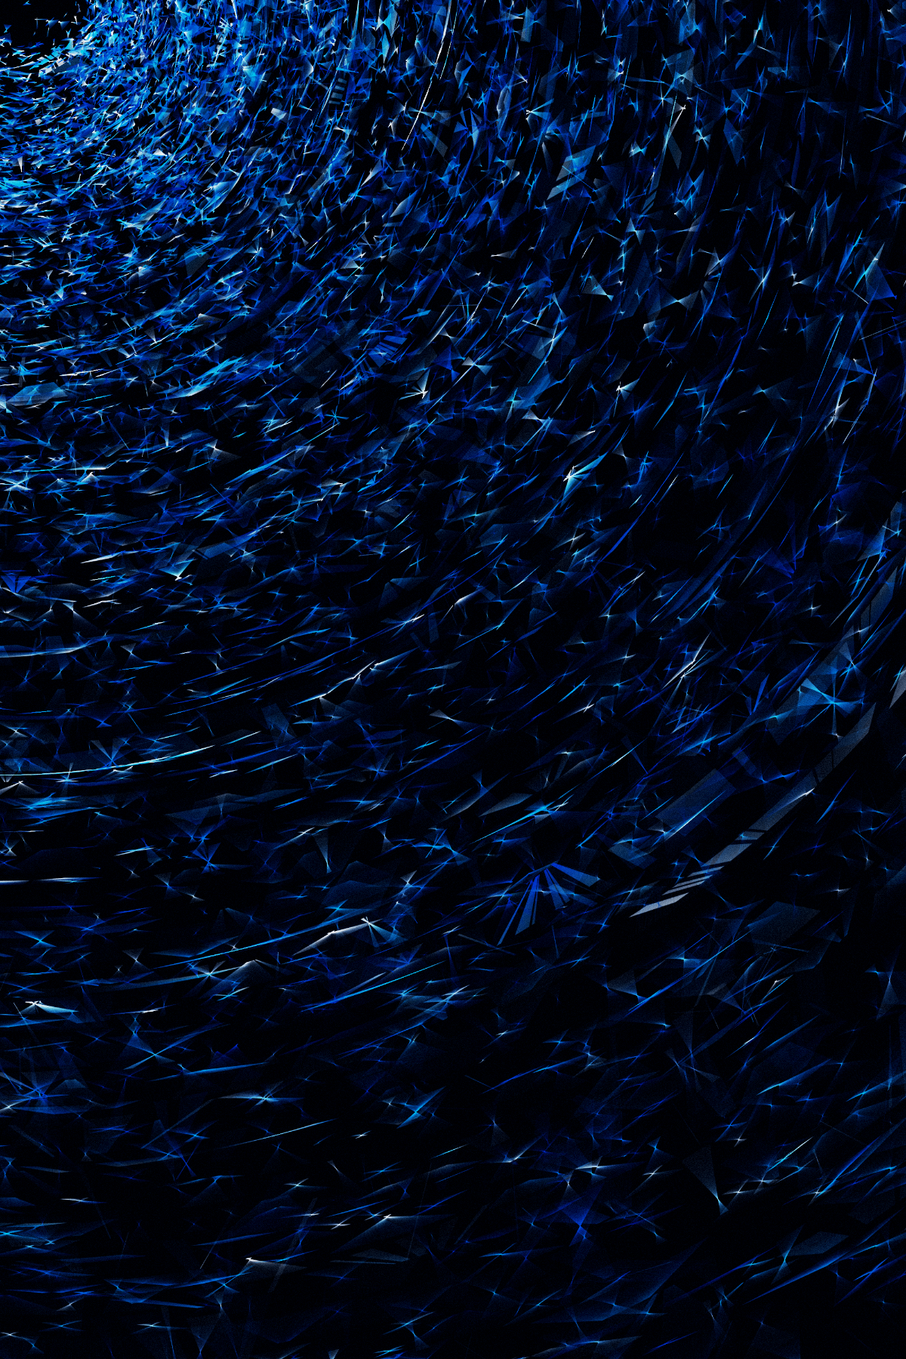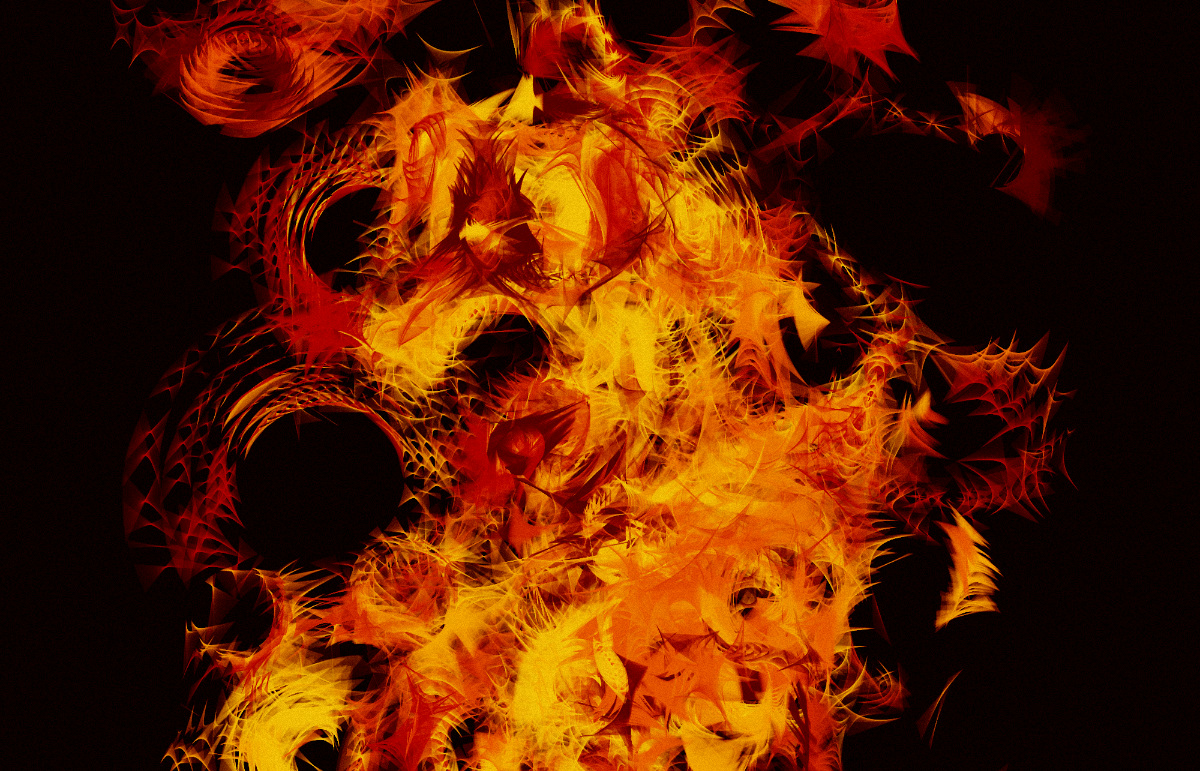
The Beauty In Small Things
written by r1b2
THE ALGORITHM
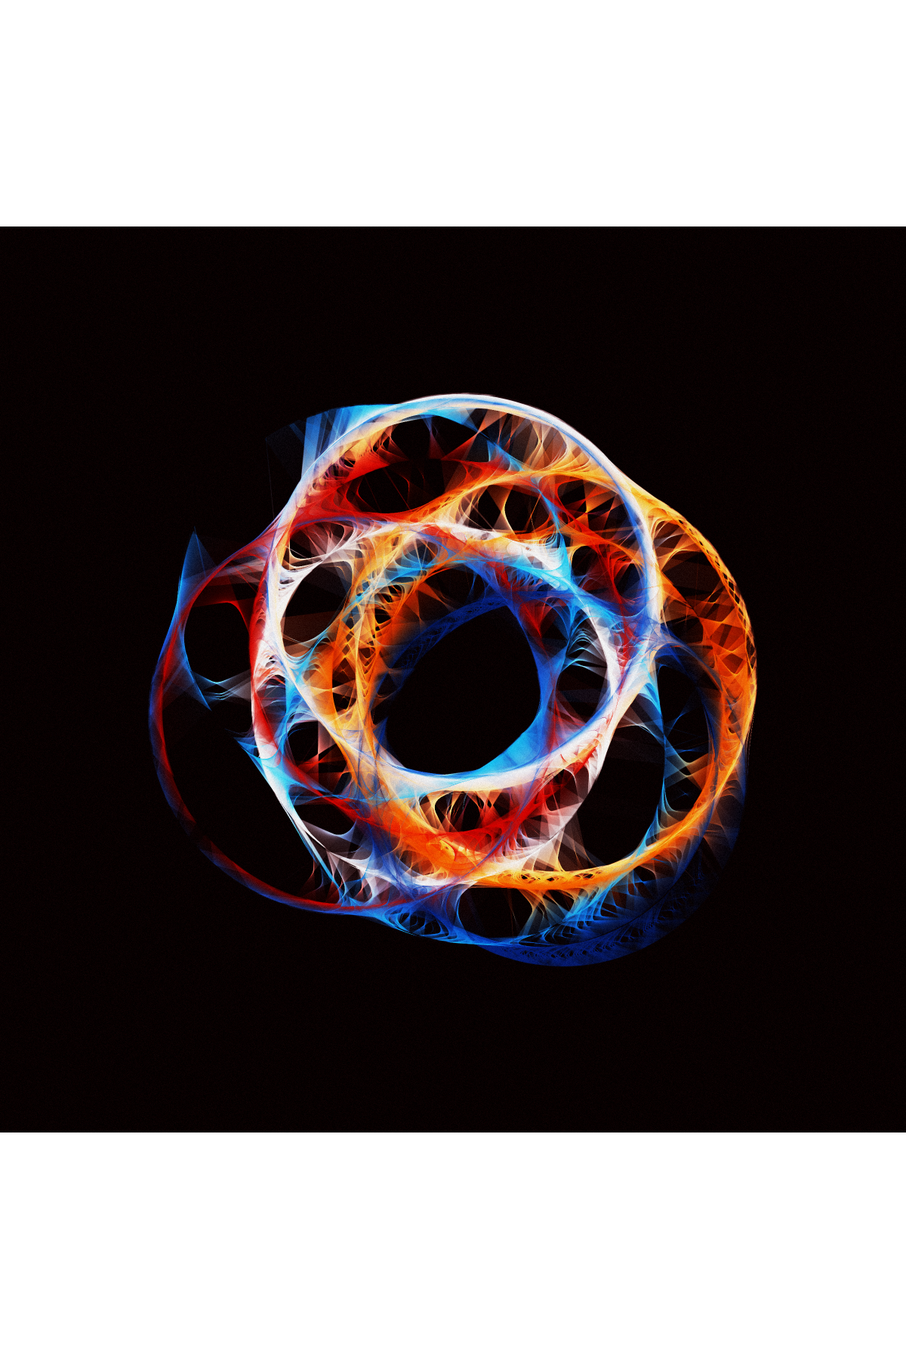
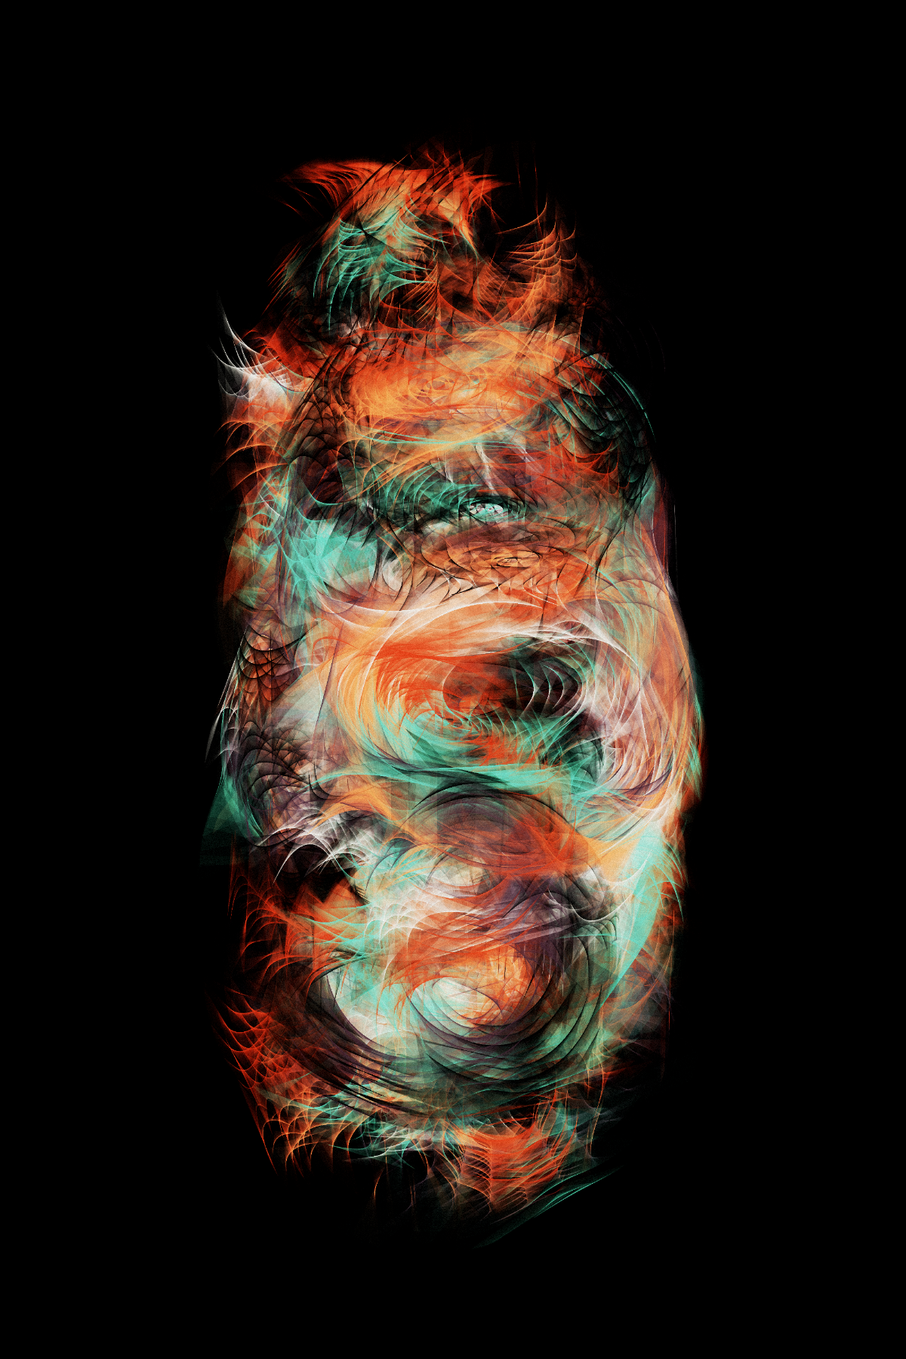
The algorithm is fairly simple:
- Place N random circles on the canvas
- Pick a random point on each circle, and a random speed for each point
- Rotate each point along its circle at its defined speed, and at each step, draw a line between the 2 points that are closest to each other
The parameters are used to control the number of circles, the ranges for the circles radiuses and points speeds, the X/Y range for the initial circles positions, .... By playing with the parameters, a surprisingly varied range of outputs can be achieved.
project name project name project name
THE PARAMETERS
Layout and colors
- Layout: sets the output format (Portrait / Landscape / Square)
- Palette and Colors: Palettes consist of 8 colors (7 + 1 background color). The token comes with 37 predefined palettes (identical to the ones from The Traveling Salesman, with the addition of some palettes created by collectors). If the selected palette is "Custom", the Color1 to Color8 parameters are used instead. Note: the transparent part of the custom colors is not used, as there is a global transparent control.
- Num Points: this controls the number of circles / points used in the drawing. If the number of points is large, the probability that points will be closer to each other will be higher and the drawing will feature many small lines. With a small number of points, the lines will be longer. Each point color is picked from the palette sequentially, so if there are more than 7 points, colors will be present multiple times. For example with 8 points, the first color will be present twice, and the other colors only once. This can be used to skew the probability of a given color in the palette.
- Density: this controls how many iterations to run before the piece is completed. With density at the maximum, it will draw 5.7 million lines. Higher densities thus take longer to render.
- Num Layers: each layer resets the circles and points to new random values. The density is divided across the layers, so more layers don't take longer to render.
Lines Drawing
- Lines Width: this controls the thickness of the lines. The "Mixed" settings varies the thickness so the first back of lines are using the "Heavy" width, and the last lines are using "Very Fine".
- Lines Type: when set to "Gradient", a line connecting 2 points uses a gradient based on the color of each point. When set to "Uniform", the color of the starting point is used.
- Transparency: this controls the opacity of the lines, from 1 (pretty much invisible) to 100 (fully opaque)
Circles Positioning
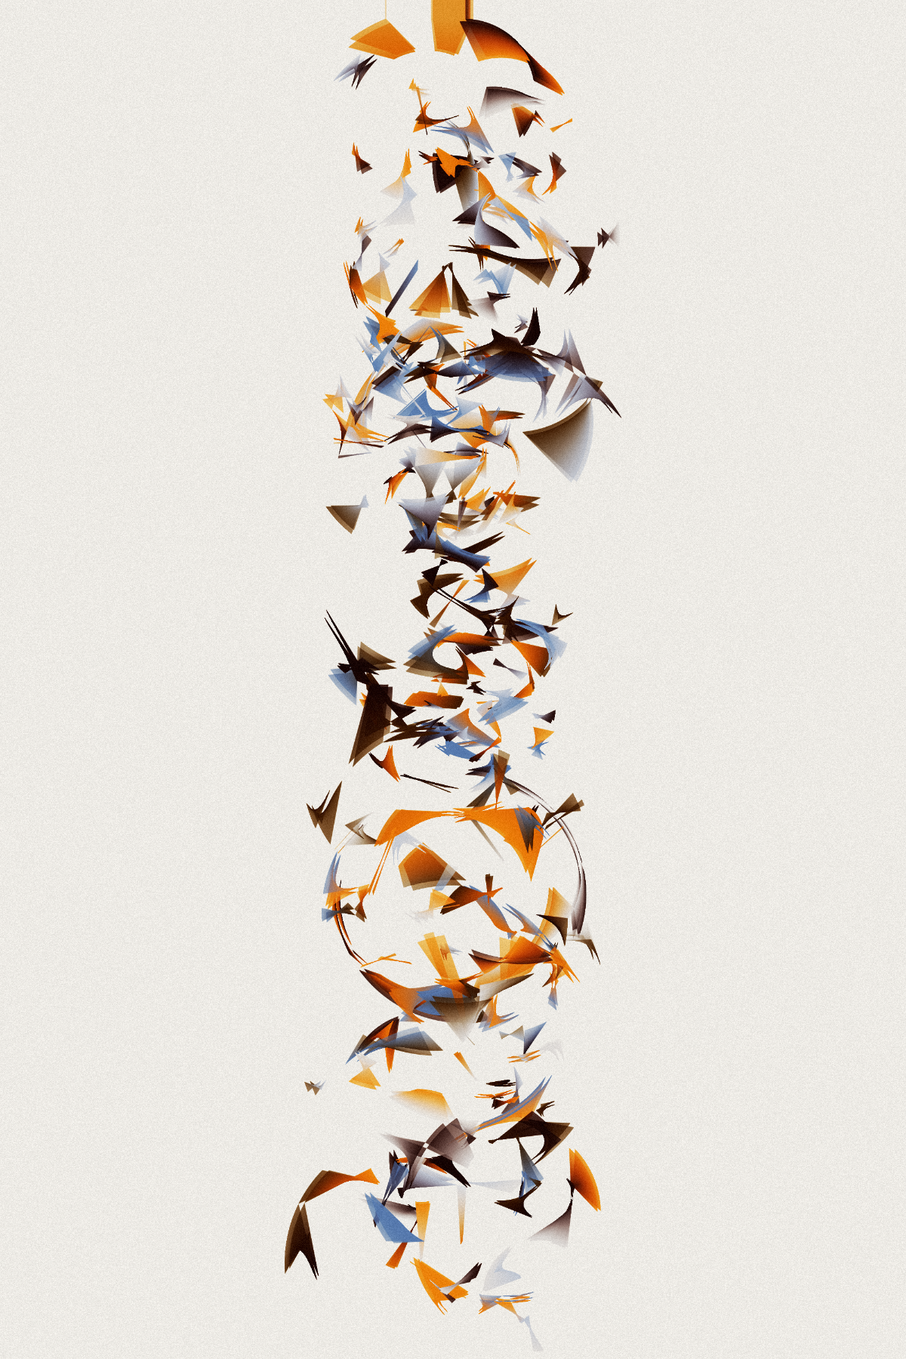
- X and Y range: these parameters control the area where the initial circles can be located. When set to 100, circles can be anywhere within the canvas. Values closer to 0 constrict the position towards the center. For example, X Range= 0 and Y Range= 100, will position circles within a narrow vertical rectangle in the center of the canvas.
- Min/Max radius: this controls the size of the circles. This indirectly controls the lengths of the strokes: with smaller circles, their probability to be further apart increases, resulting in longer lines.
- Expansion: just for kicks, this parameter add some amount of expansion to the circles radius at every step (so the point have more a spiral-like trajectory). Higher expansion settings typically make the output more chaotic and blurry.
- Min/Max speed: controls the range of the points rotation speeds. With slow speeds, the lines tend to stay closer together.
Framing and colors processing
- Zoom: this controls the scaling of the output.
- Auto-center: when set, the code will try its best to center the drawing in the canvas. This might not always be 100% reliable though, so you also have the possibility to manually control the origin of the drawing with the following 2 parameters:
- Translate (X) and (Y) can be used to manually nudge the drawing. This is particularly useful when using a Hash Override.
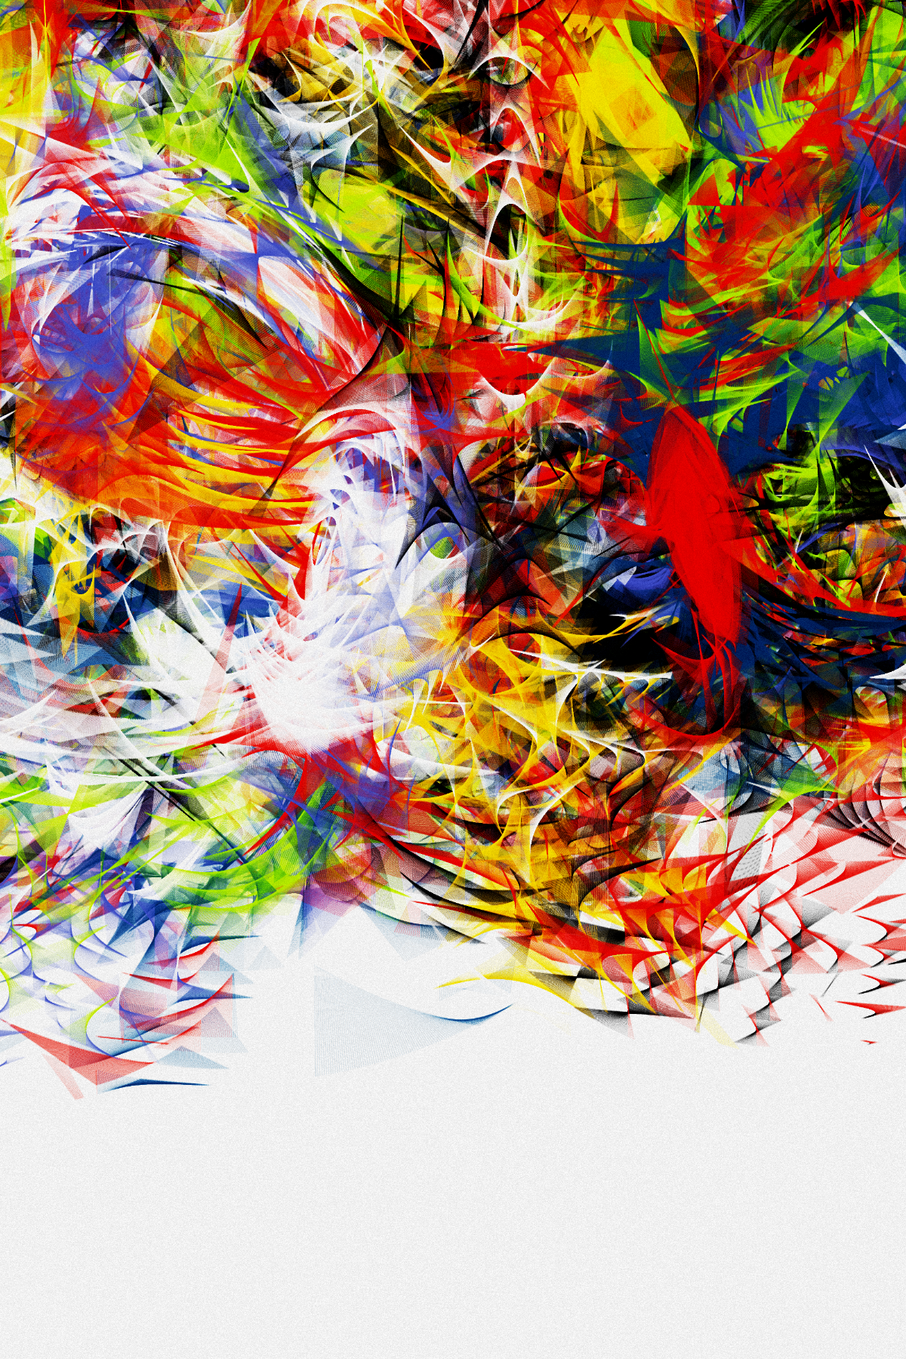
- Post Processing: controls the amount of color post-processing (a combination of overlay / screen / burn / soft light) that makes the colors more intense.
Precise control over the final output
A common complaint with fxparams, is that the minted output doesn't look like the one you were seeing while editing. Well, no more ! You now have precise control over the final mint:
- Hash Override: when set to an actual hash value, this forces using this value for the token generation. This allows collectors to mint the exact same output as the one they see while adjusting the parameters.
- Micro Variation: one downside of using Hash Override is that the same output can be generated multiple time, by using the same hash. The Micro Variation parameters counterbalances that, by adding a variable amount of randomness taken from the original mint hash. This ensures the output will be very similar to the one currently displayed, but not 100% identical.
QUICK GUIDE
The best way to use these parameters is to either:
- start from an already minted token that you like, and press the 'params' button to reveal the parameters used in that mint. Then edit from there.
- or randomize the parameters using the 'random' button until you stumble upon something you like, then adjust from there.
Once you have some settings you like, randomize the hash value to get a range of outputs, and write down the ones you like best. When you are ready to mint, paste the hash of the best output in "Hash Override", nudge the "Micro Variation" to taste to make sure your output will still be unique, and press Mint !
I will leave you with a few of my favorites minted so far. Keep them coming !
