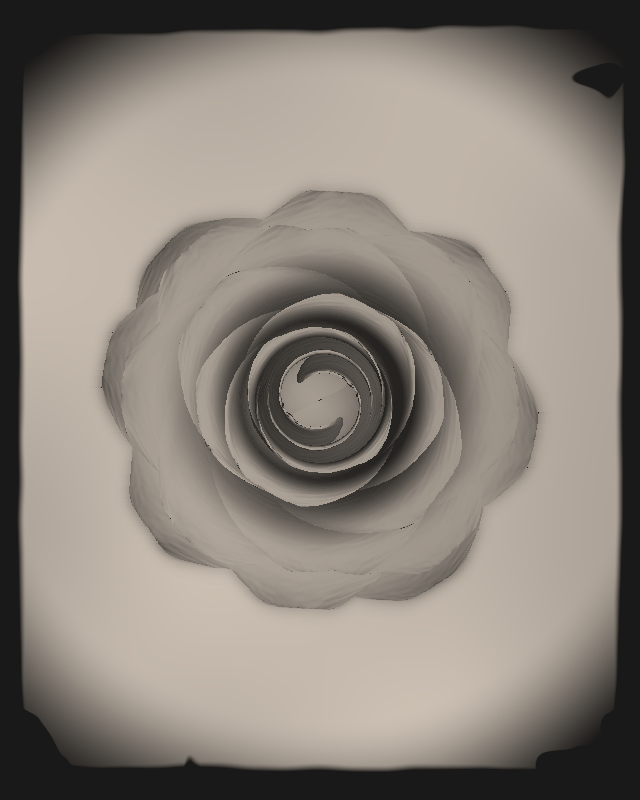
Shaders used in Rose 1851
written by yo (Tsung-yu Lu...
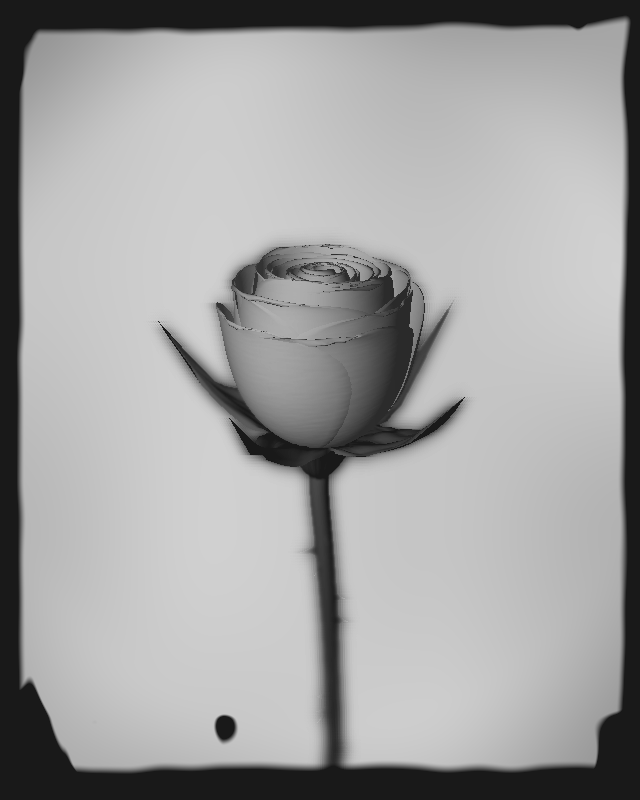
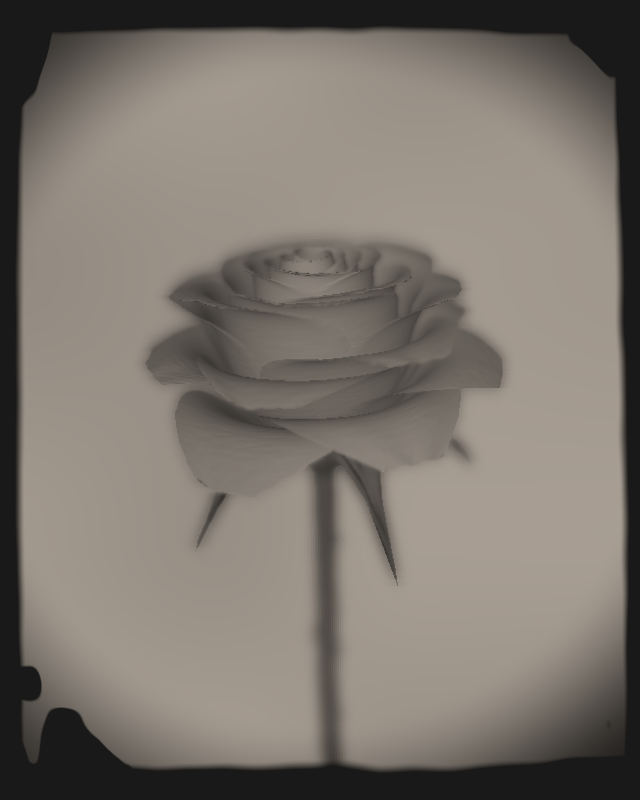
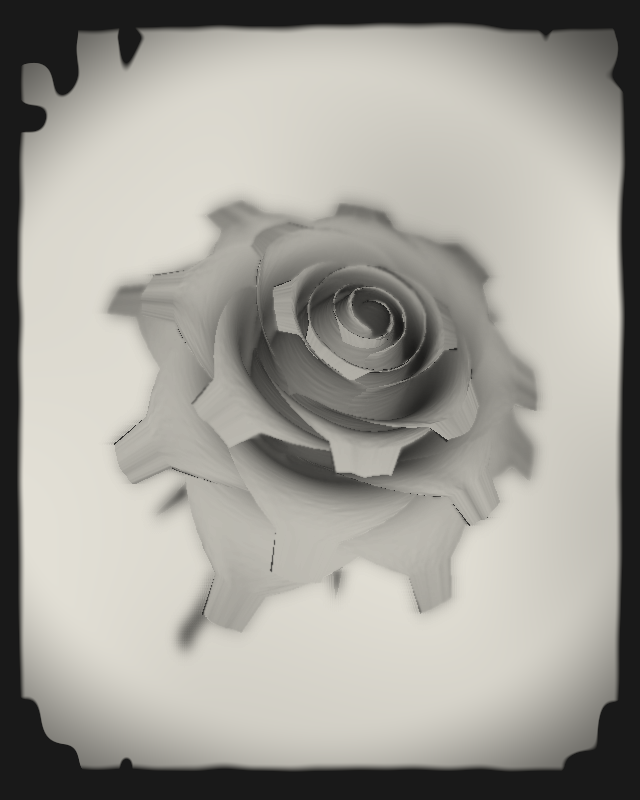
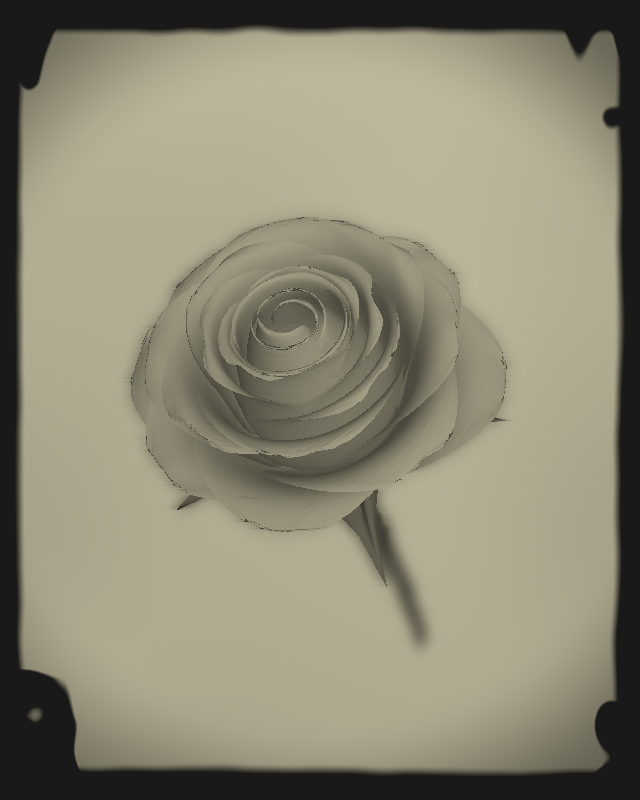
在 TezBloom 這個主題中,我希望以花朵為主體,並呈現出類似濕版火棉膠攝影的視覺效果。為了達成這個目的,我用了三組不同功能的 shaders,以下先簡述影像與這幾組 shaders 的關係:
- 先繪製出影像主體(即花朵本身)
- 將影像以 blur shader 加入景深效果
- 以 filter shader 加入各種濾鏡效果,並繪製邊框,產生出最終影像
- 最後以 animation shader 產生顯影動畫,從全白的畫面過渡至最終影像
In the theme of TezBloom, I wanted to use one flower as the main subject and present a visual effect similar to the collodion photography. To achieve this, I used three sets of shaders with different functions, and the following is a brief description of the relationship between the image and these shaders.
- Draw the main image (i.e. the flower itself)
- Add depth-of-field effects with blur shader
- Add various filter effects with filter shader, and draw the border to produce the final image.
- Finally, the animation shader transitions from an all-white screen to the final image.
project name project name project name
1. Blur Shader
首要面臨的挑戰就是如何做出類似照片般具景深的畫面。因為主體只有一朵花,要在同一個物件上做出部分模糊且部分清晰,我認為很難透過 2D 的繪圖方式達成,故開始研究是否能夠透過 WebGL 及 shaders 來實現。
The first challenge was how to make a photo-like image with depth of field. Since there is only one flower in the main body, I think it is difficult to make partly blurred and partly clear on the same object through 2D graphics.
目前能在網路上找到的似乎只有這個 library p5.Framebuffer,它的確是我在找的東西,但離我完整的需求還差一些些:我需要能控制我的景深。我 fork 出來加入 dof 這個景深參數,讓景深內的像素保持清晰,景深外的像素才套用模糊演算法(已發了 pull request 並獲原作者 merge)。
p5.Framebuffer, which is exactly what I'm looking for, but it's still a bit short of my full requirements: I need to be able to control my depth of field. I've forked it to add “dof” as a depth of field parameter, so that pixels inside the depth of field remain sharp, and only pixels outside the depth of field are blurred (I've sent a pull request and gotten merge from the original author).
接著,我覺得這個 library 使用的模糊演算法離我想像中的效果有些差距,所以我另外參考 two pass blur 的範例,重寫了一支 shader 來實現高斯模糊,雖然細看仍有些不完美,但離我理想中的效果已經不遠了。
Then, I think the blurring algorithm used in this library is a little bit different from what I imagined, so I rewrote a shader to achieve Gaussian blur by referring to the example of two pass blur, although it is still not perfect in detail, it is not far from my ideal effect.
總結此組 shader 原理:
- 因為 p5 預設不會傳遞深度資訊給 shader,所以必須另外 implement 具深度資訊的 framebuffer 物件 (類似 graphic 的東西) 去綁定 shader 並進行 rendering 以實現景深效果 (即此 p5.framebuffer library 的核心)
- 在 shader 內會判斷該像素的深度值,若位於清晰的範圍 (dof) 內則直接回傳原本的色彩值,否則將進行模糊演算法。
- 模糊演算法的原理是對該像素附近的像素進行採樣,並依照距離給予不同的權重。
To summarize the principles of this shader:
- Because p5 does not pass depth information to the shader by default, a framebuffer object (something like a graphic) with depth information must be implemented separately to bind the shader and perform rendering to achieve the depth-of-field effect (i.e., the core of this p5.framebuffer library)
- The shader will determine the depth value of the pixel, and if it is in the clear range (dof), it will directly return the original color value, otherwise it will perform the blurring algorithm.
- The principle of the blurring algorithm is to sample the pixels in the vicinity of the pixel and give different weights according to the distance.
project name project name project name
2. Filter shader
第二組 shader 是用來繪製邊框及產生色斑、暗角、調整對比等濾鏡效果。
The second shader is used to draw borders and create filters such as color spots, dark corners, and contrast adjustments.
borders
因為 shader 是以像素為單位做運算,所以比較難像 p5 那樣用簡單的 function 如 line() 或 rect() 畫一條黑邊。我用的方式是列出四條黑邊及四個斜角的直線方程式 ax+by+c=0 分別求出 a, b, c 值,再將該像素的座標依序帶入這八組 ax+by+c 確認其正負號,即可得知該像素是否在邊框內,若是,則將該像素的顏色設定為黑色(交接處以 smoothstep() 處理)。
接著為了製造不規則的邊框效果,在上述方程式中的 a, c 兩個常數各自加入不同程度的 noise 就可以了。
Because the shader operates on a pixel-by-pixel basis, it is more difficult to draw a black edge with a simple function such as line() or rect() as in p5. The way I do it is to list four black borders and four beveled right lines ax+by+c=0 to find the a, b, and c values respectively, and then bring the pixel coordinates into the eight sets of ax+by+c in order to check the plus and minus signs to see if the pixel is inside the border. If so, set the pixel’s color to black.
Then, to create an irregular border effect, add different levels of noise to each of the a and c constants in the above equation.
effects
產生暗角的原理很簡單:離畫面中心越遠的像素顏色越暗(從某個特定距離開始)。
最後進行調整對比及染色,方法都可以在網路上找到,程式碼也都很簡單,這裡就先略過。
The way to create dark corners is very simple: the further away from the center of the screen the darker the pixels are (starting from a specific distance).
The final adjustment of contrast and coloring can be found on the Internet, and the code is very simple, so we will skip it here.
總結此組 shader 按順序做了以下幾件事:
- 全畫面以 noise 產生色斑
- 產生邊框
- 產生暗角
- 調整對比
- 染色
到這邊所有靜態的影像已經畫完了,我將以上部分都放在 setup() 裡面。
To summarize, this shader does the following things in order:
- produce discoloration through noise function
- create borders
- create vignette
- adjust contrast
- tint
By this point the still image have been drawn, and I put the above parts in setup().
project name project name project name
3. Animation shaders
最後一組 shader 是用來產生顯影的動畫,所以這組 shader 是放在 draw() 裡面執行。
這組 shader 做的事情相對單純,傳入參數主要有:最終完成的影像、經過的時間以及隨機產生的一個顯影起始座標。要點如下:
- 先依距離計算出每個像素開始顯影的時間,離顯影起始點越近的像素就越快開始顯影
- 給予暗部加成,即顏色較深的像素顯影時間較長(非線性),計算出該像素最終完成顯影的時間
- 時間為 0 時,所有像素都設定為白色,到了該像素的顯影開始時間後,顏色才會開始慢慢變深,一直到顯影完成時間,該像素即成為最終影像的色彩值
- 最後再將每個像素的顯影時間加入一些 noise,以製造出不對稱的效果
The last shader is used to generate the animation for the development, so this set of shaders is run inside draw().
What this shader does is relatively simple. The incoming parameters are mainly: the finalized image, the elapsed time, and a randomly generated starting coordinate for the development. The main points are as follows:
- First calculate the time for each pixel to start developing according to its distance, the closer the pixel is to the starting point of development, the faster it will start developing.
- Gives a darker additive, i.e., darker pixels take longer to develop (non-linear), and calculates the time it takes for the pixel to finally complete development
- When the time is 0, all pixels are set to white, and the color will start to darken after the development start time of the pixel; until the development completion time, the pixel reaches the color value of the final image.
- Finally, some noise is added to the development time of each pixel to create an asymmetric effect.
以上即為此作品所用到的三組 shaders 簡介,感謝您的閱讀,若有任何問題歡迎和我討論。
The above is the introduction of the three shaders used in this work, thank you for reading, if you have any questions, please feel free to discuss with me.
