Params, a user's guide, for collectors.
written by revdancatt
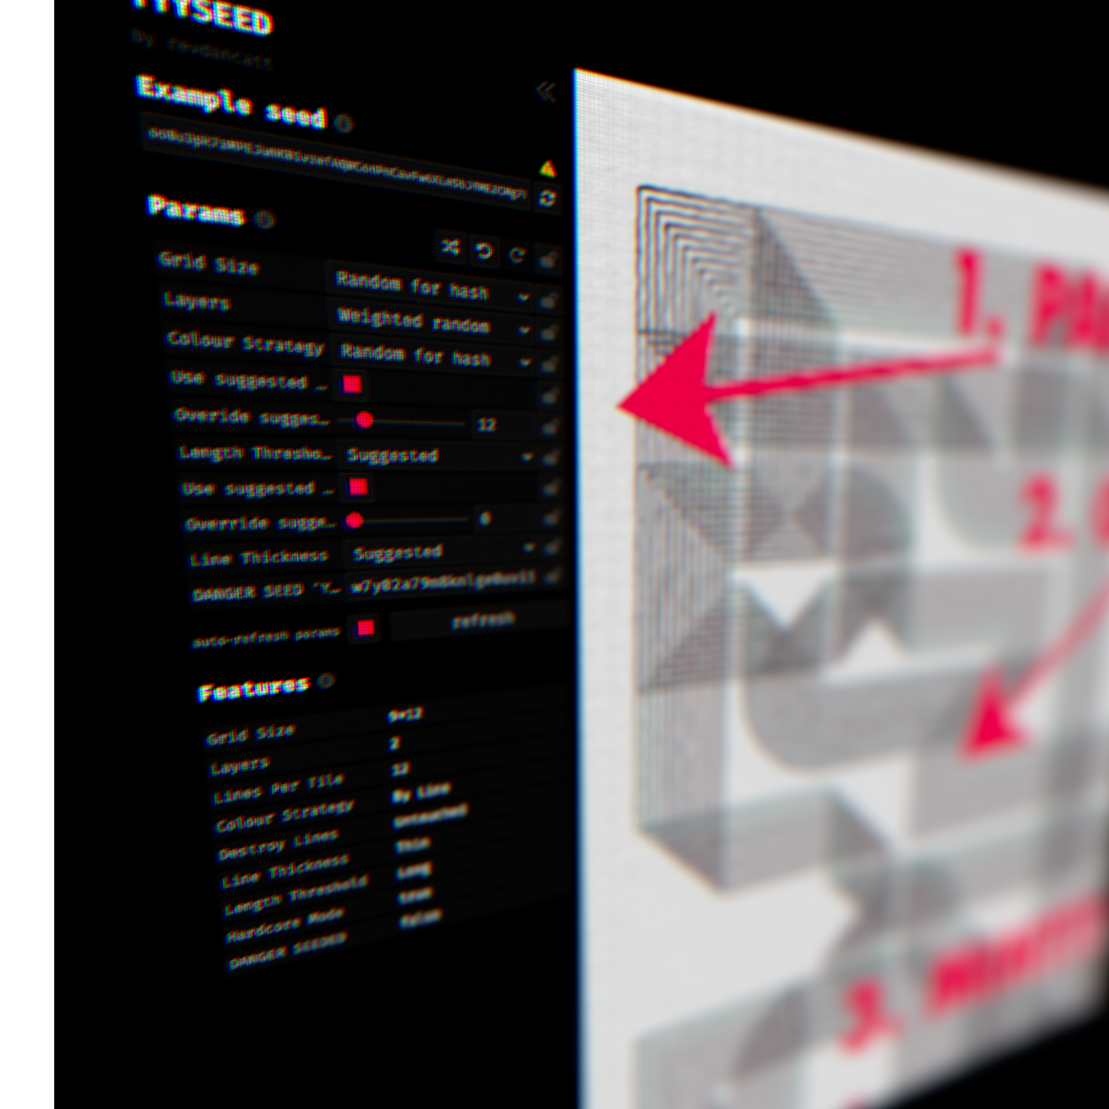
Params are new! Params are exciting!! Params are also confusing, with the main question being "Why is my mint different to what I saw in the preview?", which is perfectly reasonable because...
Easy as one, two three! Right?
WELL NO, because, hidden behind the tiny yellow ⚠️ alert is the text: "The hash is just an example value. Your final piece will be minted with a random hash assigned", because reasons...
In short, what this means is when you hit the mint button, you'll get a whole new hash (as always), which will generate a whole new artwork (as always).
This is pretty much the same as all other project, only in those cases we know what's up, but params are new. You get to set them, so it's no surprise to think that once you've finished setting them that's what you get.
WRONG!! Instead, let's go through the following steps...
- STEP ONE: BRING UP THE PARAMS
- STEP TWO: SMASH THE EXAMPLE SEED BUTTON A FEW TIMES
- STEP THREE: SPAM THE RANDOMISE PARAMS BUTTON
- STEP FOUR: LOCK IN SOME VALUES
- STEP FIVE: LOCK IN SOME MORE VALUES
- STEP SIX: TEST A ZILLION MORE EXAMPLE SEEDS
- STEP SEVEN: MINT
- AND/OR STEP EIGHT: GO BACK TO STEP ONE/TWO
HOW NOT TO SCREW UP YOUR MINT
I'm going to guide you through what you should be doing, and you can do this on any params project even before you buy a ticket (unless the project is hot stuff and you need to buy a ticket ASAP). Don't worry once you've bought a ticket you'll have at least a day to play with the params to get roughly what you want.
We're going to rock this, here goes! Oh, disclaimer I'm going to use my own project here YYYSEED, mainly because it's a good example of what you can and can't do.
project name project name project name
S,[object Object]
Hit the tiny "params" button under the project preview, or mint from your ticket.
S,[object Object]
To the right of the "Example seed" is a small refresh button, hit that loads of times, like 10 or 20, costs you nothing and you get to see some outputs.
Depending on how the artist has set things up you may see a lot of different outputs, they may have chosen some default settings that randomly pick a palette or various settings. Or they may have left everything on one default value, and not much will change. Either way this is your first way of getting a feel for what this project is all about.
Awesome, now you've seen some results. If you hit the mint button you'll get something new and different, but at least you know roughly what you're getting yourself into.
I REPEAT, WHEN YOU HIT THE MINT BUTTON, YOU WILL GET A NEW HASH SEED, WHICH WILL CREATE A NEW OUTPUT. IT WILL BE NEW, EXCITING, AND DIFFERENT!
S,[object Object]
Alrighty, we've seen what happens if you leave the default params up, but what happens if we just have a whole bunch of random stuff going on. Well, once again spam the button just to see what happens and get a feel for the results.
Okay, there's a good chance that everything looks a bit rubbish now, especially if the project has a whole bunch of settings that can change the outputs a lot, some things may be designed to work well together and here we're just putting them all over the place.
In some other projects where everything is fairly tightly controlled then perhaps all the outputs will look similar and there's no bad ones. Who knows? But in both cases you'll probably want to stamp your mark on the result a bit.
At this point you could start changing all the setting or focusing on just one. This is where you can start locking in values.
S,[object Object]
Right, let's say in our YYYSEED example we like the middle sized grid the most, not 3x4 or 9x12, we like the middle one of 6x8. Select that and then lock it! To save a little time I've also locked the number of layers, and the length threshold.
Now spam the randomise values a few times. The params you locked stay locked, IKR, and you'll get a good feel for what keeping those params the same does. Remember, as you're doing this the Example hash seed is staying the same, we'll go back and check that in a moment.
For now though, hit that randomise value several times and see what happens.
So, obviously the things we locked are staying the same and because the Example seed is also staying the same we can see variations of the same thing. The main thing though is that if we mint now a new hash will be created and the layout & colours will be different.
Let smash that Example seed button a few times to see what possible mints we'd get if we went with what the current settings are, both the locked ones and the whatever the randomly selected ones currently are.
Switch back and forth between getting a new example seed and randomising the values. You should now be getting a feel for how things work together.
I like some of these but it still feels like a bit of a risky-mint.
Again for other projects at this point you may already feel like you're pretty good to go. But either way it time for some more fine tuning.
S,[object Object]
With where we are so far, I feel like I want fewer lines, so if I do end up with an all black palette I can see the structure there. If I mess around with the lines now I can see the effect they'll have.
Alright, now I've played with the lines a bit, I've decided that I actually like having less of them. With a bit more playing I've landed on around 19 lines, and having the destroyer set to 35, and a "By Line" colour strategy. I like the Medium thickness lines so I'm pretty happy with this result, so I lock ALL THE VALUES.
S,[object Object]
So, you think you've gotten something locked in, feeling pretty confident. Well, now's the time to test to see what the pool of results you're likely to get is. SPAM THAT EXAMPLE SEE BUTTON!!
I'm feeling pretty good about where I'm at now. I like the grid size, I like the number of lines and the overall effect and most importantly...
I KNOW THE FINAL RESULT WILL BE DIFFERENT TO WHAT I'M CURRENTLY SEEING
Let me hit that mint button and see what I get. On the left is the last test mint in the preview window, and on the right is the final mint.
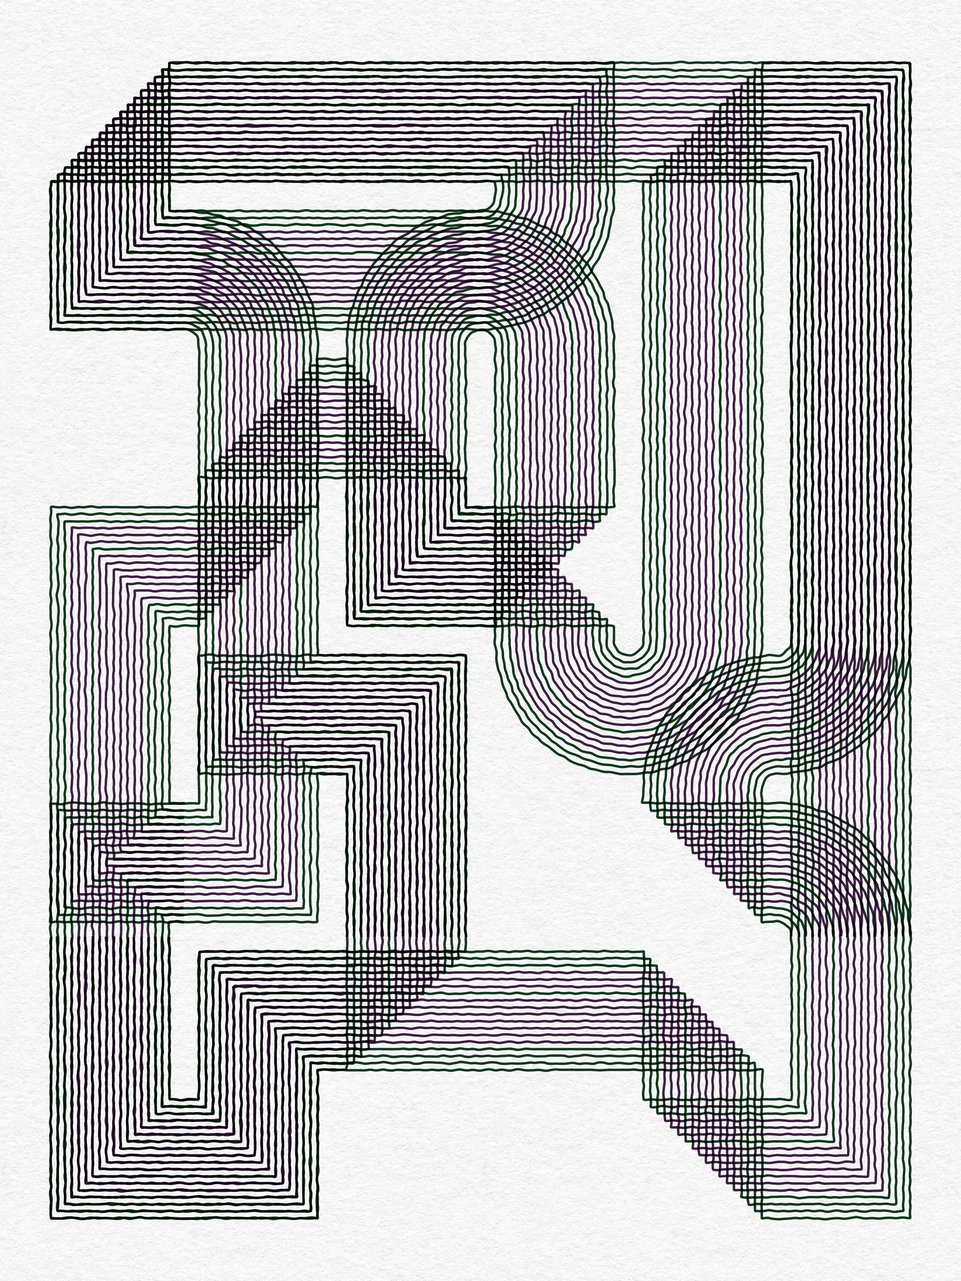
And there we go, I've ended up with a mint, which is unique, (random 'cause it has its own final hash), and pretty similar to what I was going for.
Of course, you can go back and start over if you want, YYYSEED is a fairly flexible project with a surprisingly large design space to explore. Fun things to try are lots of layers, with short length thresholds. Other projects may have different scopes, and a whole different params experience. The most important thing to remember is: TRY A BUNCH OF EXAMPLE SEEDS BEFORE HITTING THE MINT BUTTON.
Here's another selection of outputs, coloured by layer, 8 lines, 76% destroyed, thick lines on an 9x12 grid.
Meanwhile here's another 10 with different locked in settings, closer to what I like to send to the pen plotter.
When you've has a chance to play around with the params, and spammed the Example seeds button you'll have a much better feel for where you can take the project, and what kind of mint you're likely to get.
YYYSEED may at first seem fairly random, but you can certainly steer it a lot closer to where you want a final output.
NOW YOU'RE THINKING WITH PARAMS
And that, is how to end up with something probably closer to what you want.
Again for some projects the difference between what's in the preview window and what you actually get may not be that much, in other cases there may be more variation. But the way to check is to spam those Example seed and randomise buttons.
To recap.
- STEP ONE: BRING UP THE PARAMS
- STEP TWO: SMASH THE EXAMPLE SEED BUTTON A FEW TIMES
- STEP THREE: SPAM THE RANDOMISE PARAMS BUTTON
- STEP FOUR: LOCK IN SOME VALUES
- STEP FIVE: LOCK IN SOME MORE VALUES
- STEP SIX: TEST A ZILLION MORE EXAMPLE SEEDS
- STEP SEVEN: MINT
- AND/OR STEP EIGHT: GO BACK TO STEP ONE/TWO
Good luck!
WHERE TO FIND ME
- 🖼 fxhash - https://www.fxhash.xyz/u/revdancatt
- 🎥 YouTube - https://www.youtube.com/revdancatt
- 📸 Instagram - https://instagram.com/revdancatt
- 🐦 Twitter - https://twitter.com/revdancatt
- 🐘 Mastodon - https://genart.social/@revdancatt
- 💸 Shop - https://shop.revdancatt.com
FOOTNOTE:
There are two version of this article because this one has a period '.' at the end of the title and URL, which discord and twitter DO NOT LIKE. So I had to make a whole new version without that in the title. Computers!!!
