OMNIA
written by WootScoot
What is OMNIA?
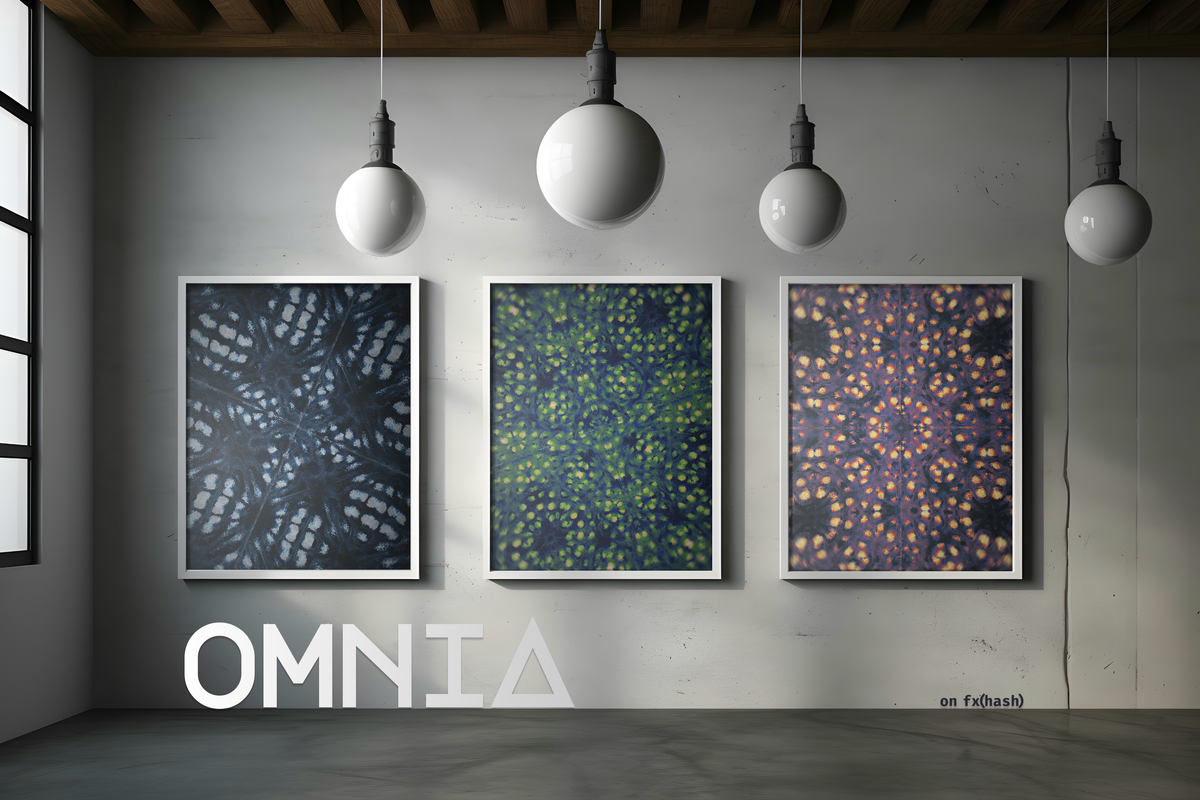
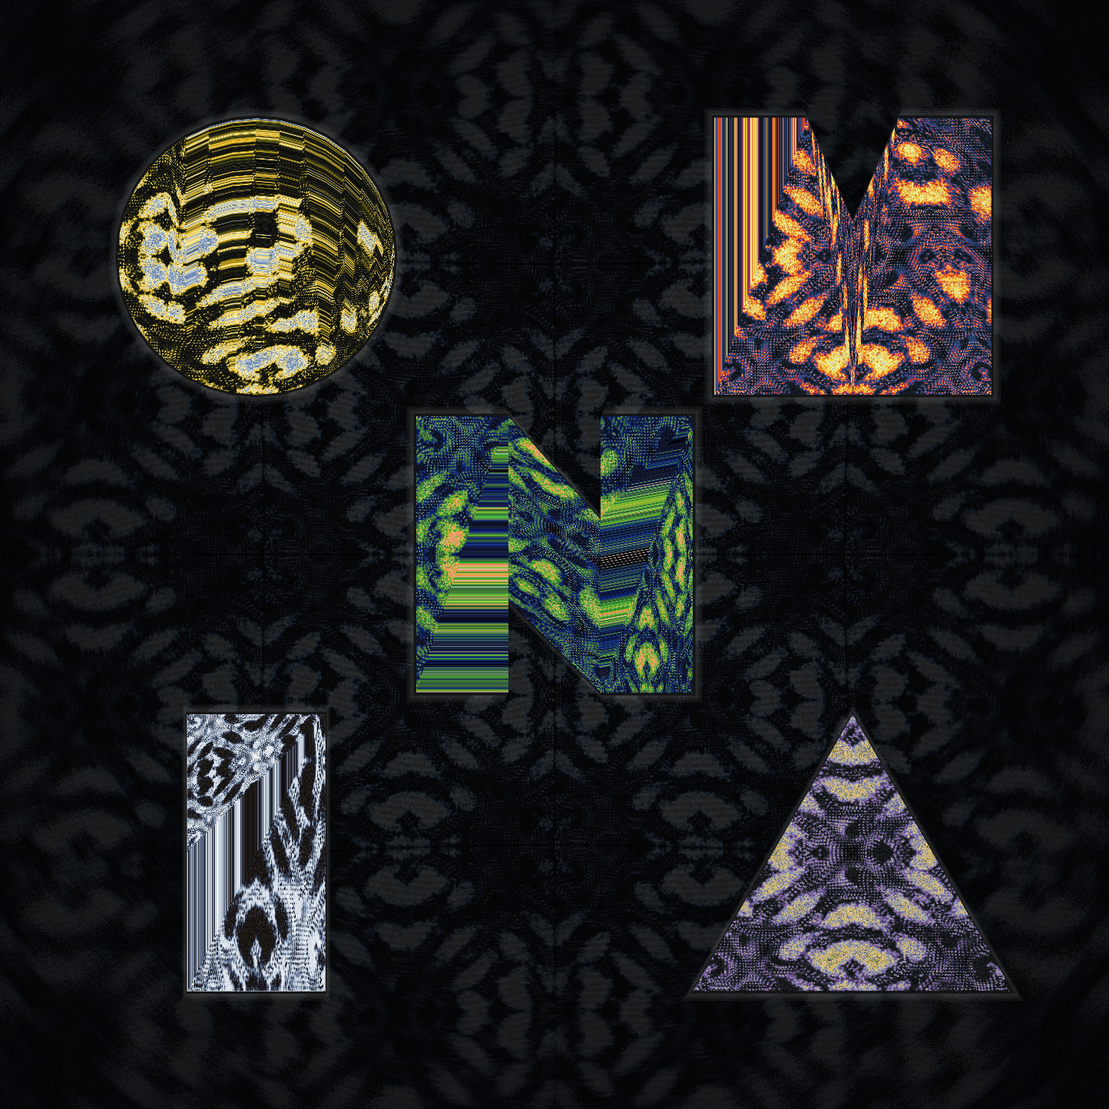
OMNIA is an audiovisual experience, a collaboration between a Musician (SGAR) and two Generative Artists (WootScoot / Alejandro Campos). The visuals build on simulated natural phenomena, exploring how sound-waves travel through fluids and surfaces. OMNIA has been heavily inspired by Chladni plates, stemming back to 1782 when Ernst Chladni was studying the behavior of fvibrating surfaces. He discovered that certain patterns would form when the surface was vibrated at differing frequencies. We used a closed-form solution to calculate Chladni patterns and govern a custom shader, where particles move according to the sound waves of the music.
project name project name project name
Forming The Idea
For me, OMNIA started in early February 2023. At that time Alejandro and Hodlers had already been planning to do something for quite some time.
Once SGAR got put into the equation, and music was going to be a part of this project things started heating up. Alejandro felt he wasn’t equipped to take on such an ambitious project alone, one thing led to another, and I got pulled into the group chat.
At that point in time Alejandro had formed an idea in his head, one that stems from a video he saw from Cymatics:
The basic idea was this: we would model our generative artwork around these Chladni plates, placed in a grid, forming a mosaic of patterns. Since these Chladni plates are a way of visualizing sound it felt like a natural direction to move in. Also a direction with a lot of potential for experimentation for me, as I was in charge of writing the visual shaders that would be placed on the plates forming the mosaics.
But let’s not get ahead of ourselves here, the idea started off really simple. And the first visuals we got were nothing other than that:
At this point in time the roles got quite clear, as I was personally more experienced in shader work I worked on those, and Alejandro would work on the underlying systems (think mosaic structure, loading sounds etc). Like the exhibition it was going to be put in Alejandro was the order, and I was the chaos.
This is also the part where this writeup will start heading my direction. Talking more about the shaders than the systems. Since that’s what I worked on, that’s all I feel comfortable going in depth about.
Now, let’s take a step back and answer a burning question that’s on your mind right now: What is a Chladni plate?
Chladni Plates, what are they?
A Chladni plate is simply put: the visualization of sound waves on a vibrating surface.
When you play a note on a guitar for example, the back of the guitar resonates with the tone that is playing. Though, this resonating frequency doesn’t just vibrate the guitar equally everywhere. It forms a pattern where certain parts of the guitar vibrate more than others based on the tone played, forming lines where the vibration is the least:
The lines you see in the image above are those zero points where the surface is barely vibrating.
Let’s take it back to the Chladni plates now that you know that. If you were to place grains of sand on a plate vibrating at any constant frequency you would see these Chladni patterns forming! The reason you can see these lines is because the sand vibrates away from any other spot, leaving the only stationary locations for the sand on those zero points of the pattern.
I hope that cleared things up on how these patterns are formed, and what Chladni plates are exactly. Now let’s get back to OMNIA, shall we?
Shader Origins
It all started out as a shader-based adaptation of one of my early fx(hash) projects: tadpoles. The live view below here sadly doesn't run anymore since a change in CORS policy. Though the preview shows it off really well.
project name project name project name
Tadpoles was all based on a simple water ripple algorithm. Which is incredibly well explained on both The Coding Train, and in an article by Hugo Elias’s
Simply put, you need two grids of numbers, these numbers will represent the position of the water on any given pixel. Why two? Since you need to predict the future. To do that you can take the current state of the water and compare it to the previous state. Since you know how the water moved in the previous frame you can predict what will happen in the next. Using some very simple math you can make some pretty convincing water ripples appear on the screen!
With that information I created my shader-based version of this algorithm, and started playing with it (as one does). Once I was happy with what I had it was time to move on:
To get the Chladni patterns into my shader we needed a closed form solution that I could copy/paste into the code and use. Lucky for us, there has been a ton of research done on Chladni plates, where people have been able to extract this formula:
Though, this formula has a lot of parts that are unnecessary for our shader, l and h for example are the length / height of the plate, but since our plate is exactly 1 by 1 in glsl world we can omit those values. What we are left with is a formula that we can use! Ok, not exactly, but with a little shuffling around and simplifying we could get to this formula:
float amp=a*sin(PI*n*x)*sin(PI*m*y)+b*sin(PI*m*x)*sin(PI*n*y);
taken directly from the code, amp here is the amplitude at which the particles should vibrate around, remember those zero points from the Chladni patterns? That’s where the particles should end up.
We now have the ingredients to create what we wanted at the start. So let’s get into some code!
The Shader Itself
I have split up the shader into three separate parts:
- Form
- Color
- Post-processing (we'll get into this one later)
Let’s talk about form first. As we just covered, this Chladni formula will get us about half of what makes up the form. In the end the entire Chladni function came out like this:
float chladni(vec2 uv) {
  vec4 s1=vec4(m, n, a, b); // the four frequencies of the song
  vec4 s2=vec4(-2.,1.,4.,4.6);// frequencies to make more interesting patterns

  float t=.5;// we mix in s2 for more interesting patterns, just s1 is quite ugly

  float m=mix(s1.x,s2.x,t);// mix the two vectors
  float n=mix(s1.y,s2.y,t);
  float a=mix(s1.z,s2.z,t);
  float b=mix(s1.w,s2.w,t);

  float max_amp=abs(a)+abs(b); // get the max amplitude
  // we use this to normalize the pattern so that it is always between 0 and 1

  if (!mosaic) { // on single zoom tiles, we want to rotate the pattern
    n += time/10.;
    n =  mod(n, PI*2.);

    // rotate the uv coordinates
    uv -= .5;
    uv *= rotate(n);
    uv += .5;
  }

  // determine the scale of the Chladni pattern
  float uvMag = mosaic ?  2.5  :  4.0;

  // center the uv coordinates
  uv *= uvMag;
  uv -= uvMag /  2.;

  // our Chladni formula!
  float amp=a*sin(PI*n*uv.x)*sin(PI*m*uv.y)+b*sin(PI*m*uv.x)*sin(PI*n*uv.y);
  amp/=max_amp;// normalize the pattern

  amp =  abs(amp); // make sure it's positive
  return amp; // return the amplitude
}
There’s lots to talk about here, but let’s do a quick rundown:
- get the frequencies that the plate needs to vibrate at
- determine the max amplitude of the Chladni formula
- determine the scale of the pattern (larger is more zoomed out)
- make sure the pattern is centered on the plate
- Chladni formula!
- normalize and return the value from the function
The important part here is the application of the Chladni formula based on those frequencies m,n,a and b. Afterwards we normalize those values, making sure they fall between 0 and 1, and we return it to use in the rest of the shader.
To apply this function, we need a grid of particles. And since fragment shaders run once for each pixel we needed to know where on the grid we were, for that I came up with the following piece of code:
int grid = mosaic ?  100  :  200; // the size of our grid (amount of cells)

int i =  int(fragCoord.x / resolution.x *  float(grid)); // get row index
int j =  int(fragCoord.y / resolution.y *  float(grid)); // get column index

// Calculate the position of the current fragment in the grid
vec2 currentPos =  vec2(float(i) /  float(grid), float(j) /  float(grid));
With these four lines of code we can not only dynamically change the size of our grid, but also find on which grid cell our current pixel lies. Which was our goal.
Now, finally, we can apply these functions to show some Chladni ripples on the screen! Well, there’s really one more step. How do we tell the shader to light up certain pixels based on these functions? We need another function. I called it droplet(), and it does exactly that. It tells the shader to make gl_FragColor.r (which is the red channel of the resulting image) brighter or not, based on all these calculations:
void droplet(vec2 fragCoord, vec2 position, float size) {
 float mag = chladni(position); // get the chladni amplitude

 // move the position slightly based on the chladni pattern
 // creates the feeling of a pulsing beat in the water
 float angle = fbm(position*10.+time) * PI *  1.;
 angle += fbm(position*20.+time) * PI *  1.;
 position +=  vec2(cos(angle), sin(angle)) * mag *  0.05  * size;

 // draw the droplet
 float dist=distance(fragCoord,position*resolution);
 if(dist<=size){
   gl_FragColor.x+=10.-dist/size;
 }
}
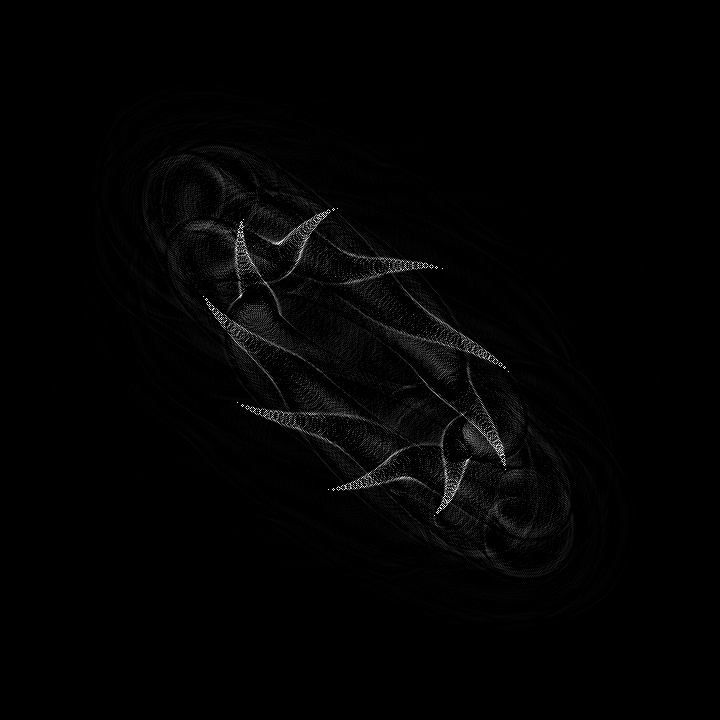
There we go! Now for the fun part. The results! Now, when just applying this ripple shader on a canvas you will only see red pixels. This is because we are saving the ripple information in the red channel of the shader’s result. In these images I will share I have replaced the red with white to make it nicer to look at. Here’s a couple of outputs where a is variable, b = 3 and m/n = 1, this gets us closest to reality.
Yes! We have the form all ready to go now. Let’s move on to the colors really quickly.
To apply the colors, the idea was to map this red value (which I made white above here) to a list of colors from a certain palette. The idea is simple, though getting palettes of varying sizes into a shader can prove quite the challenge.
What I ended up settling on, was a texture that contained all the possible palettes, and then I passed that and a number indicating the current palette to our color shader. The palette texture ended up looking like this (zoomed in circa 100x):
Here every pixel of the texture is a color from a palette, where the palettes are divided on the x axis. Then I mapped the brightness of the red value of a certain pixel to these palettes and finally used mixbox to lerp between the two nearest colors. Finally, after all that, you get the colored result:
Now, there’s one final shader we haven’t talked about. And that’s the post processing. Which is honestly not all too interesting. There’s a couple of effects that are applied in the post processing shader:
- Noise (a simple random offset to the brightness of the pixels)
- Vignette (making the edges of the screen darker to pull attention to the center)
- Chromatic Aberration (splitting the red,green,blue channels along the edges)
- The most interesting: Radial motion blur.
The radial motion blur was an idea that came from Alejandro, to pull focus into the center of the composition he thought it might be a cool idea to add some radial motion blur into the mix. Simply put this kind of motion blur rotates the edges of the screen in slices, here’s a very tuned up version of it in action:
You can really see the movement around the edges. With a little bit of tuning you get what you see live on fx(hash) now. :)
Technical challenges
Finally, I want to talk about some technical challenges we ran into while working on OMNIA. We ran into a ton of issues regarding compatibility between multiple devices / browsers of course, that’s just another perk of working with the web. But besides those obvious issues we had a couple specific ones:
First off, the mosaics are obviously made up of a ton of little canvases, which are all running the Chladni algorithm. This can get insanely resource intensive! To combat this, we came up with a solution: run the algorithm only once, save about 10-30 frames of the simulation in an array, and use that to offset each mosaic every so slightly to simulate a “delay” between them. This worked incredibly well, but started off as a major memory leak. This memory leak stayed an issue all the way up to about 2 weeks prior to launch. We eventually figured out we were not deleting our old frames, but still constantly creating new ones! After a couple of minutes that could rack up to 30gb of ram usage….
Glad we found that one 😬
Besides that the compatibility for mobile proved quite a challenge. We wanted to give everybody the ability to experience OMNIA, but on mobile, even with our new frame buffer array solution it was still too much. So we eventually settled on only displaying single zoomed in Chladni plates on mobile, removing the need for the frame buffers all together. This paired together with a lot of audio issues Alejandro had to go through, swapping from p5.sound to webAudio and rewriting multiple times.
I’m so proud of what we put down in the end :)
Some Final Words
I want to thank Metalogist, for starting up the Hodlers.one platform, and working hard to create some incredible exhibitions, full of incredible artists, including Order and Chaos, of which OMNIA was a part.
I also want to thank Alejandro Campos, for asking me to embark on this collaboration with him. It was a ton of fun! (some struggles too, but that’s part of the charm of a collab ;)
Finally a big thanks to SGAR and Damp Interactive for creating such awesome music for OMNIA, and being along for the ride.
Cheers,
Wouter Missler / WootScoot.

