LUTs in Gen Art
written by Chris McCully
LUTs, or lookup tables, are powerful tools in the creative coding toolset. You can pull colors from a gradient across a palette, or choose select colors from overlaid shapes.
Follow along with the code: https://github.com/tophercully/LUT-Demo
My favorite application, which I’ll show today, is to overlay low alpha shapes in grayscale and apply each color in the palette to some range of grayscale values. For this, I use p5.js, chroma.js, and a fragment shader. If you don’t know what a shader is, I’ll have a basic crash course up soon. For now, I'll be continuing assuming you have the base knowledge of uniforms and 2D samplers (sample2D and texture2D).
What is a LUT?
In its simplest form, the 1 dimensional lookup table or 1D LUT, you feed the LUT one value and it returns a consistent value in return. It is a table with two rows, which maps each value within the same column.
| Luminance | 0.0 | 0.25 | 0.5 | 0.75 | 1.0 |
|---|---|---|---|---|---|
| RGB Value | 145, 76, 205 | 9, 243, 200 | 48, 105, 27 | 199, 232, 100 | 255, 107, 26 |
In this example, I’ll feed the program a value between 0 and 1, which I’ve taken from the pixel brightness. To find pixel brightness, we average the RGB values of our sample pixel.
 //import our print (p) and gradient(g) graphics objects as textures
 uniform sampler2D p;
 uniform sampler2D g;

 //create our textures
 vec4 texP = texture2D(p, st);
 vec4 texG = texture2D(g, st);

 //find the average luminance
 float avg = (texP.r+texP.g+texP.b)/3.0;
Then, on a graphics object, I’ll create a gradient along the y axis, from red to blue. I use chroma.js to create color scales, but you can also use p5’s built in lerpColor() function to interpolate between two colors. I like to use chroma.js since I’m usually using more than two colors. It creates a gradient across all colors in an array, then you can call from a certain lerped value by calling the scale with a value 0-1.
//Here's my gradient function using chroma.js's scale function

function gradientLUT() {
  g.strokeWeight(1)
  palette = ['red', 'blue']
  for(let y = 0; y < h; y++) {
    num = map(y, 0, h, 0, 1)
    col = chroma.scale(palette)
    g.stroke(col(num).hex())
    g.line(0, y, w, y)
  }
}
As you can see below, our scale has mapped the first color to y=0.0 and the last color in the array to y=1.0
The next step is to create an image we'll apply the LUT to, we'll create an example sketch with two overlapping circles at 0.5 alpha. In this context it's easy to see that the overlapping area is a mix of the two colors, but ideally in a more complex LUT scenario, the correlation won't be as obvious.
  val = randomVal(0, 255)
  p.fill(chroma(val,val,val).alpha(0.5).hex())
  p.circle(w*0.6, h/2, 500)

  val = randomVal(0, 255)
  p.fill(chroma(val,val,val).alpha(0.5).hex())
  p.circle(w*0.4, h/2, 500)
To find our final color, we’ll create a new 2D sampler in our shader. The x position doesn’t matter too much but we’ll call it 0.5 so it’s right in the middle. The y axis is given the brightness value. This makes a brightness of 0.0 return a point from the top of the gradient, and a brightness of 1.0 return a point from the bottom of the gradient.
float avg = (texP.r+texP.g+texP.b)/3.0;

vec2 lumPos = vec2(0.5, avg);
vec4 colVal = texture2D(g, lumPos);

vec3 color = colVal.rgb;

//export our pixel color
gl_FragColor = vec4(color, 1.0);
We did it! But you can see there's a bit of an issue: Our background is still included in the LUT coloring. The shader just doesn't know any better. This can be great, but some may want to separate the two.
The simplest solution is to feed the background color to the shader, and check against this when applying the LUT.
//This is my sketch when exporting to the shader
//We divide the pixel array values by 255 to normalize them for GLSL's logic
bgc = color('white')
shade.setUniform("bgc", [
   bgc.levels[0] / 255,
   bgc.levels[1] / 255,
   bgc.levels[2] / 255,
 ]);
//In our shader
uniform vec3 bgc;


float avg = (texP.r+texP.g+texP.b)/3.0;

vec2 lumPos = vec2(0.5, avg);
vec4 colVal = texture2D(g, lumPos);

vec3 color = colVal.rgb;

if(texP.rgb == bgc.rgb) {
  color = bgc.rgb;
}

//export our pixel color
gl_FragColor = vec4(color, 1.0);
Great! We have liftoff.
But what if we used more colors?
palette = ['red', 'blue', 'green', 'orange', 'black', 'pink']
Alright, maybe not so much. What went wrong here? Obviously the choice of colors you put blend with each other is important, but sometimes a gradient is not the right tool for the job.
//here's our updated gradient function

function gradientLUT() {
  g.strokeWeight(1)
  palette = ['red', 'blue', 'green', 'orange', 'black', 'pink']
  for(let y = 0; y < h; y++) {
    num = map(y, 0, h, 0, 1)
    col = chroma.scale(palette).classes(palette.length)
    g.stroke(col(num).hex())
    g.line(0, y, w, y)
  }
}
I often opt for the classes function within chroma.js, just evenly divvy up the gradient with as many colors as you put in. This brings our gradient layer from this:
To this:
And our output looks like this:
There is a bit of aliasing here as I'm rendering on a small canvas. This issue will always be there but there are workarounds such as higher pixel densities, noise, blur, and embracing the aliasing artifacting as detail.
All in all this makes overlapping shapes for different colors and interesting forms a bit of a breeze. You can play around with sampling from a gradient vs an image or change the distribution of colors with custom gradients or scales. Try playing with different alphas, a super low alpha with thousands of shapes can achieve a nice smooth blend of colors.
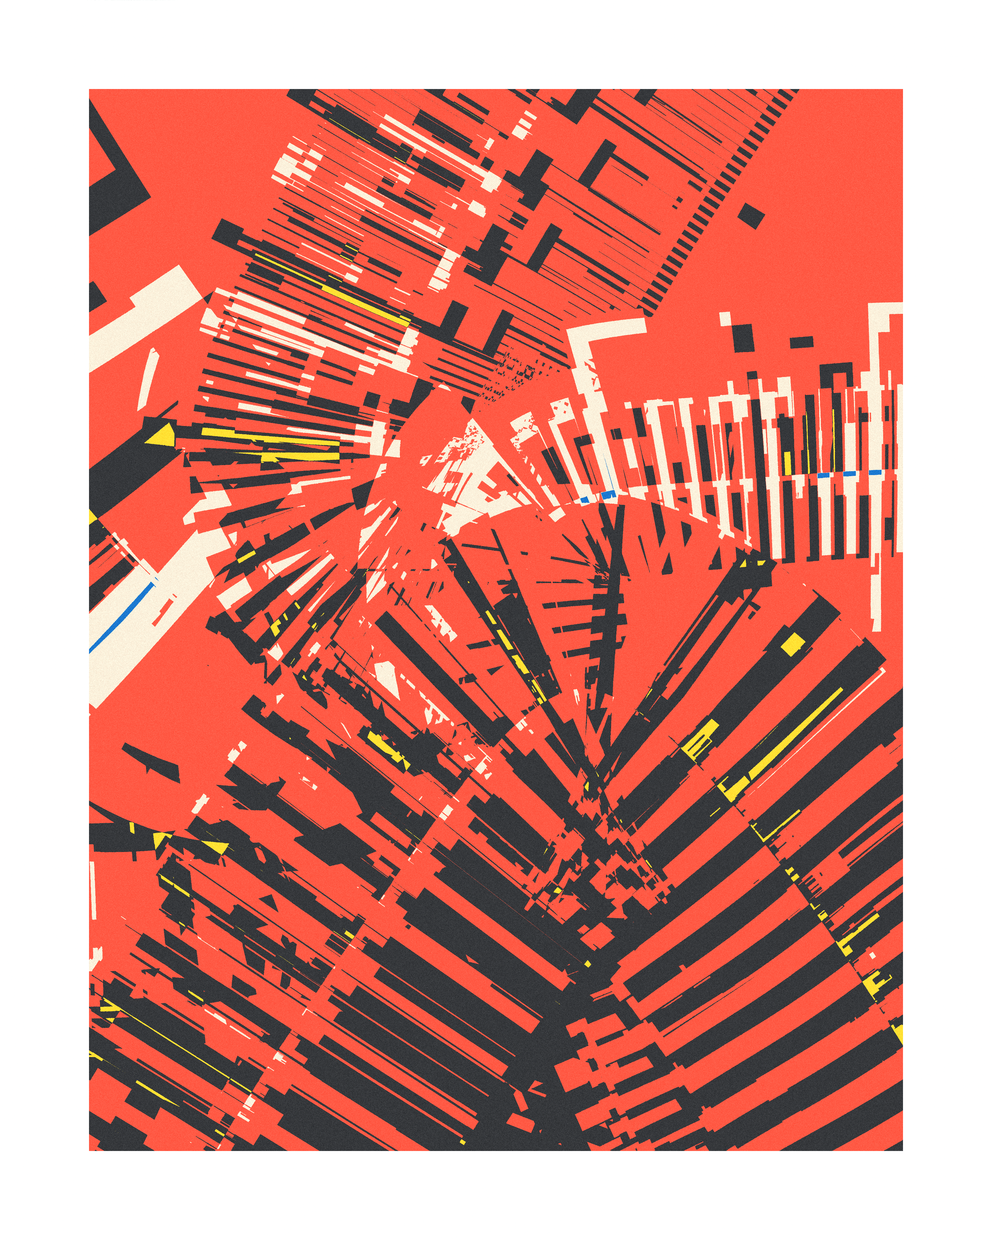
Here are a few more examples of work I've used this approach with, to get some gears turning in your head: