Est tempora vero facere est placeat tempore quos. Consequatur nam deserunt sint nulla magni recusandae ab autem. Voluptas sed incidunt harum necessitatibus porro enim illo. Ab quam commodi veritatis. Dolor iure esse unde sint. Facere reprehenderit nostrum illo temporibus voluptatibus. Vero sapiente sint culpa. Cum rerum aut et. Minima suscipit animi hic molestias blanditiis repellendus. Impedit vel est dolor autem et molestias assumenda iste. Nobis laboriosam doloribus iusto omnis eum sunt. Ratione ut omnis consequatur minus. Sapiente eum id dolor modi aut voluptatem eligendi. Voluptatibus sint nihil quibusdam quod accusamus et. Perferendis impedit debitis minima culpa sit omnis fuga. Rerum voluptatem est sit. Iusto pariatur qui doloribus et asperiores. Ex sed ullam perferendis nostrum. Aut quas adipisci sed consequatur explicabo ut.
Aut quas adipisci sed
Est tempora vero facere est placeat tempore quos. Consequatur nam deserunt sint nulla magni recusandae ab autem. Voluptas sed incidunt harum necessitatibus porro enim illo. Ab quam commodi veritatis. Dolor iure esse unde sint. Facere reprehenderit nostrum illo temporibus voluptatibus. Vero sapiente sint culpa. Cum rerum aut et.
suscipit animi hic molestias blanditiis repellendus. Impedit vel est dolor autem et molestias assumenda iste. Nobis laboriosam doloribus iusto omnis eum sunt. Ratione ut omnis consequatur minus. Sapiente eum id dolor modi aut voluptatem eligendi. Voluptatibus sint nihil quibusdam quod accusamus et. Perferendis impedit debitis minima culpa sit omnis fuga. Rerum voluptatem est sit. Iusto pariatur qui doloribus et asperiores. Ex sed ullam perferendis nostrum. Aut quas adipisci sed consequatur explicabo ut.
This introductory text mainly aims to provide a set of curated, exemplary practices for the minting process of fx(flowField). An in-depth walkthrough will be published subsequently.
To begin, it can be affirmed that the supposed co-creational value of this generative token has two aspects:
Sound integration (primary)
Customization through parameters (secondary)
The former being strictly code-driven, a second layer of co-creation is added by the latter: manual control of the algorithm through non-code-driven parameters. For obvious reasons, while the user can be easily left free on how to colour the particles with the use of sound, handling of the parameters is where some guidance may prove useful.
Starting with a rudimentary sneak peek at the functioning of the sound integration, we will then continue by going through each parameter, and finally conclude with a curation of exemplary practices.
by username username
project name project name project name
How to Translate Sound?
In fact, the foundation can be laid down with the combination of a few, simple lines of code. To initialize the sound integration, we need the following snippet inside the setup() function.
mic = new p5.AudioIn();
mic.start();
Now, we have a listening microphone. Next, to obtain a reading of the current amplitude level, this line of code is executed inside the draw() function. It returns a numerical value between 0 and 1.
amplitude = mic.getLevel();
Final touch. The value returned by the p5.AudioIn.getLevel() method is mapped to a range from 0 to 360, since we operate on a HSB colour system. Let us place the following line of code inside a certain getColour() function, which we should call only when it's time to create a new batch of particles. For fine-tuning, multiply the amplitude first with a micSensitivity variable.
Voilà. We have ourselves a basic system that translates sound, to hue. You may check the official p5 documentation for further reading.
by username username
project name project name project name
Minting Instructions
A set of successive instructions to be taken into consideration when minting. Failure to follow them may result in a broken token.
I. Before you start, make sure that you have a functioning microphone connected, and that it is accessible through your browser.
II. Enable the boolean parameter of showFlowField, to see a representation of the vectors that constitute the flow field. This will give you a first impression.
III. Select an aspectRatio, and decide whether you would like to use lightMode.
IV. Experiment with parameters, and observe how the flow field reacts to different updates. They determine the behaviour of the flow field that will serve as a foundation for this generative token. Pay closer attention to noiseScale, magnitude, dBiasX, and dBiasY.
V. To reveal the flow field, drag your mouse on the canvas. As you draw, cHue will be mapped to the volume of the sound that goes through the microphone.
VI. Of course, your physical environment will have a big impact on the sound that will be processed. Adjust micSensitivity to your needs. Lower sensitivity means that it will be more difficult to increase cHue.
VII. Hit [ENTER] to record the particles you have drawn and coloured. You will notice that, when you refresh the interface, they will be recreated.
VIII. At this step, you can continue to make adjustments on how your flow field will be drawn. The modified values will be applied on the same set of particles, since all the necessary information is now stored as a parameter.
IX. If you wish to start over, you can clear the stored data by hitting [BACKSPACE] and get a clean canvas by refreshing.
X. Mint, when you are satisfied with the result.
by username username
project name project name project name
Parameters
aspectRatio: The aspect ratio of the canvas. (square [1:1], portrait [8.5:11], landscape [16:9])
lightMode: If true, the background will be filled with a light beige (HSB, 60, 10, 96). Otherwise, the default background colour will remain, which is a dark shade of black (HSB, 0, 0, 5).
cHue: Current hue value that will be assigned to new particles. Is code-driven, and will ONLY function during the recording phase. (0; 360)
cSaturation: Saturation value of the colour. (0; 100)
cBrightness: Brightness value of the colour. (0; 100)
invertHue: If true, inverts the direction in which the hue value will increase. For example, the value of 60 normally corresponds to a yellow. If the hue is inverted, the same numerical value would produce a purple. Will ONLY function during the recording phase.
micSensitivity: Used to adjust the sensitivity of the microphone input. Raw amplitude value will be multiplied by this variable. See the code snippets above. Will ONLY function during the recording phase. (1; 50)
showFlowField: Controls whether the flow field itself should be displayed or not. Although, at first, it provides an important first impression about the flow field at hand, it can be left unchecked before minting.
margin: Size of the margins that define the legitimate drawing area. Scales to the canvas. (ultraSlim, slim, default, large, ultraLarge)
resolution: Size of the grid cells that constitute the flow field. Smaller the resolution, bigger the cells are. Scales to the canvas. (10; 100)
noiseScale: Scale at which Perlin noise is sampled to generate the flow field. Heavily affects the overall pattern and turbulence. Values below 0.1 will result in smoother fields, while values above 0.1 will start to produce messier results. (0.01; 1)
strokeWeight: Thickness at which the particles will be drawn. Scales to the canvas. (ultraThin, thin, light, regular, medium, bold, black)
drawInterval: Controls the interval at which particles are drawn. Higher values will put more space between each particle. (1; 5)
brushSize: Radius of the brush, for the creation of each particle set. Scales to the canvas. (tiny, small, normal, big, massive)
lifeSpan: Controls how long the trail of each particle will be visible. Maximum lifeSpan may cause performance issues, and can . (brief, short, average, long, lengthy)
magnitude: Scales the magnitude of the vectors that constitute the flow field. Higher magnitude means stronger lines and more rectangular results, while a magnitude below 1 will produce weaker lines and a smoother drawing animation. (0.1; 5)
dBiasX: Direction bias applied to the flow field on the X axis. Affects the overall direction of the vectors. The minimum value will drag the entire field to the right, and the maximum, to the left. (-2; 2)
dBiasY: Direction bias applied to the flow field on the Y axis. Affects the overall direction of the vectors. The minimum value will drag the entire field downwards, and the maximum, upwards. (-2; 2)
hasRecorded: Indicates whether the drawing data has been captured or not. Is code-driven.
particleData: Stores the drawing data as a Uint8Array. Is code-driven, and has the length of 10000.
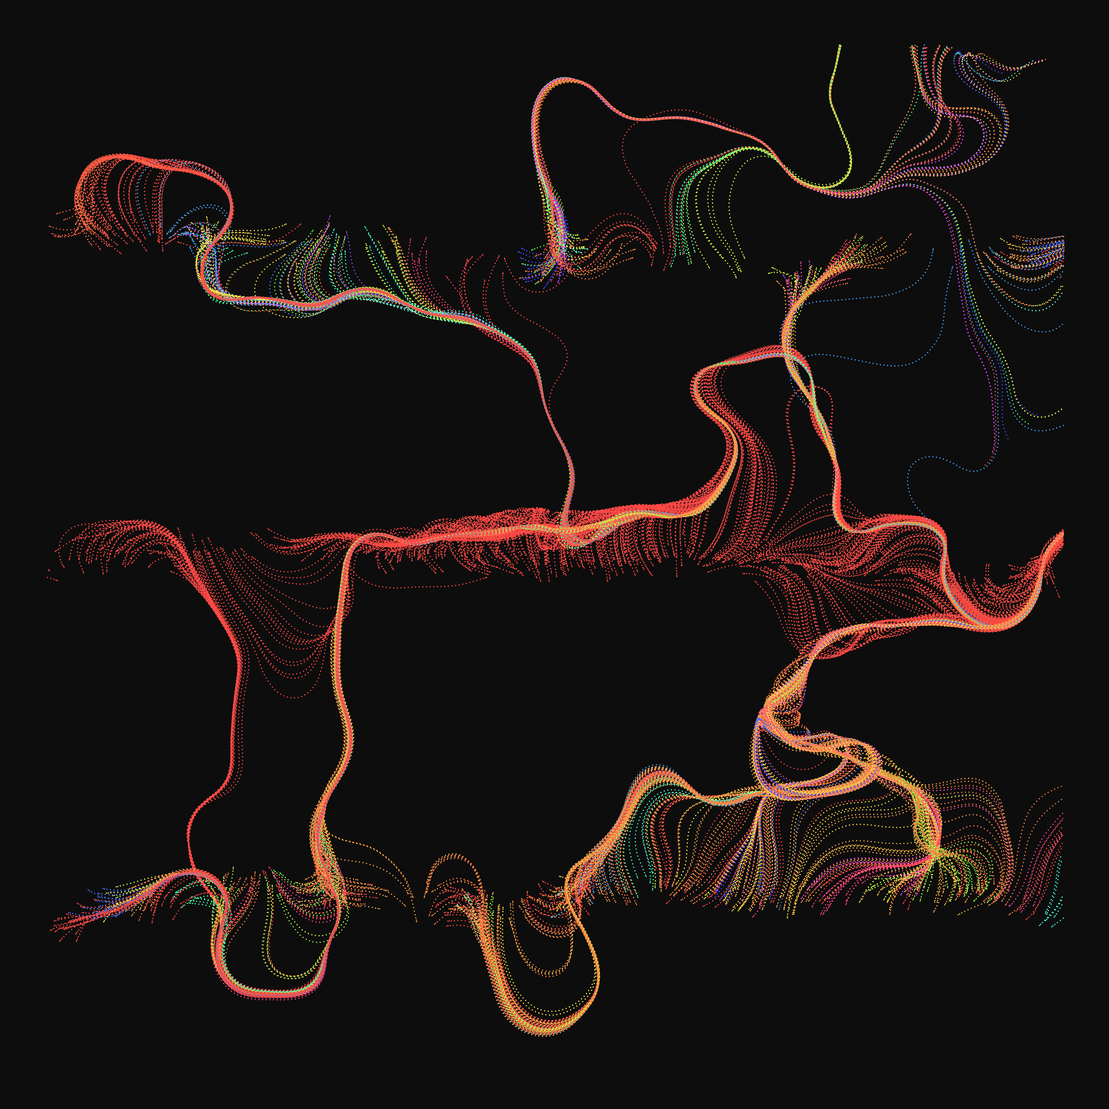
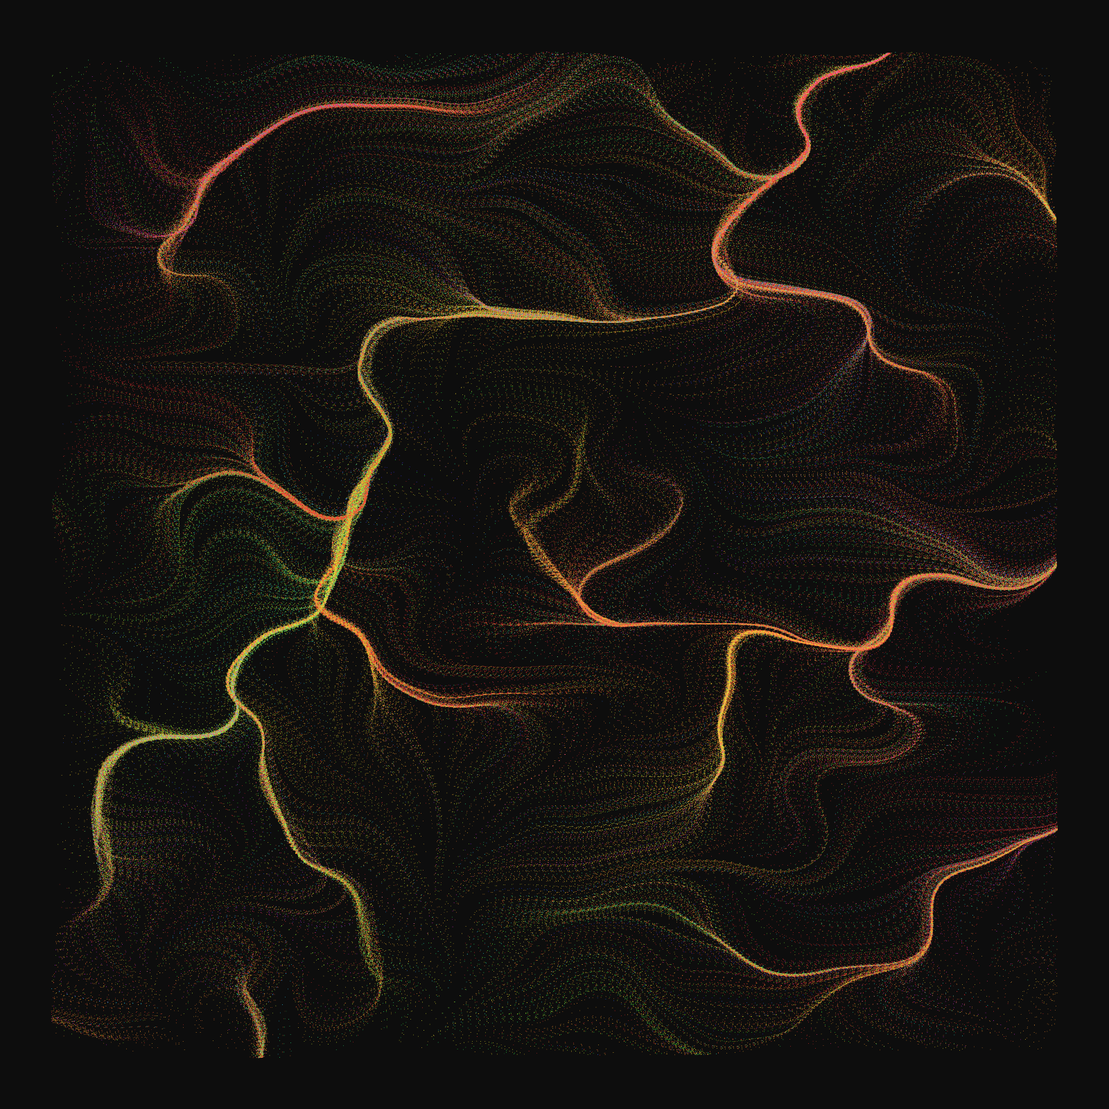
Curated Practices
fx(flowField) represents a flexible algorithm that can potentially produce a wide variety of results. In this section, ten carefully selected practices will be introduced. It can be seen as a lookbook, from which inspiration can be drawn to achieve different outfits. The main objective is to provide guidance for the minting process, as well as to demonstrate the versatility of the generative program.
The characteristic parameters for each example have been noted, so that they can be replicated.
Like most explorations, it started out of pure curiosity, and turned into something that even I can hardly believe. Undoubtedly, fxhackathon has given me the perfect chance to push my boundaries. This couldn't have gone better, as far as I am concerned.
In this context, another article will concentrate on a detailed case study of the project, providing extensive background on both technical and aesthetic decisions. For now, I would like to conclude this one, with a tweet I posted at the very beginning.
And, just before closing, I should take the opportunity to express my gratitude towards five incredible people who participated in my excitement: