Draw that seed!
written by Alejandro
On March 20, 2023, fxhash introduced fx(params), "a powerful new module allowing generative artists to define a set of parameters that collectors explore, adjust, and toggle before minting". However, I have to admit that I've been an fx(params) agnostic, when understood as way of customising artworks via sliders, similar to other commodities.
Parallel to these reflections, I've been trying to explore ways in which the Enfantines series could evolve in an organic manner, following the story of the algorithm that is trying to learn how to draw like a child. Did fx(params) offer a new tool to continue with this exploration?
Et Voilà, 'Pensado a mano'
project name project name project name
What if, instead of playing with sliders, the minter could draw its own seed?
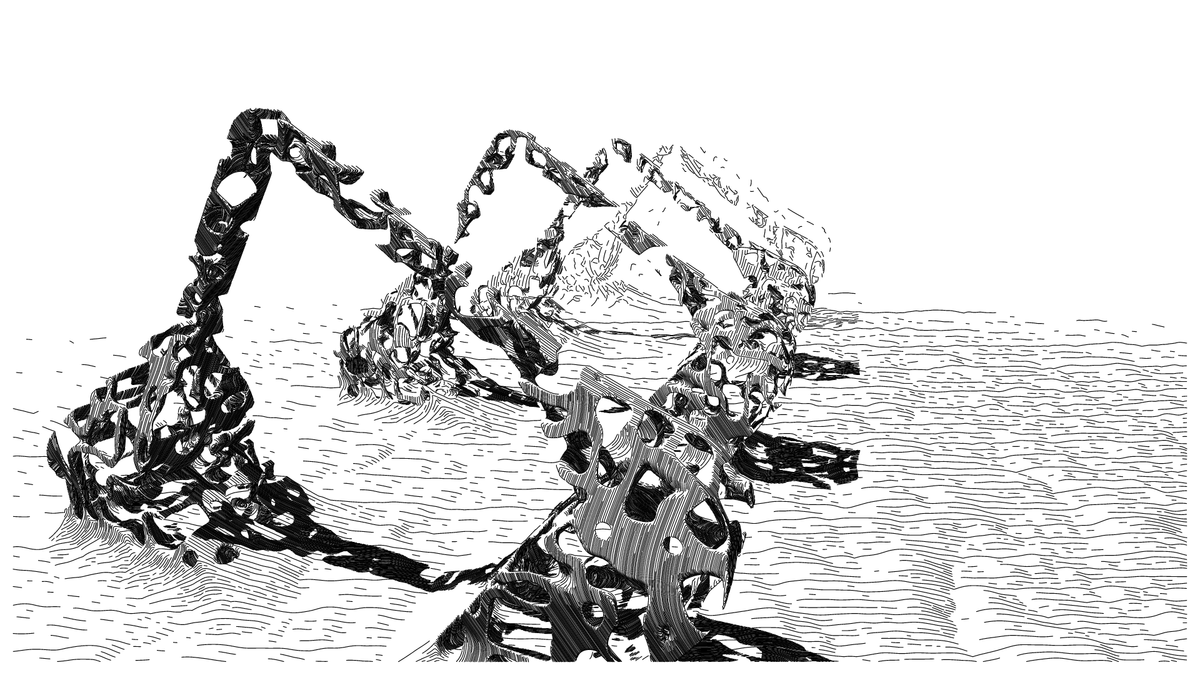
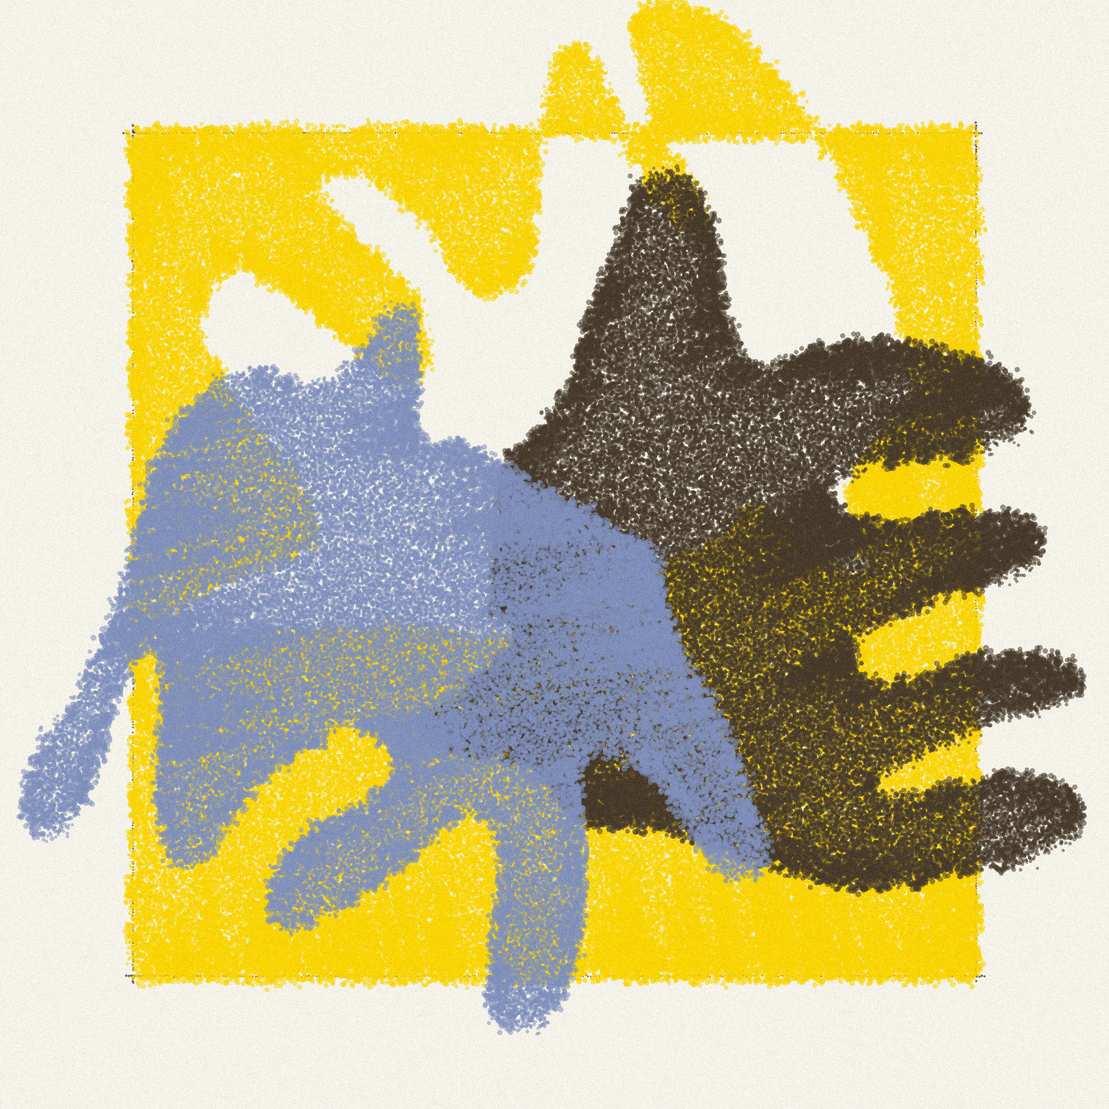
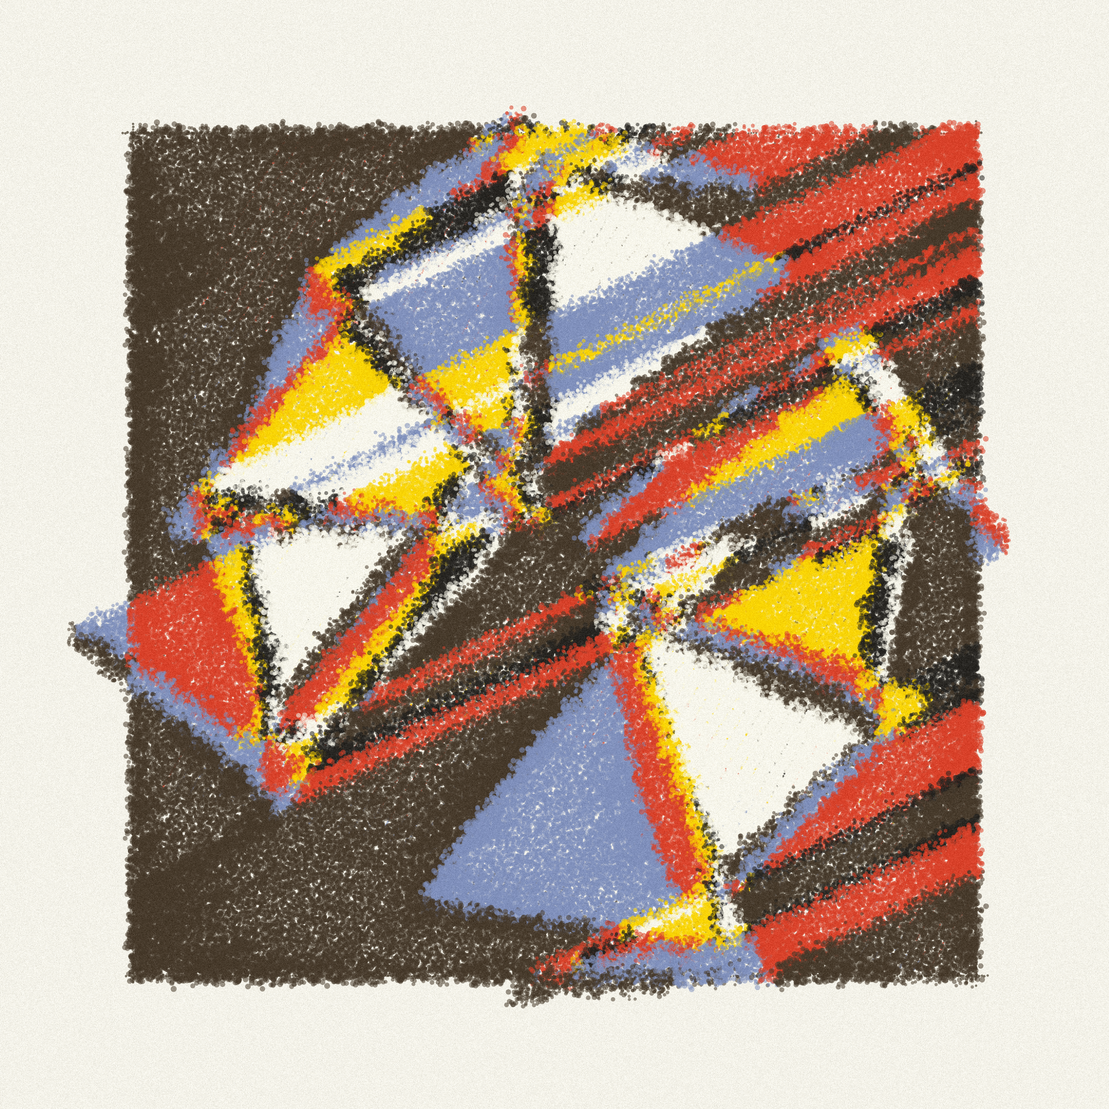
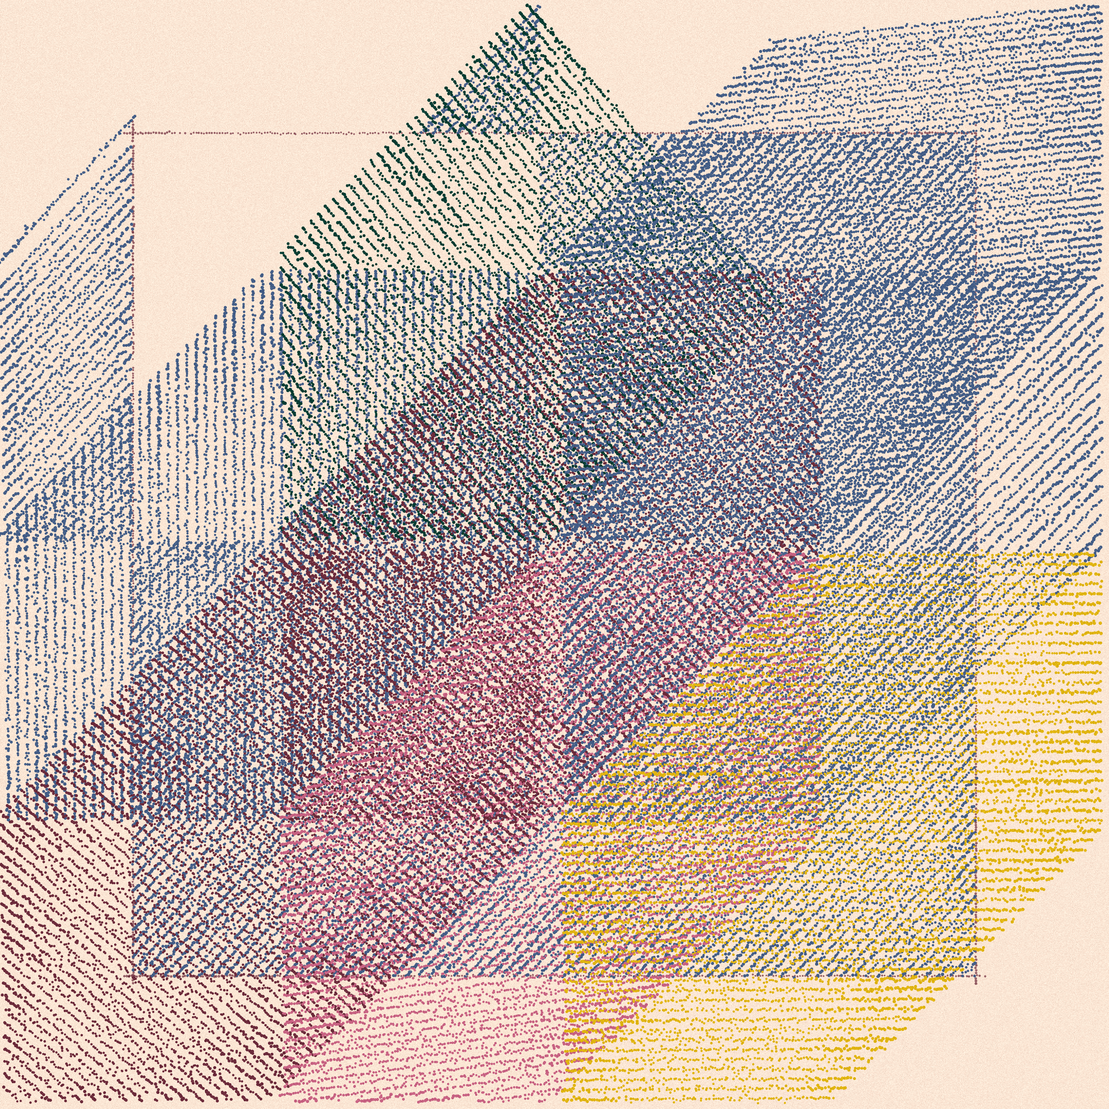
Pensado a mano explores the intersection of Generative Art and Hand Drawing. The collector, by drawing a predefined number of shapes on canvas, creates a unique hand-crafted seed that generates the final artwork. That is the only customisable param, thought by hand, which interacts with various random attributes to produce a unique composition.
“…the time we spend doing and making things, the process…” Flores y Prats (Architects)
And yet the process continues. On the background, the code generates a plottable svg. An artificially extended process, from hand to screen, from screen to paper, that creates a new kind of mixed media.
The UI of fx(params) was not designed for this. Dozens of mints have been broken for that reason, since the Generator requires some carefulness when copying the hand-drawn seed into the iteration's metadata. Basically, one just needs to follow simple instructions:
- Draw the requested shapes and wait to see the result. You can change the Seed Nr. slider if you don't like the selected mode.
- Press “C” to copy drawing to Clipboard
- Copy the clipboard contents to the text-input on the fx(params) sidebar
Video instructions here:
The gen-token was launched as a proof of concept, written over a weekend, with many bugs and various problems. The reason was simple: this project should not be seen a finished art-work, but a co-creation platform designed for fun, at the worst time of the bear market. That's also why supply was excessive and price minimal.
Additionally, since the token is really co-created, secondary royalties are shared with minters 50-50
Take a look at the broken tokens! It's a record!
How the algorithm works
The working concept of the algorithm is simple enough. The moment the minter clicks its mouse, the code began recording the movements of the mouse into a string. When the minter releases the mouse, the code closes the shape. When the max. number of shapes is hit, the string with the data is encoded into base64 and stored in the users's clipboard.
Let's explore each of these parts individually, with the full technicalities
The basics
There are three important parts for this idea to work:
- How to capture the minter's mouse movement
- How to record and encode that movement as a string
- How to store that string on-chain at mint with fx(params)
- How to interpret the seed and generate the artwork, after mint
1. How to capture the mouse movement
In order to capture the mouse movement, we need to first take into consideration an important fact: our canvas always needs to be resized to fit the screen, and the mouse capture needs to be performed on a real size canvas. Moreover, we might need to have a canvas for a loading animation and some other messages that are shown to aid the users' sketching.
// Global object to store Canvas Size and Resize functions
const Canvas = {
    // Real Width and Height in Pixels
    width: 2100,
    height: 2100,
    // A function to calculate the aspect ratio
    prop() {return this.height/this.width},
    // Desired PixelDensity
    pixelDensity: 2,
    // A function to check if our canvas will be restricted by window height or by window width
    isLandscape() {return window.innerHeight <= window.innerWidth * this.prop()},
    // A function to resize our canvas on the fly
    resize () {
        // If the screen is horizontal, our limiting factor will be the window height
        if (this.isLandscape()) {
            // These two are values that we will use for our loading and drawing secondary canvases
            this.fitHeight = window.innerHeight;
            this.fitWidth = window.innerHeight / this.prop();
            // Here I resize the canvas to fit the screen by changing the CSS style
            document.getElementById("mainCanvas").style.height = "100%";
            document.getElementById("mainCanvas").style.removeProperty('width');
          }
        // If the screen is vertical, our limiting factor will be the window width
        else {
            this.fitWidth = window.innerWidth;
            this.fitHeight = window.innerWidth * this.prop();
            document.getElementById("mainCanvas").style.removeProperty('height');
            document.getElementById("mainCanvas").style.width = "100%";
        }
        // This is the resize multiplier which will be needed when capturing mouse coordinates
        this.fitMult = this.height / this.fitHeight;
    },
};


// Instanced P5 Canvas where we will show the shape while drawing and from which we will get the Mouse Coordinates.
// This is basically a secondary P5 Canvas that we execute from within our main one
const handBuffer = function(p) {
    // This is the setup function for the secondary canvas
    p.setup = function() {
        // We create the canvas with the resized dimensions that we calculated above, not the real ones
        let hand = p.createCanvas(floor(Canvas.fitWidth), floor(Canvas.fitHeight));
        // We assign an id to be able to apply CSS styles
        hand.id('drawingCanvas');
    };
    // This is the draw function for the secondary canvas, executing at 60fps (standard)
    p.draw = function() {
        // We want to capture the mouse coordinates with this canvas, which has real size.
        // We can also multiply the coordinates by our resize multiplier to know the real position in pixels.
        // We repeatedly store these two values on the global object
        Canvas.mouseX = int(p.mouseX * Canvas.fitMult);
        Canvas.mouseY = int(p.mouseY * Canvas.fitMult);
        // Here we show the Doodle while the user is drawing.
        if (Sketch.isDrawing) {
            // Draw a black dot in current mouse position
            p.strokeWeight(2)
            p.stroke(0)
            p.circle(p.mouseX,p.mouseY,2,2)
        }
        // When drawing is done, we clear the canvas
        else {
            p.clear();
        }
    };
    // On resize, we want to resize the canvas to fit the screen again
    p.windowResized = function() {
        p.resizeCanvas(floor(Canvas.fitWidth), floor(Canvas.fitHeight));
    };
};

// WE TALK ABOUT THIS LATER
const Sketch = {};
function mousePressed() {Sketch.isDrawing = true;}
function mouseReleased() {Sketch.isDrawing = false;}

// P5 BASIC FUNCTIONS

function windowResized () {
    // Fit canvas to screen on Resize
    Canvas.resize();
}

function setup () {
    Canvas.main = createCanvas(Canvas.width,Canvas.height);
    pixelDensity(Canvas.pixelDensity), Canvas.main.id('mainCanvas');

    // Fit Canvas to Screen at start
    Canvas.resize();

    // Create Secondary Canvas for Drawing Management
    Canvas.handBuffer = new p5(handBuffer);

    background(155,200,150);
}
This works with the following CSS code. You can test how it looks here (click to draw): https://editor.p5js.org/acampos/sketches/z0g7HrJ3G
html, body {
    height: 100%;
  }

body {
    overflow: hidden;
    padding: 0;
    margin: 0;
    display: flex;
    justify-content: center;
    align-items: center;
}

#mainCanvas {
  position: absolute;
  z-index: 0;
  margin: auto;
  top: 0;
  left: 0;
  bottom: 0;
  right: 0;
  background-color: transparent;
}

#drawingCanvas {
  position: absolute;
  z-index: 1;
  margin: auto;
  top: 0;
  left: 0;
  bottom: 0;
  right: 0;
  background-color: transparent;
}

#p5_loading {
  display:none;
}
Canvas.mouseX and Canvas.mouseY (in the code above) will serve, from now on, as our mouse's coordinates when recording the movements into an encoded string.
2. How to record and encode that movement as a string
Now we want to record and encode the mouse's movement as a string that can be used as one of the fx(params). Again, there are several ways of doing this. The easiest would be to record mouse coordinates as points every x distance. However, this would then oblige us to reproduce the shape by joining dots, which could be limiting for some applications. In my case, and since Enfantines II, I've been drawing doodles and shapes by using segments and angles. This allows me to deform those shapes with different kinds of flowfields, with a sketchy feeling. This is more or less what I'm aiming to record for each hand-drawn shape:
-
origin =
[ox,oy] -
list of angles =
[a1,a2,a3,a4] -
list of segments =
[s1,s2,s3]
When redrawing the shape, I start at the origin [ox,oy], and then advance a distance of s1 following the a1 angle; then advance a distance of s2 following the a2 angle, etc. In this manner, I can warp my path with my flowfield as I advance, without knowing exactly where I'm going to arrive at.
However, instead of storing these three things separately, we need to store them in a single string that will be encoded and passed as a params. We will do it like this (following the above naming):
data = [ox, oy, a1, s1, a2, s2, a3, s3, a4, s4, a5, 'x']
The 'x' is an easy way of closing the shape, in case we want to store another one immediately after, like this:
data = [ox, oy, a1, s1, a2, s2, a3, s3, a4, 'x', ox2, oy2, A1, S1, A2, 'x']
In order to generate this list of angles and segments, we need to use the mouse related P5 functions (I will explain the Sketch. functions in a bit!)
To put it simply, we need to start the drawing when the mouse is clicked, record the path (generate angles and segments) while it's moving, and then finalise the doodle when the mouse is released. Let's look then at the Sketch object and the related variables:
const Sketch = {
    // To check if the drawing phase is finished and data already stored
    isDrawn: false,
    // To check if a Doodle is being recorded
    isDrawing: false,
    // To check if the drawing data is above the fx(params) limit
    isAboveLimit: false,
    // Maximum number of doodles allowed
    maxDoodles: 2,
    // How many doodles have been drawn already?
    currentDoodle: 0,
    // To store the data as it is generated
    doodles_data: [],
    // To store the encoded data at the end
    encodedData: null,
    // To store the decoded data for drawing
    doodles: [],
}
Important to note that isAboveLimit will let us control if our drawing data has gone beyond the max. characters allowed by fx(params).
The first function that we need to define is the Sketch.startDoodle(), which will initiate the recording. This is a very simple function with a conditional statement:
Sketch.startDoodle = function() {
        // If it is still not drawn and not above char limit
        if (!this.isDrawn && !this.isAboveLimit) {
            // Start Drawing - with this, we will start showing the path with the secondary sketch, as discussed in step 1
            this.isDrawing = true;

            // Initiate Doodle Data with current Mouse Coordinates as Origin
            this.doodles_data.push(Canvas.mouseX,Canvas.mouseY);

            // Store first point on a temporary object
            this.temp = {x:Canvas.mouseX,y:Canvas.mouseY};
        }
    },
The second function is Sketch.recordDoodle(), which will calculate angles and segments on the fly, and will store them on our data array. This comes with a simple calcAngle() function:
Sketch.recordDoodle = function() {
    // If it is not drawn and not above char limit
    if (!this.isDrawn && !this.isAboveLimit) {
        // This is just for safety
        if(mouseIsPressed) {
            // Calculate distance between current mouse coordinates and temporal coordinates
            let distance = int(dist(Canvas.mouseX,Canvas.mouseY,this.temp.x,this.temp.y));
            // Set Resolution
            let res = 50;
            // If the mouse has travelled a distance higher than the resolution, we store a new segment
            if (distance >= res) {
                // Calculate angle in Degrees
                let angle = this.calcAngle()
                // Push info to data
                this.doodles_data.push(angle,distance);
                // Set new temporal coordinates
                this.temp.x = Canvas.mouseX;
                this.temp.y = Canvas.mouseY;
            }
            // If the data is above our params char limit, we stop drawing
            // btoa() encondes our data as a base64 string, which is what we are going to do at the end
            if (btoa(this.doodles_data).length >= 1850) {
                this.isAboveLimit = true;
                this.finishDoodle();
            }
        }
    }
};
// A function that calculates our angle
Sketch.calcAngle = function() {
    let angle = int(atan(-(Canvas.mouseY-this.temp.y)/(Canvas.mouseX-this.temp.x)));
    if (Canvas.mouseX-this.temp.x < 0) angle += 180;
    return angle;
};
The third and last function, Sketch.finishDoodle(), will finish the doodle, encode the information as a base64 string, and stop drawing. It's important to note that there is always an extra angle for a given number of segments. This is because, in my code, I'm drawing curves by smoothly transitioning from start and finish angle for each of the segments. Depending on the application, this is completely unnecessary. After this function is executed, we will increase the currentDoodle by 1. If this variable reaches the max number of doodles allowed, the drawing capturing phase will be closed.
Sketch.finishDoodle = function() {
        // If it is not drawn already
        if (!this.isDrawn) {
            // Calculate and push last angle with 'x' as closing character
            let angle = this.calcAngle();
            this.doodles_data.push(angle,'x');
            // Stop Drawing and iterate doodlenumber
            this.currentDoodle++
            this.isDrawing = false;
            // Encode and store data
            this.encodedData = "drawn" + btoa(this.doodles_data);
        }
        // If number of max nr. of doodles has been reached, or the data is above limit, finish capturing
        if (this.currentDoodle >= this.maxDoodles || this.aboveLimit) {
            this.isDrawn = true;
            this.isAboveLimit = false;
        }
    },
You might have realised (code box above) that I'm adding the word "drawn" to the encoded data string. This is because I later will check if the string we receive from params have been really generated by our code and is valid. This will allow me to help and guide users during the minting process.
In any case, with these three functions we've successfully captured the mouse's movements, expressed as an array of coordinates, angles and distances, such as this
3. How to store that string on-chain at mint with fx(params)
Here comes the messy part. Ideally, we would want to send that encoded string directly to the fx(params) UI, to avoid users that forget to copy and paste the string and mint broken tokens (tokens with no hand-drawn information). This is simply not possible with the current fx(params) system, and I've already asked for this possibility to the fx(hash) team. That means that we need the user to manually copy the encoded string into the relevant fx(params) input box. In order to do this, we need a function to copy this content to the clipBoard, at the press of a Keyboard Key:
Sketch.copyToClipboard = function() {
        var el = document.createElement('textarea');
        el.value = this.encodedData;
        el.setAttribute('readonly', '');
        el.style = {position: 'absolute', left: '-9999px'};
        document.body.appendChild(el);
        el.select();
        document.execCommand('copy');
        document.body.removeChild(el);
}

// KEYBOARD FUNCTIONS
function keyReleased() {
    // IF USER PRESSES "C", copy DRAWING info to CLIPBOARD
    if (keyCode === 67) {
        Sketch.copyToClipboard()
    }
}
Additionally, we need to copy the fx(hash) params snippet, and we need to define our parameters like this:
// DEFINE PARAMS
$fx.params([
    {
      id: "draw_string",
      name: "PASTE CLIPBOARD HERE",
      type: "string",
      default: "false",
      options: {
        minLength: 300,
        maxLength: 1900,
      },
    },
])
The other parameter that you see in the image above (Seed nr.) is project related, since I wanted the users to be able to mint the image that they see after drawing, as it is. For this reason, I had to fix the randomness to the wallet addresses, and offer 99 different seeds for minters to play with.
In any case, the important one is the box, that needs to be filled by the user alone. When copied, the minter will see what would be the result of said drawing information, and then Use Ticket to store the info on-chain and mint his/her unique iteration.
4. How to interpret the seed and generate the artwork, after mint
And we reached the final step of the journey. After mint, we will need to retrieve the drawing information from the on-chain metadata, decode the string and re-build the drawing itself.
It is very easy to retrieve information from fx(params) data. In our case, we do it like this, using our param name draw_string:
$fx.getParam("draw_string");
For the rest of the process, we will need a fourth function attached to our Sketch object:
Sketch.decodeDrawing = function() {
        // Check if param exists, that it is valid, and add data to doodle object
        if ($fx.getParam("draw_string").slice(0, 5) == "drawn") {
            this.isDrawn = true;
            this.encodedData = $fx.getParam("draw_string")
        }
        if (this.isDrawn) {
            // Remove check and decode base64. With slice, we remove the first 5 characters of the string.
            let segments = atob(this.encodedData.slice(5))
            // We split the string into an array
            segments = segments.split(",")

            // This code goes through the data string and extracts origin, angles and segments
            let new_doodle = true;
            let num_doodle = 0;
            for (let i = 1; i < segments.length; i+=2) {
                if (new_doodle) {
                    // At start or when we find an 'x', we create a new doodle in the doodles array
                    this.doodles[num_doodle] = {
                      // These are the first two values of the array, or the first two values after the 'x'
                      origin: {x: parseFloat(segments[i-1]), y: parseFloat(segments[i])},
                      angles: [],
                      segments: []
                    };
                    new_doodle = false;
                } else {
                    // For the rest of the elements
                    let angle = segments[i-1]
                    let dist = segments[i]
                    // If the element is an x, we add the last angle and start a new doodle
                    if (dist == "x") {
                        this.doodles[num_doodle].angles.push(angle)
                        num_doodle++
                        new_doodle = true
                    // If the element is not an x, we add the angle and segment
                    } else {
                        this.doodles[num_doodle].angles.push(angle)
                        this.doodles[num_doodle].segments.push(dist)
                    }
                }
            }
        }
    },
This will result in a Sketch.doodles array of objects like this:
[
  {
    origin: {x: ox1, y: oy1},
    angles: [a1, a2, a3, a4],
    segments: [s1, s2, s3],
  },
  {
    origin: {x: ox2, y: oy2},
    angles: [A1, A2],
    segments: [S1],
  },
...
]
And this is, of course, all the information that we need to recreate our drawing in any manner imaginable. For instance, we can recreate it in our draw() function like this:
function draw() {

    // If drawing data already exists, we decode it
    Sketch.decodeDrawing()

    // This is just to test that the decodedData is right.
    // It will re-draw your paths the moment they are finished
    if (Sketch.isDrawn) {
        stroke(0)
        strokeWeight(20)
        noFill();
        for (let d of Sketch.doodles) {
            beginShape()
            vertex(d.origin.x,d.origin.y)
            let currentPos = {x:d.origin.x,y:d.origin.y}
            for (let i = 0; i < d.segments.length; i++) {
                currentPos.x += d.segments[i] * cos(-d.angles[i])
                currentPos.y += d.segments[i] * sin(-d.angles[i])
                vertex(currentPos.x,currentPos.y)
            }
            endShape();
        }
        noLoop();
    }
}
Check how the full code works here: http://openprocessing.org/sketch/1940696
CODA.
This code is meant to inspire fx(hash) artists to explore the full potential of fx(params), to avoid unending sliders in favour of a much more organic and creative approach. Similar mechanics can be used to store other kinds of mouse gestures, coordinates, sound information, images, etc.
Of course, as long as the fx(params) UI remains inaccesible from within the algorithms theme-selves, similar approaches will require user input and carefulness when minting. Based on this experience, I would give some unrequested personal feedback to the fx(hash) team —because I have many ideas I want to explore with params, further—
- Make params updatable from the algorithm itself. I would have appreciated the possibility of sending the drawing info from my code directly to the UI, without user input.
- Together with minter wallet and mint hash, it would be very useful to have a unique hash associated with each mint ticket. This will of course mean that there are tickets rarer or better than others, but it could be useful for certain applications.
Together with Piter Pasma's Universal Rayhatcher —with which I don't want to compare Pensado a mano, because the comparison shows my amateurish approach!— we have now two speculative uses of fx(params) that transform fx(hash) into a real co-creating platform. I don't know if these can be called Generative Art, but they are definitely an interesting way for artists to collaborate with the fx(hash) community.
And now. Have fun!
