Cellular automata are awesome: let's build some
written by 0x08
Cellular automata being discrete computational systems are used in a variety of scientific applications and fields to model complexity and behavioral dynamics. However, the patterns and complex dynamics when mapped to visual representation may result in fascinating pieces of art.
Let's build a simple cellular automata system in one dimension (or the so called elementary cellular automata) to illustrate some of the concepts. And then discuss a bit on the project 'Automatic' that uses the concepts and adds some extra dynamics and artistic flavor to the simple system of rules.
project name project name project name
Rules in cellular automata can be represented as decimals, but it's useful to convert the rules to binary format as this representation provides direct mapping to all possible combinations of cell neighborhood patterns - in one dimensional cellular automata each cell's left and right neighbor on the current row is mapped to the rule to represent the state of the cell on the next row. For example lets break down rule 10 to binary and check the states. We would need a couple of functions for that.
function getRule(dcml) { // input decimal
  var s = (dcml >>> 0).toString(2).split(''); // convert to binary and split to str arr
  if (8 - s.length > 0) {
    return (Array(8 - s.length).fill(0)).concat(s.map(Number)); // fill rem padding (8 for 256 max) and concat and convert
  } else { return (s.map(Number)); }
}

function setCell(r, p) { // p - array of previous states, e.g. [1,0,1], return the state as mapped to the rule
  var i = parseInt(p.join(''), 2); // max val 7 == 1,1,1
  switch(i) {
    case 7: return r[0];
    case 6: return r[1];
    case 5: return r[2];
    case 4: return r[3];
    case 3: return r[4];
    case 2: return r[5];
    case 1: return r[6];
    case 0: return r[7];
    default: console.log('ERROR: setCell unhandled case.'); return r[0];
  }
}
Let's run the example with rule 10 and evaluate the state of a cell with the following neighborhood as an example:
r = getRule(10)
console.log(r)
console.log(setCell(r, [0,0,1]))
console.log(setCell(r, [0,0,0]))
>> (8) [0, 0, 0, 0, 1, 0, 1, 0]
>> 1
>> 0
We can now get the mapped results from the rule based on the definition in the setCell() function.
What remains is to generate the actual grid and calculate the each cell's state based on the state of the same cell from a previous row on the grid and it's left and right neighbor. Here, the function iterates over each cell in each row fetching the neighbors of each cell and the cell itself as state variables (represented by either 1 or 0). Each state is then passed to the setCell() function together with the set rule to determine it's next state. This function sets a finite grid, with the first and last cell state on the grid set to 0 for simplicity.
function genGrid(fr, rule) { // input initial states array [1,1,0,1,...,1]
  var result = [fr]; var row = fr;
  for (let r=1; r<cc; r++) { // each row, first (0) row is inp
    var nextRow = [];
    for (let i=0; i<cc; i++) { // each cell
      var c1 = 0; var c2 = 0; var c3 = 0; //states
      if (i == 0) { // handle first elem
        c1 = 0; c2 = row[i]; c3 = row[i+1];
      } else if (i == cc - 1) { // handle last elem
        c1 = row[i-1]; c2 = row[i]; c3 = 0;
      } else {  // handle all other elems
        c1 = row[i-1]; c2 = row[i]; c3 = row[i+1];
      }
      nextRow.push(setCell(rule, [c1,c2,c3]));
    }
    row = nextRow;
    result.push(row);
  }
  return result;
}
We need a preset first row as a starting point. A default starting row can be a row with only the middle cell set to 1 and the rest to 0. Can be achieved the the following (creates an array of length 50 filled with zeros, then set the middle element in the array to 1):
fr = Array(50).fill(0)
fr[fr.length/2] = 1
All that remains is to display the grid.
cc = 50 // cell count
m = 8 // multiplier
for (let x=0;x<cc;x++){
    for (let y=0;y<cc;y++) {
      if (grid[x][y] == 1) {
        fill(100)
        square(y*m,x*m,m)
      } else {
        fill(255)
        square(y*m,x*m,m)
      }
    }
  }
Our entire code (that can be experimented with in a p5js online editor, or any other editor of choice) could look like this:
function getRule(dcml) {
  // input decimal
  var s = (dcml >>> 0).toString(2).split(""); // convert to binary and split to str arr
  if (8 - s.length > 0) {
    return Array(8 - s.length).fill(0).concat(s.map(Number)); // fill rem padding (8 for 256 max) with and concat with srt array converted to int array
  } else {
    return s.map(Number);
  }
}

function setCell(r, p) {
  // ps - array of previous states, e.g. [1,0,1]
  var i = parseInt(p.join(""), 2); // max val 7 == 1,1,1
  switch (i) {
    case 7: return r[0];
    case 6: return r[1];
    case 5: return r[2];
    case 4: return r[3];
    case 3: return r[4];
    case 2: return r[5];
    case 1: return r[6];
    case 0: return r[7];
    default: console.log("ERROR: setCell unhandled case."); return r[0];
  }
}

function genGrid(fr, rule) {
  // input initial states array [1,1,0,1,...,1]
  var result = [fr];
  var row = fr;
  for (let r = 1; r < cc; r++) {
    // each row, first (0) row is inp
    var nextRow = [];
    for (let i = 0; i < cc; i++) { // each cell
      var c1 = 0; var c2 = 0; var c3 = 0; //states
      if (i == 0) { // handle first elem
        c1 = 0; c2 = row[i]; c3 = row[i + 1];
      } else if (i == cc - 1) { // handle last elem
        c1 = row[i - 1]; c2 = row[i]; c3 = 0;
      } else { // handle all other elems
        c1 = row[i - 1]; c2 = row[i]; c3 = row[i + 1];
      }
      nextRow.push(setCell(rule, [c1, c2, c3]));
    }
    row = nextRow;
    result.push(row);
  }
  return result;
}

cc = 50; // cell count
m = 8; // multiplier to set the sizes
r = getRule(57); // set the rule
fr = Array(cc).fill(0); // set the first row
fr[fr.length / 2] = 1;
grid = genGrid(fr, r);

function setup() {
  createCanvas(cc * m, cc * m);
  background(255);
  noLoop();
}

function draw() {
  for (let x = 0; x < cc; x++) {
    for (let y = 0; y < cc; y++) {
      if (grid[x][y] == 1) {
        fill(100);
        square(y * m, x * m, m);
      } else {
        fill(255);
        square(y * m, x * m, m);
      }
    }
  }
}
Some outputs from the simple code above:
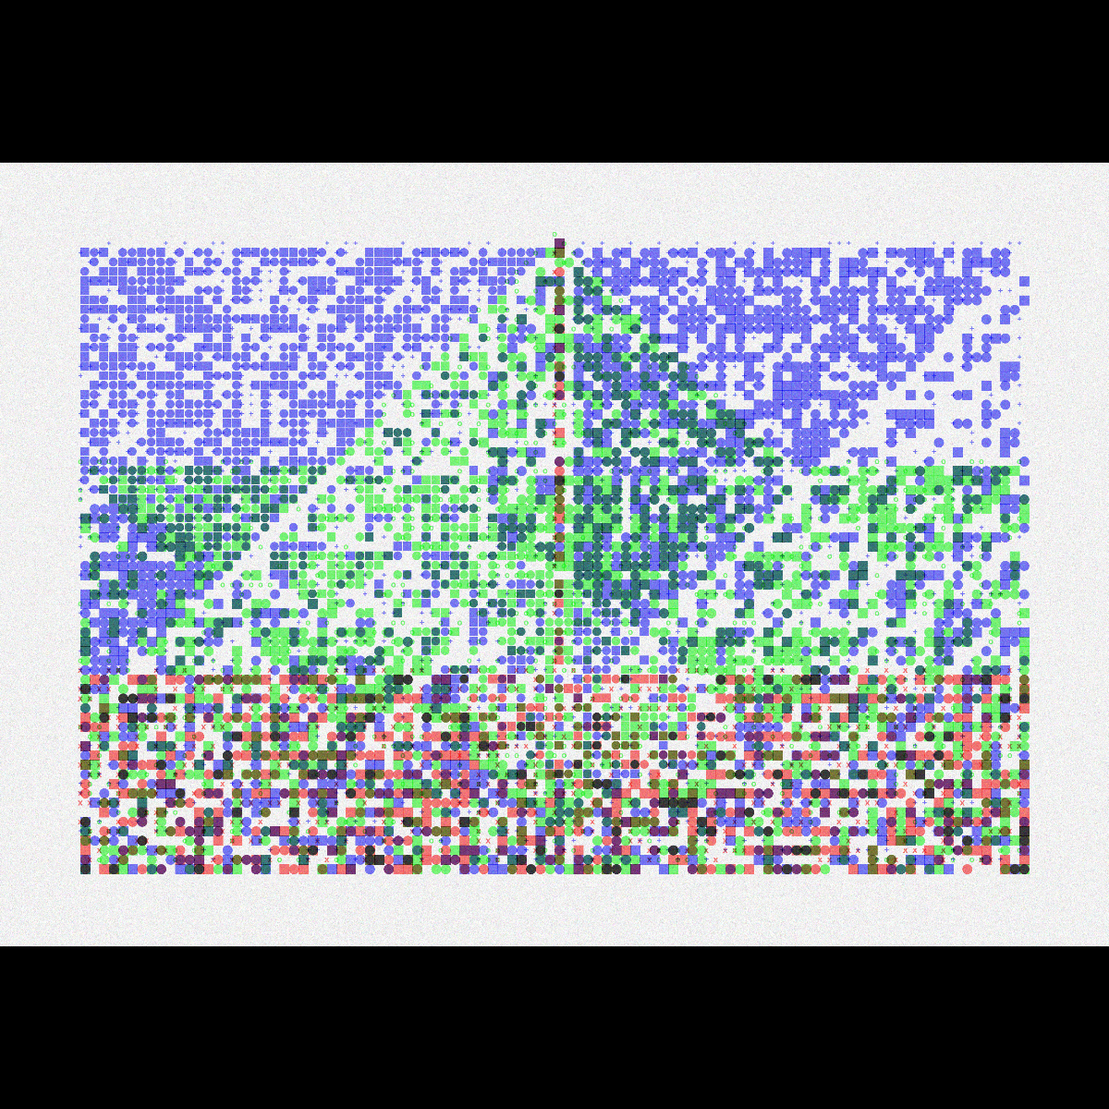
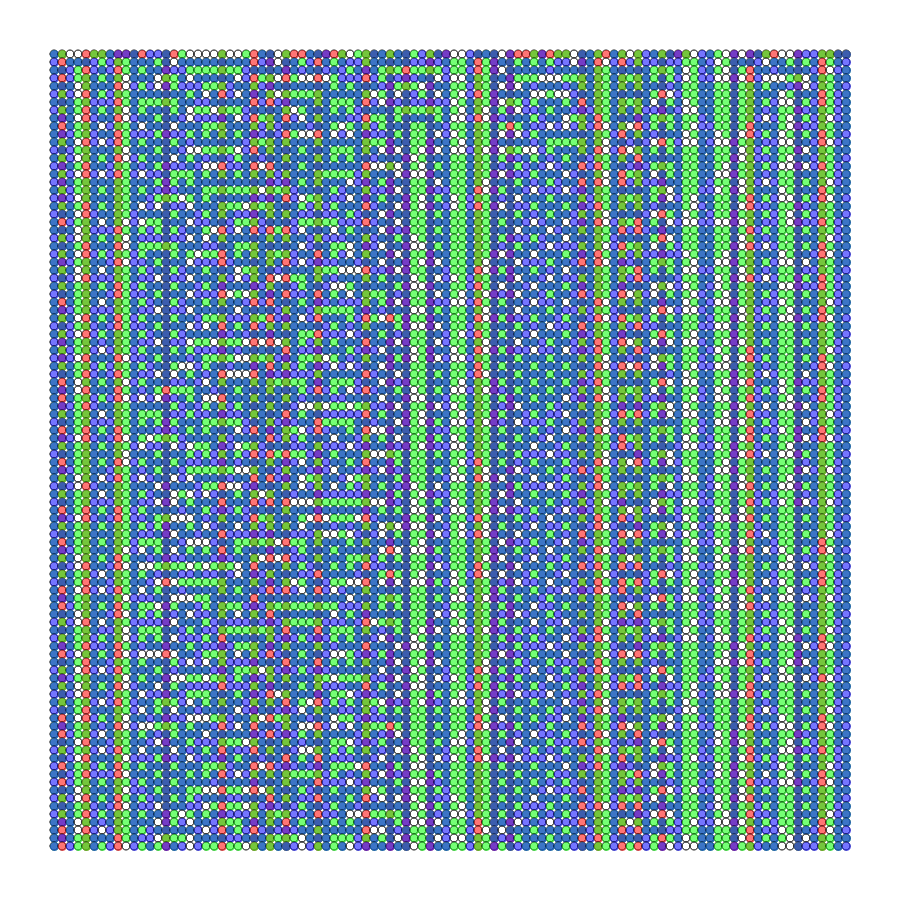
These rules and system is the base for the 'Automatic' collection. The algorithm for the project is a little bit more advanced in grid setups and representation. But the building blocks are the same. It uses a combination of 3 randomly selected rules (with some of the not very fun rules omitted) to overlay on each other. The first row is randomly setup either from central point, random points or some mix of random point setups. The grid is then setup with an occasional introduction of a dynamic rule change or some 2d noise patterns to lighten (or darken) the tones a bit.
The grid is represented by various shapes: squares, circles, symbols, and a color palette is chosen from a set of selected sets with the hopes of good matching for overlay and color multiply blends.
...here are some early outputs from the project:
Thank you for reading and your interest in the work, hope you enjoy the project!